Building my Keel Bulb Mold
After considerable visualizing, conceptualizing, prioritizing and a few other ‘izings’ that I likely have forgotten, it certainly feels good to finally get started building something. With my kit being finished and getting ready to be shipped over from North Carolina to Seattle, Washington I decided to get going on something that I could build before the kit arrives. So, I grabbed my tools, a piece of scrap plywood, and a large block of wood and set about fabricating the plug for my keel bulb mold.
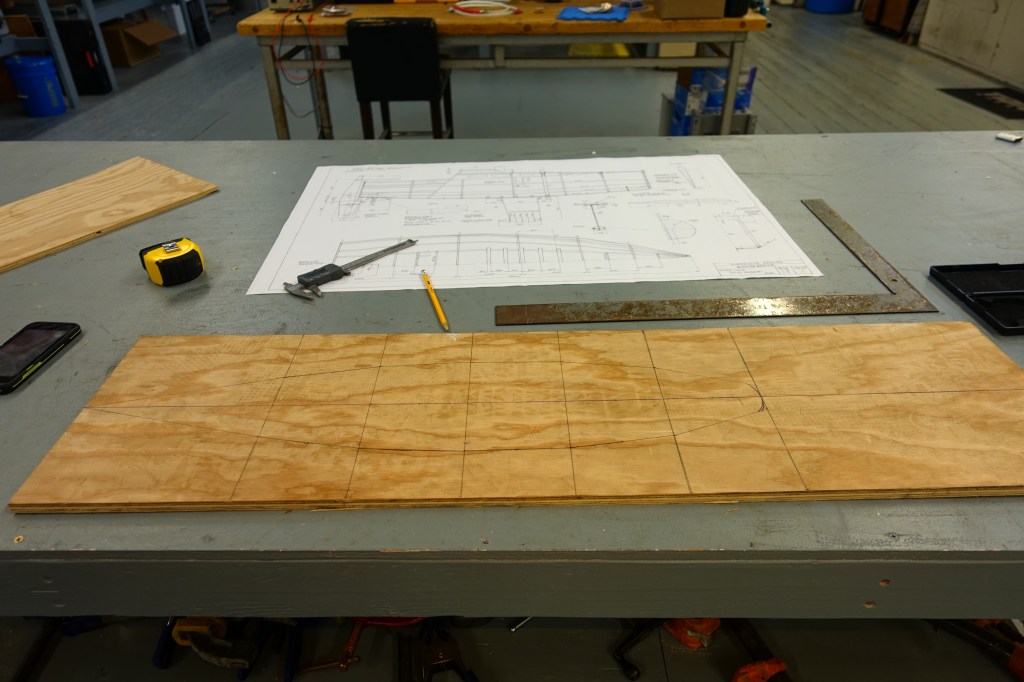
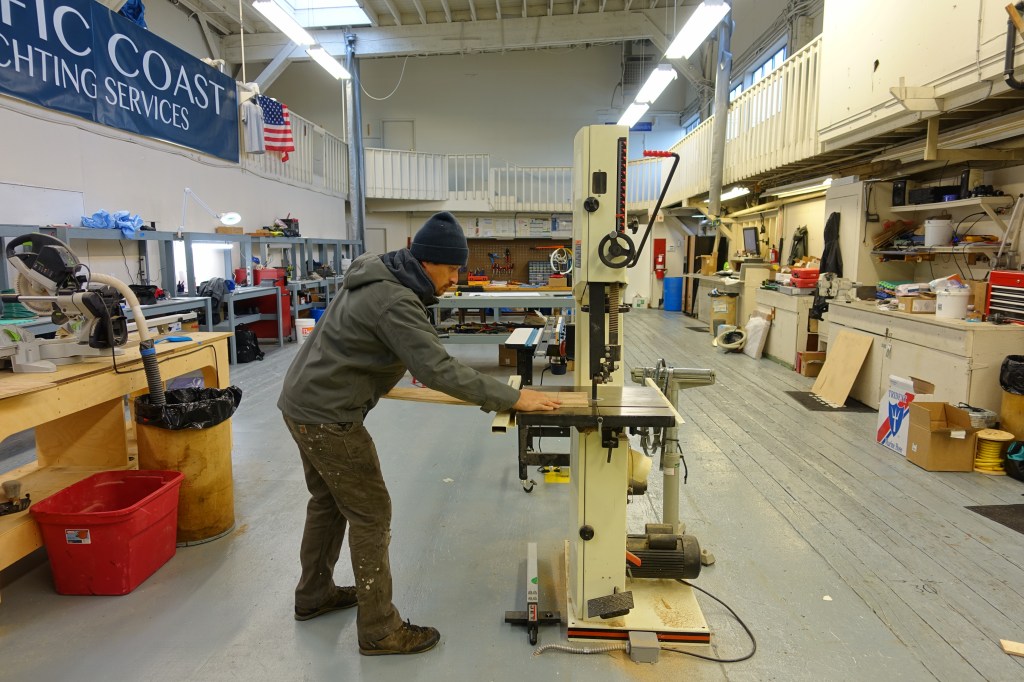
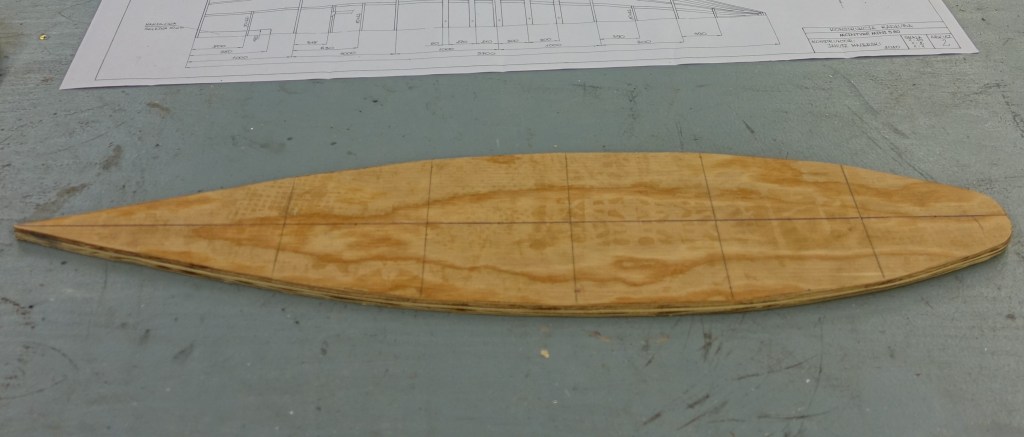
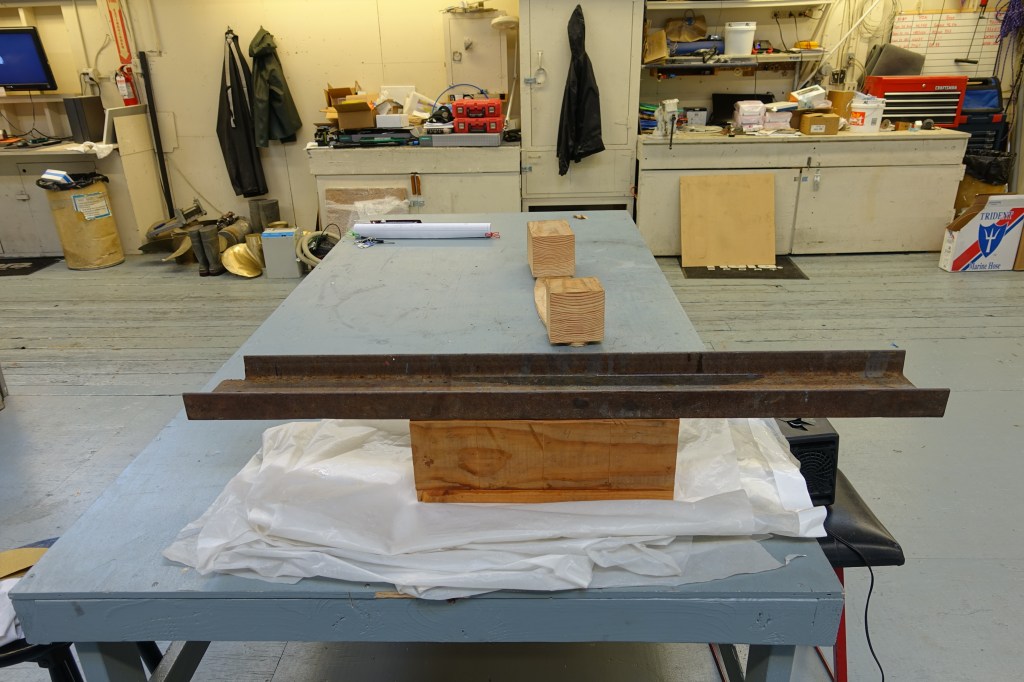
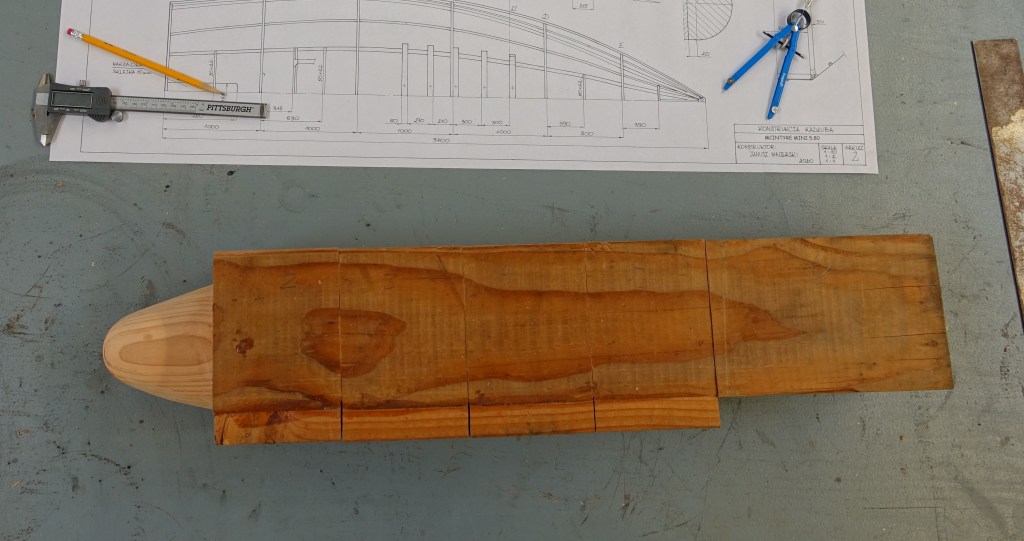
I began by first transferring the shape of the bulb section of the keel plate, from the plans, onto a piece of 5/8″ plywood. A digital caliper and a class 1 metric tape measure ensured that the measurements were correct down to the millimeter. I then cut the shape out on the bandsaw and would use it to plot the size and position of the pieces making up the bulb. After that, I took a large block of wood that I found in the back of the shop and cut it into six pieces to correspond with the six segments outlined on the plans.

The wood block that I had was unfortunately not quite large enough for the pattern to fit, so I had to cut an additional piece to make up the difference. I mixed up some thickened epoxy, glued the extra material to the blocks, and left them to cure overnight.

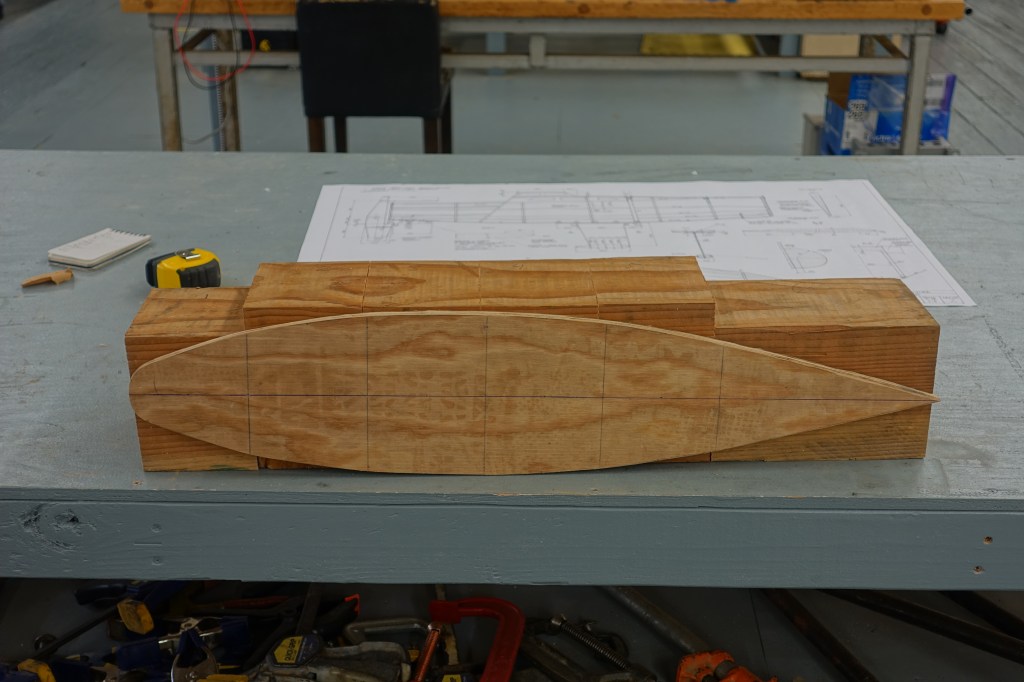
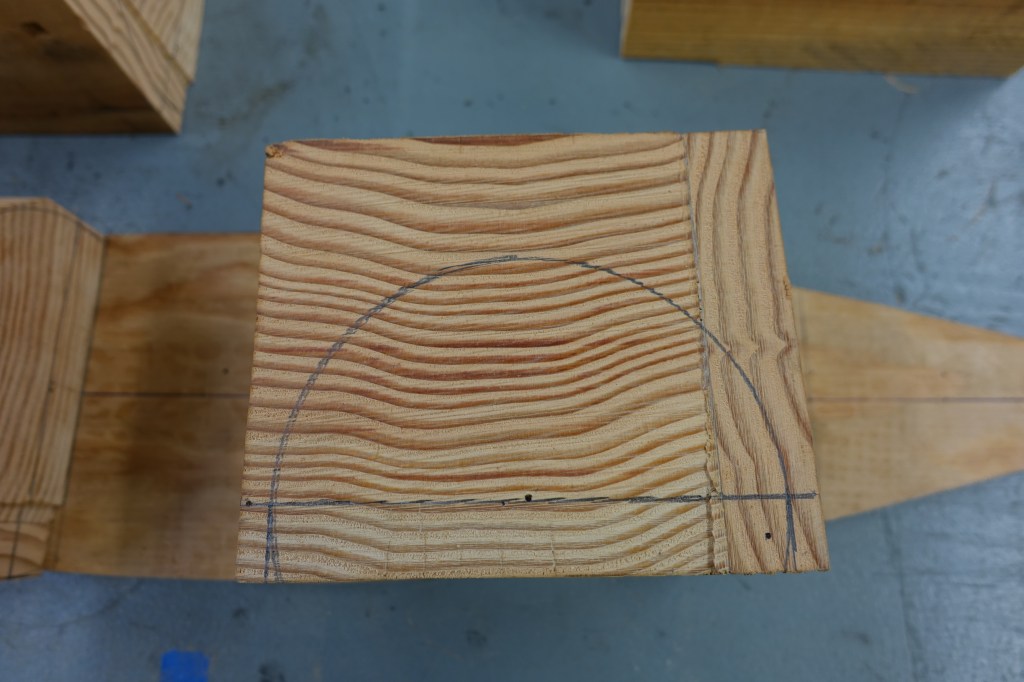
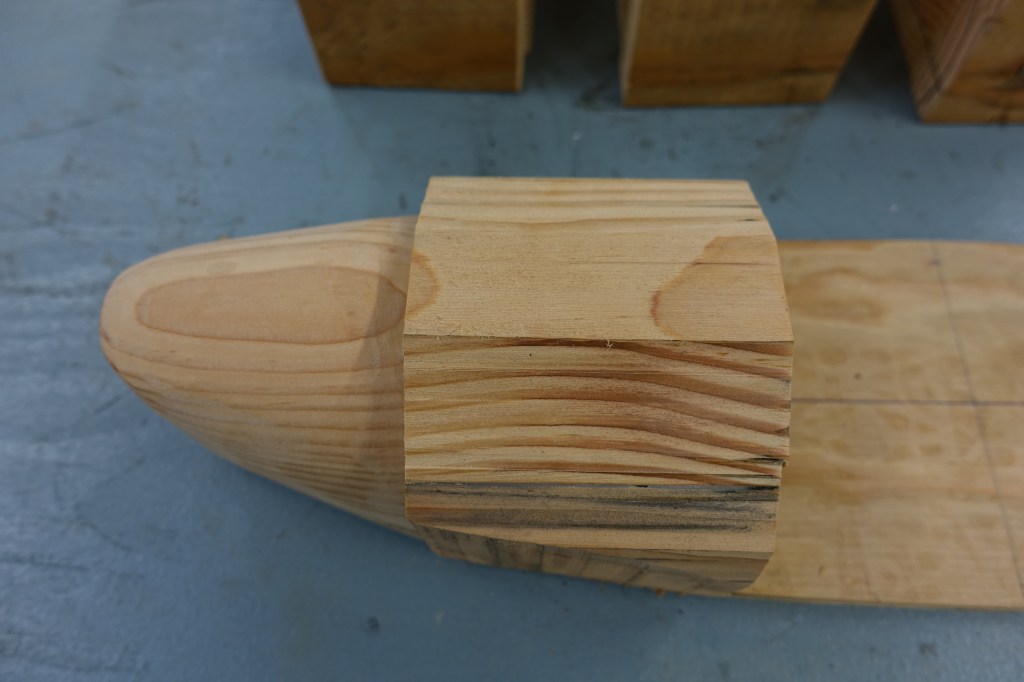
With the epoxy cured and the extra material firmly bonded I began fabricating the individual segments making up the shape of the keel bulb. I started out by first measuring and drawing the radiuses from the plans onto the blocks. I would then cut the blocks as closely to their final shape as possible on the bandsaw. Afterwards, I would use a large belt sander to ‘gently caress’ the blocks into shape.
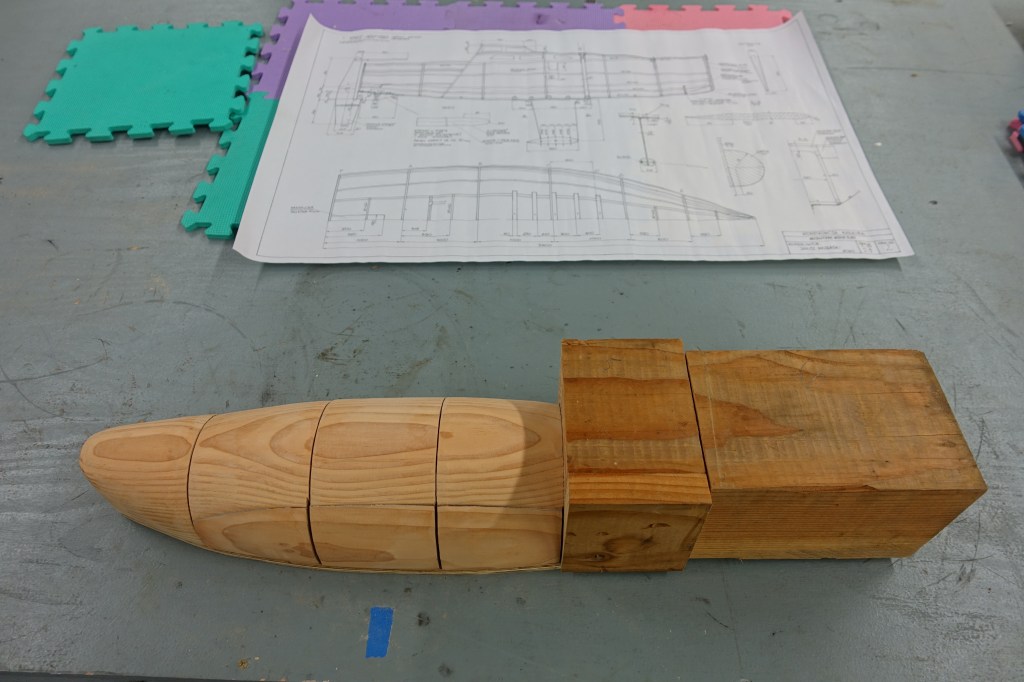
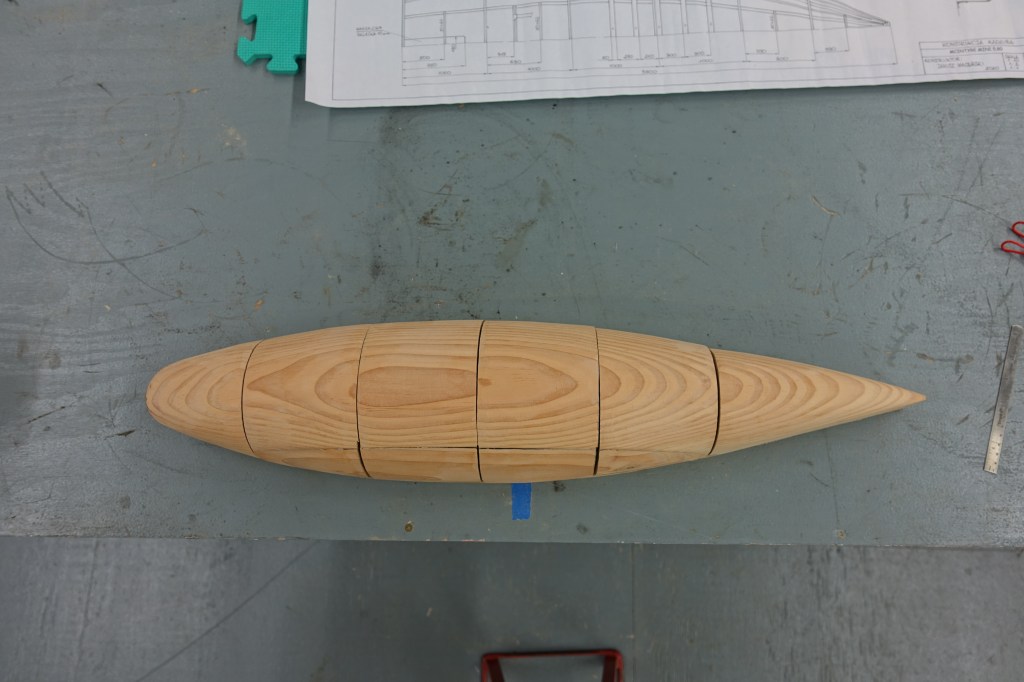
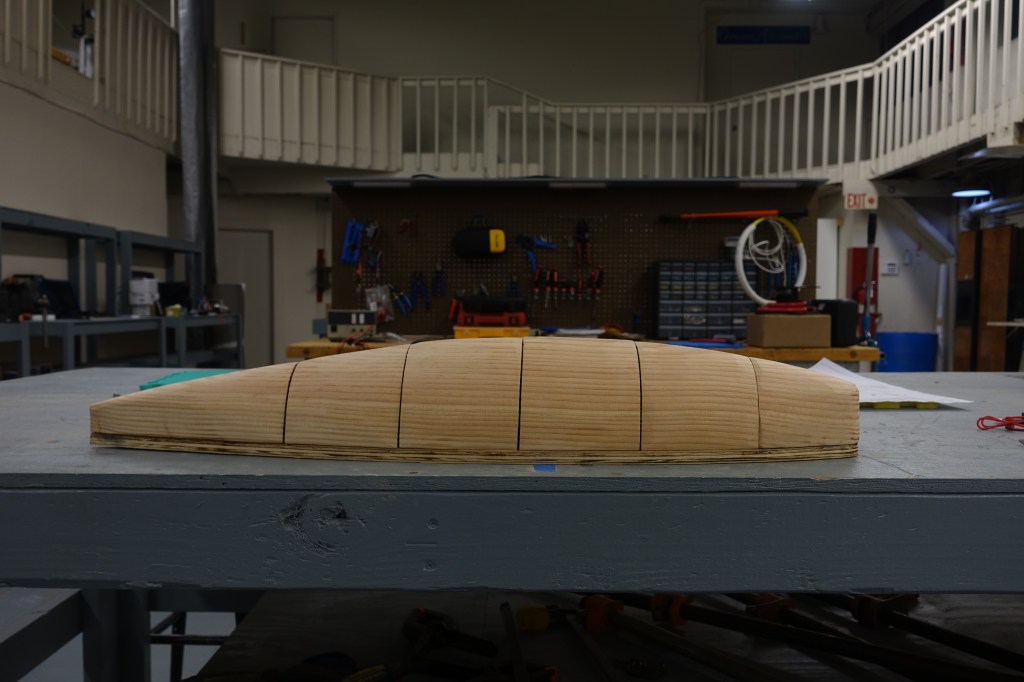
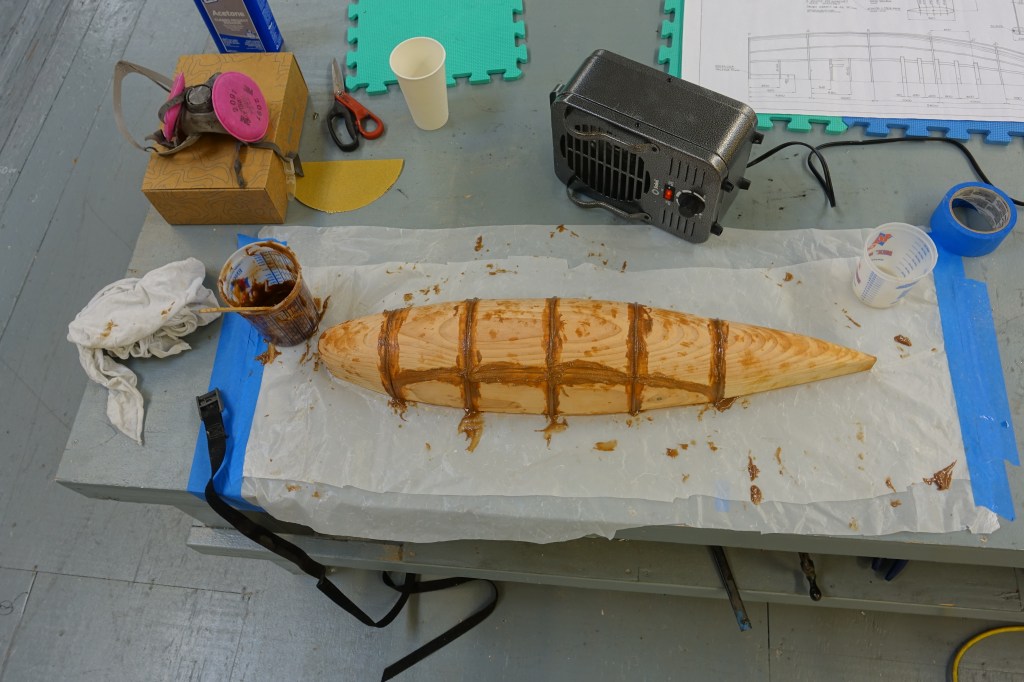
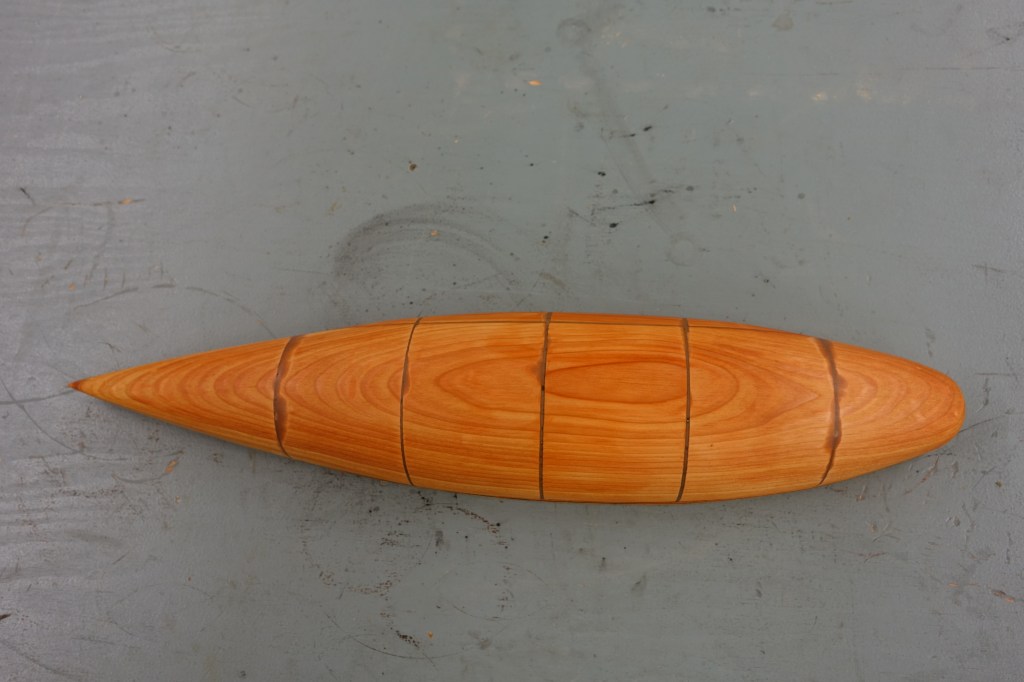
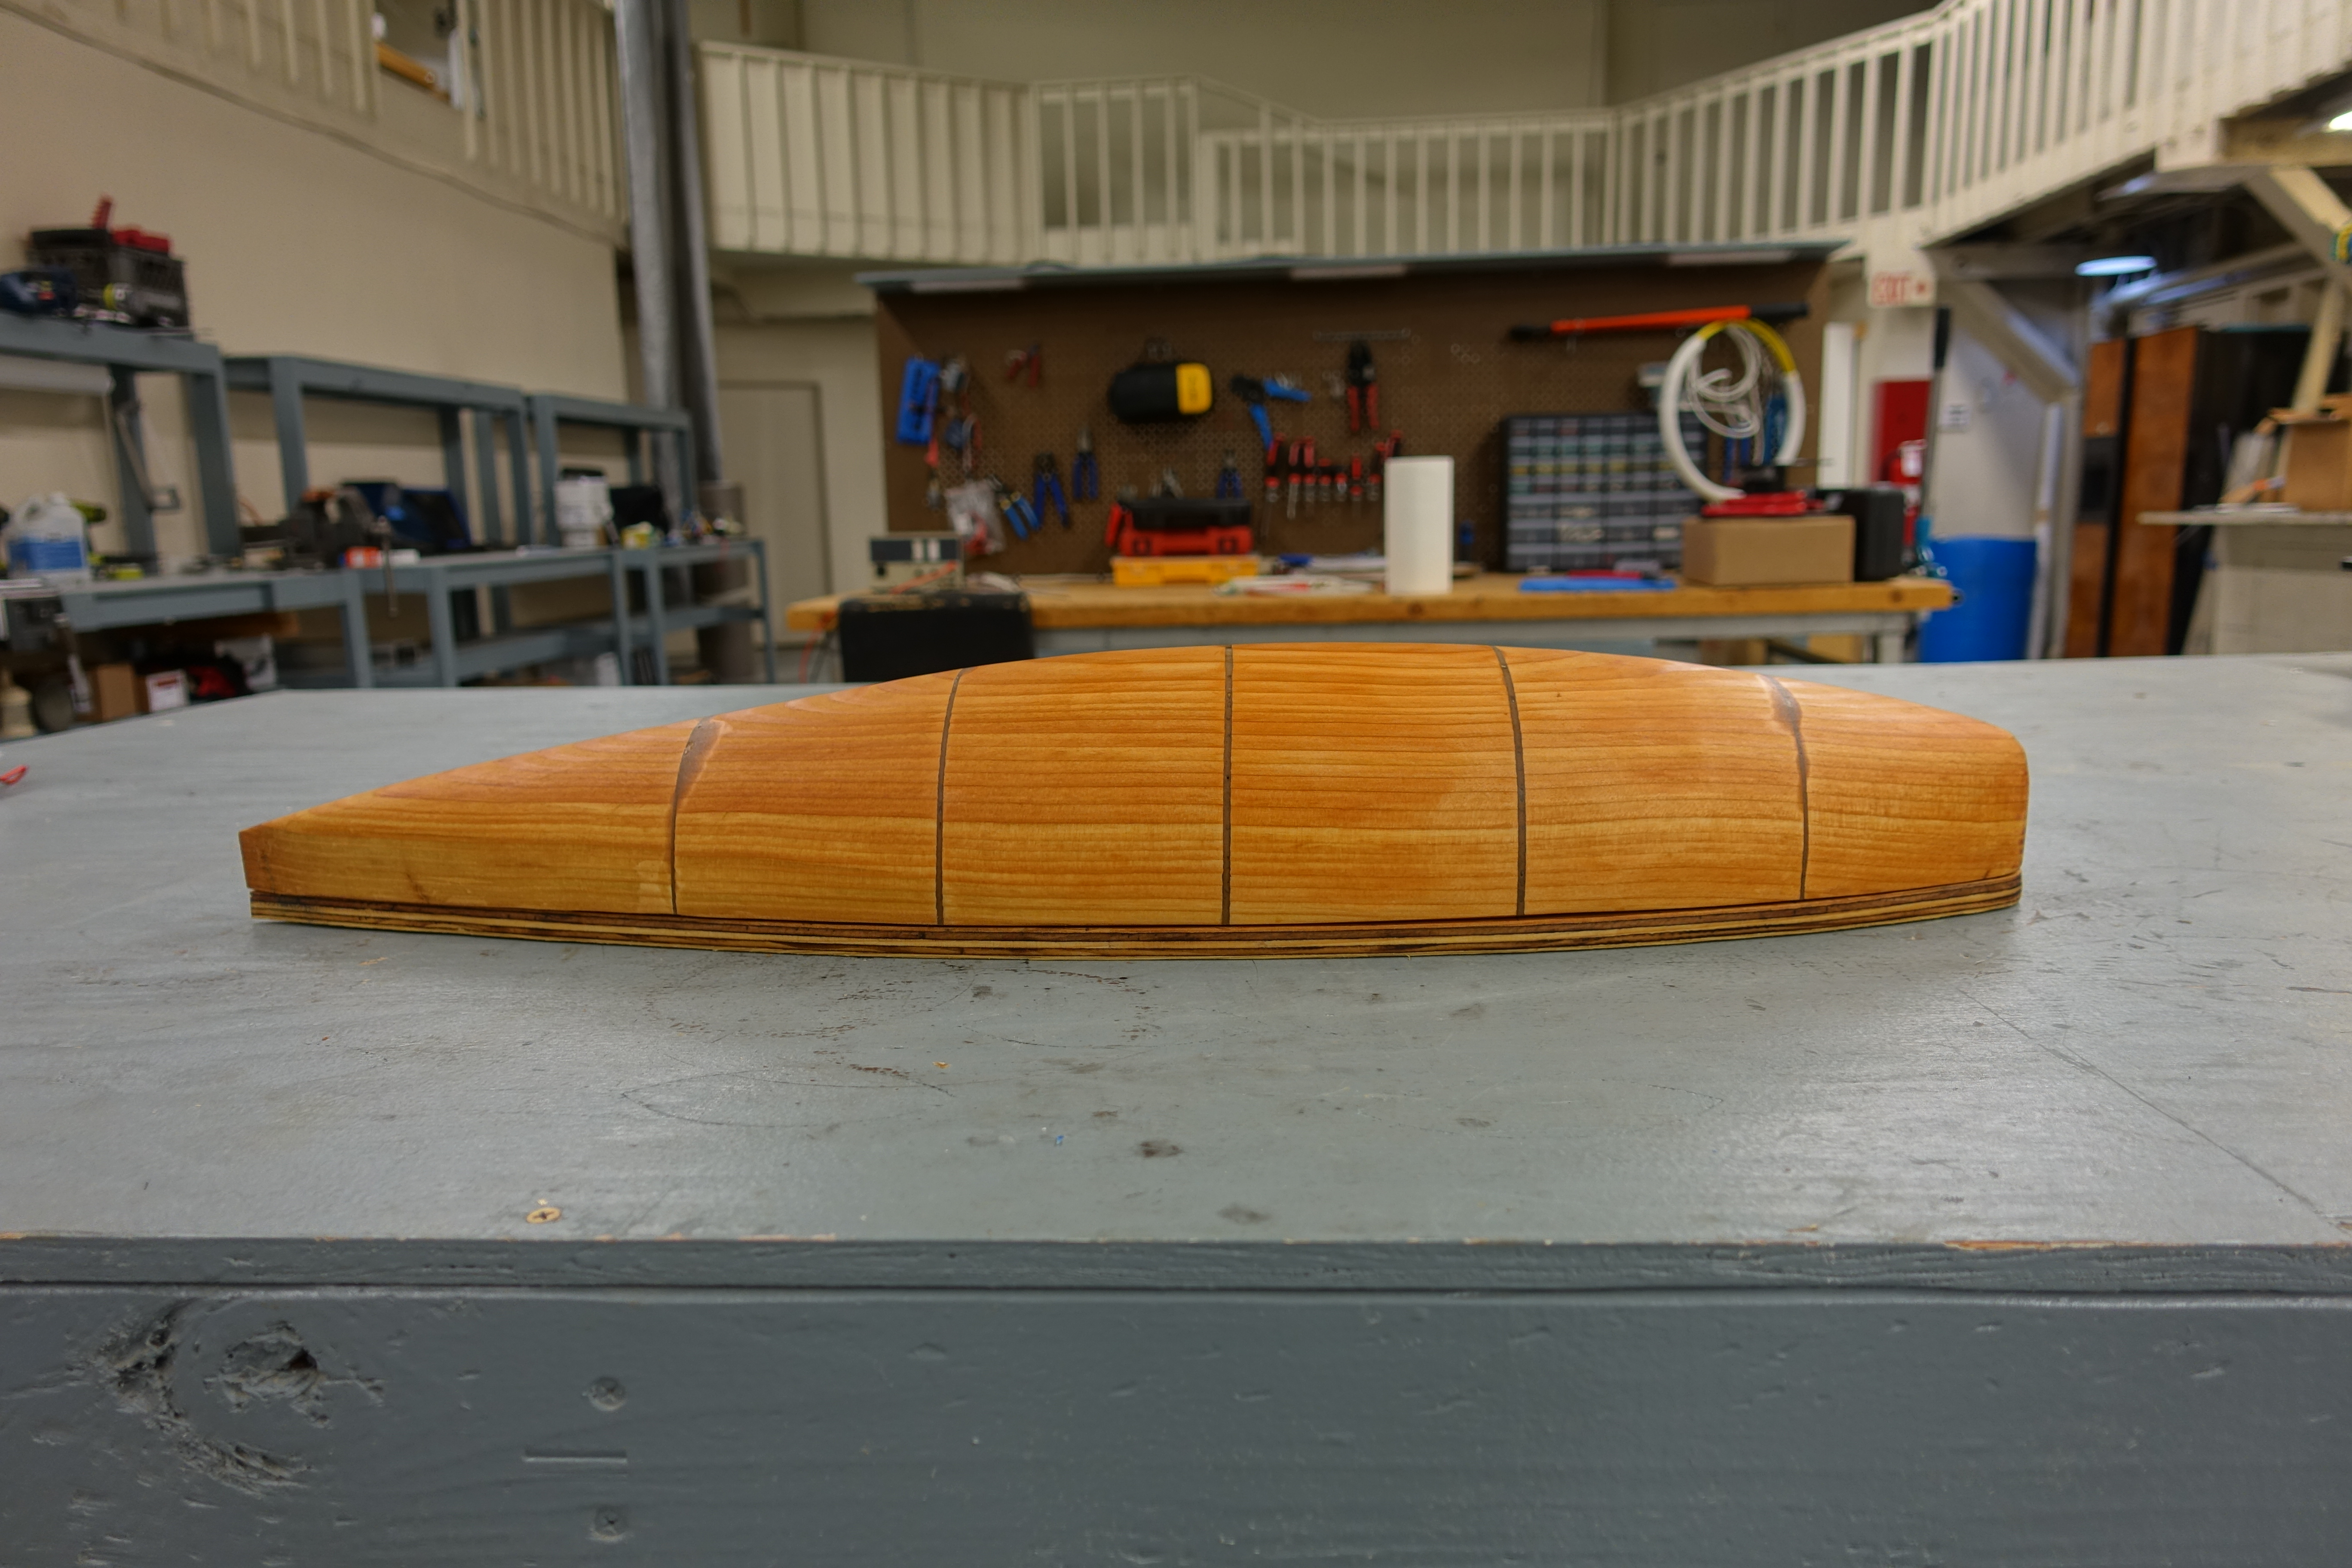
Once I had all of the blocks shaped I aligned them onto my template separated from the board by some plastic film. I then mixed up some more thickened epoxy and glued the six segments back together into one piece. After allowing the resin to cure, it was one more trip to the belt sander to knock down the excess and then a final sanding to shape with a palm sander. Finally I rubbed it down with some linseed oil.