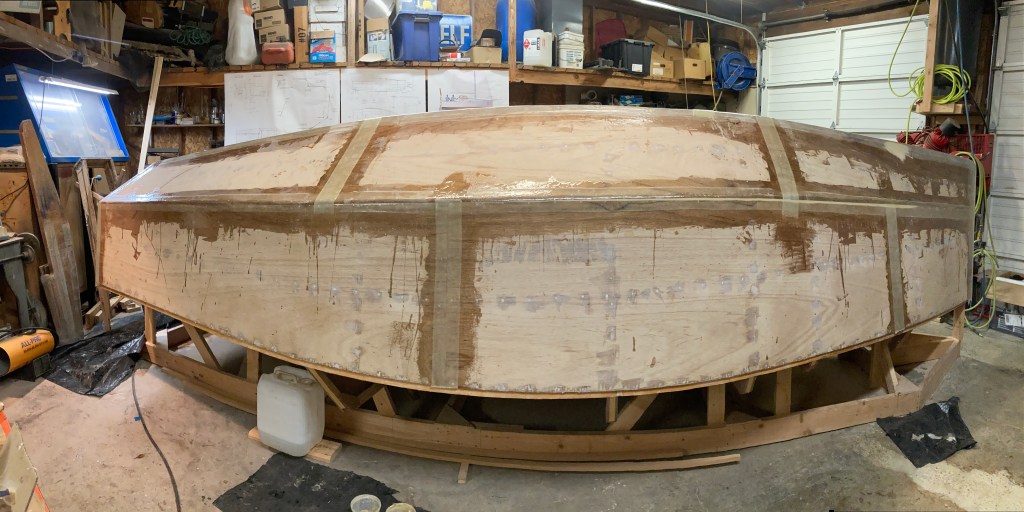
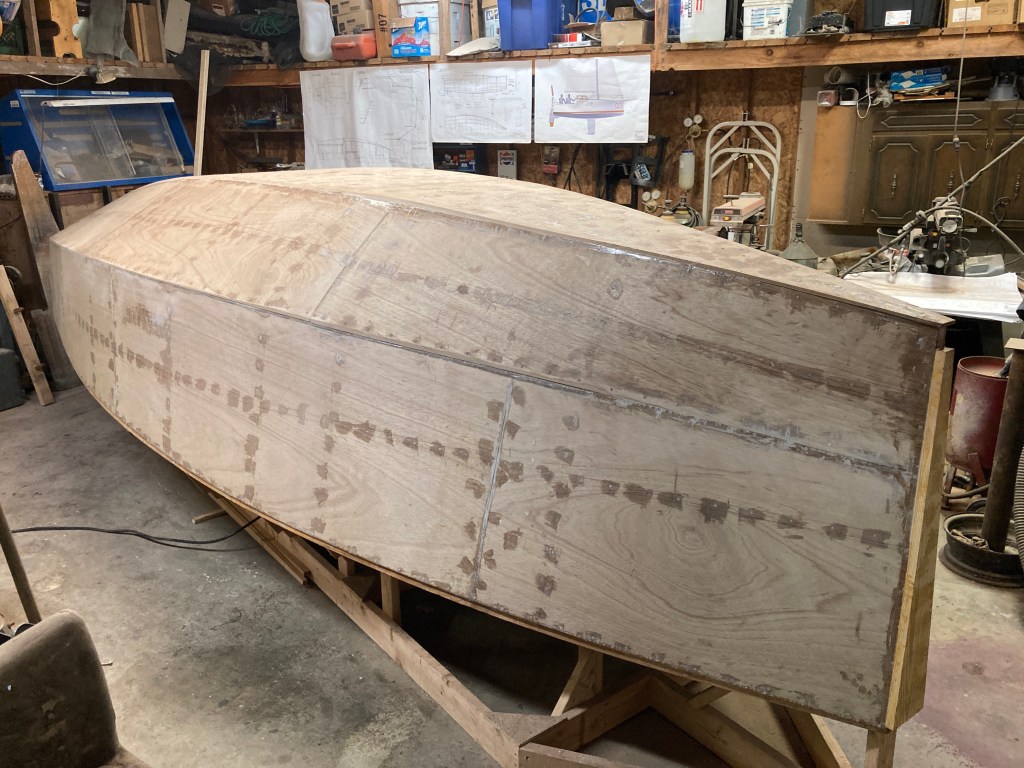
With the hull all closed up it was time to move on to adding the fiberglass reinforcements and finally finish turning it into a real hull.
The first step was to bevel off the edges of the second layer of bottom planking as well as the chine panels where they meet the sides. I did this using a combination of the electric planer and hand plane as well as the long board. I also planed off the hull panels where they meet the stem and attached the stem cap.

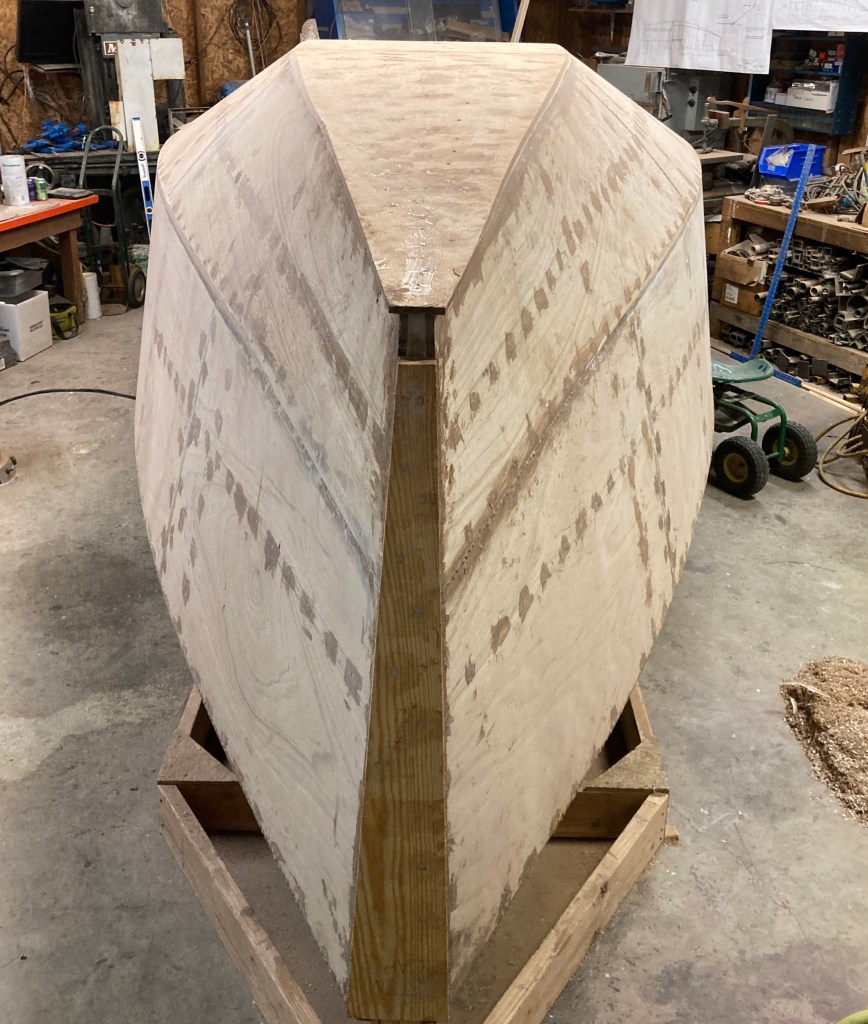

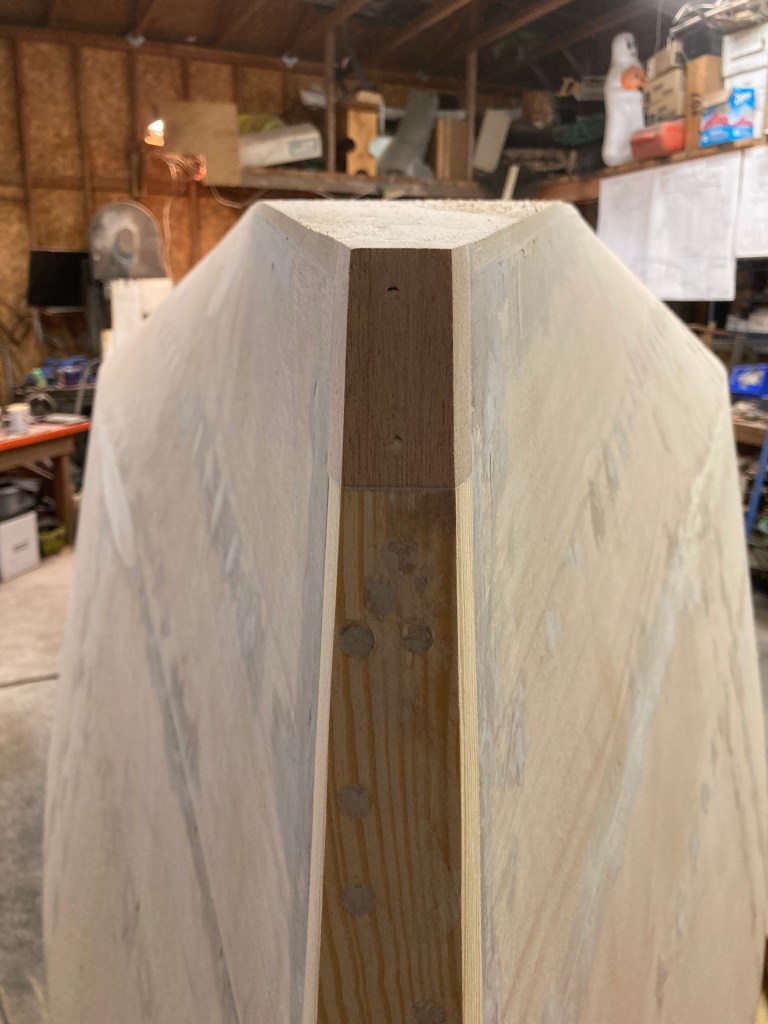
After having read all of the posts in the Globe 5.80 forums about bow round, as well as studying the blogs of other builders, I decided that adding a small block of wood to the base of the stem cap would allow for a smaller radius to the foot, and therefore perhaps a slightly finer, deeper entry into the water.
Taking a scrap piece of mahogany I found at work I shaped it a little bit oversized and prepared the stem to receive it. Using some thickened 105 epoxy I glued the piece in place and used a screw, that I later removed, to hold it down. I then drew the 100mm radius onto the foot with a compass and using the electric plane and a RO hand sander I shaped the bow to my liking.
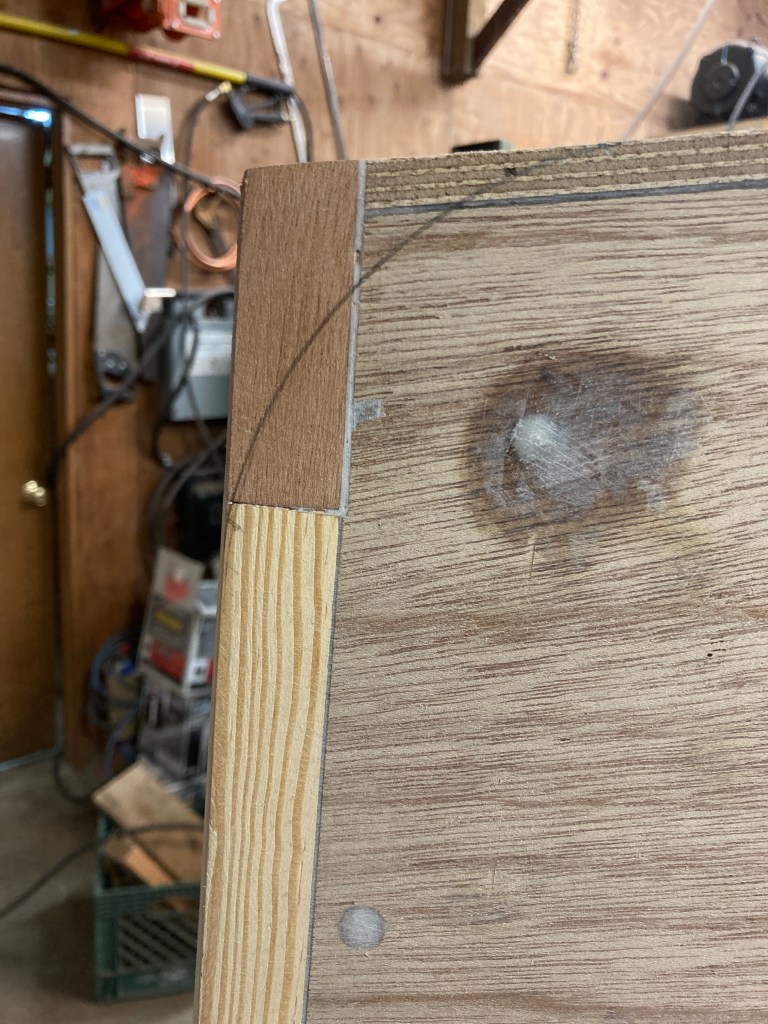


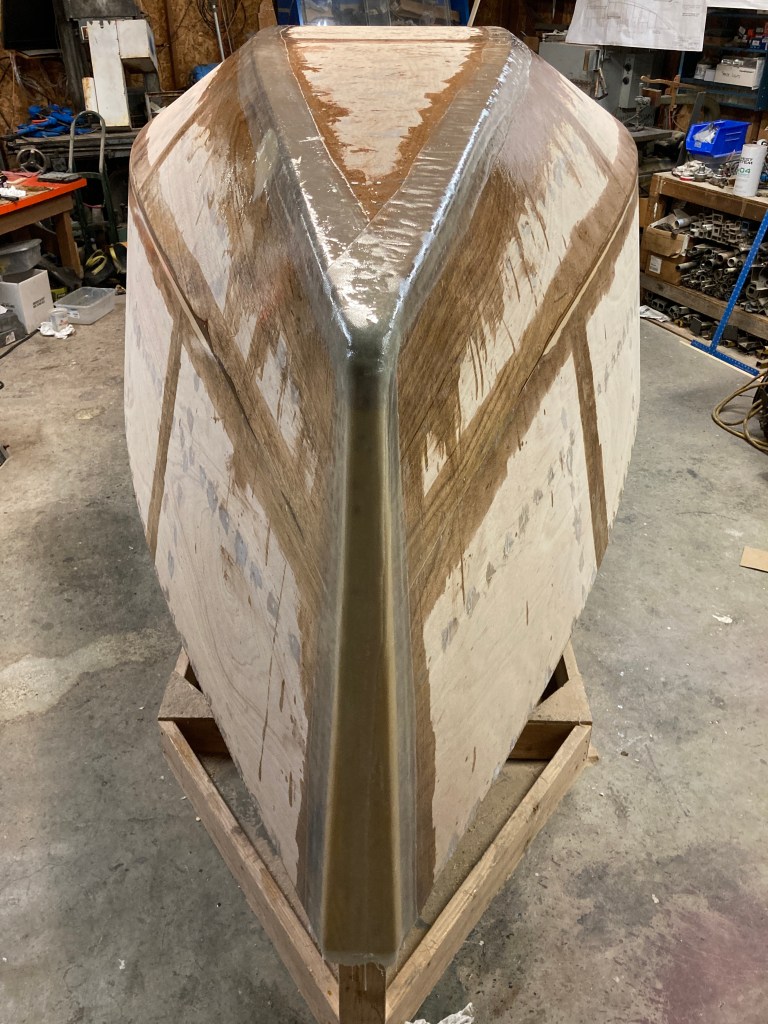
The next task was to round off all of my beautifully shaped chines to allow for the fiberglass tape and cloth to be applied. This has to be done as the glass fibers in the fabric cannot bend around sharp angles therefore they need a nice radius to lay properly.
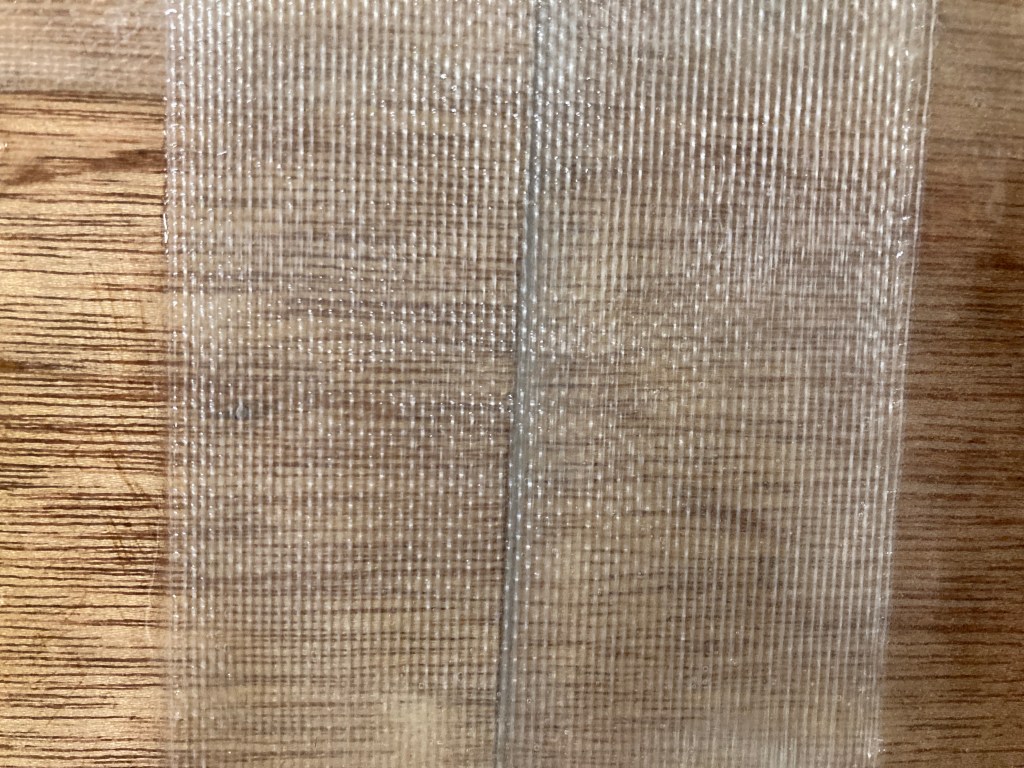
The plans call for 1200 g/m2 of fiberglass tape on seams where the bottom meets the chine panels and where the transom joins the hull as well as 600 g/m2 of tape on the chines where they meet the side panels. I used both 6” and 4” widths of 300 g/m2 fabric which meant 4 layers on the lower chines and transom and two layers on the upper chines and at the hull panel joints.
I began by pre-coating all of the areas with straight epoxy resin which I let cure until it was slightly sticky to a gloved finger. This helps seal the wood as well as prevent any air trapped inside the wood from escaping into the laminate and forming bubbles underneath.

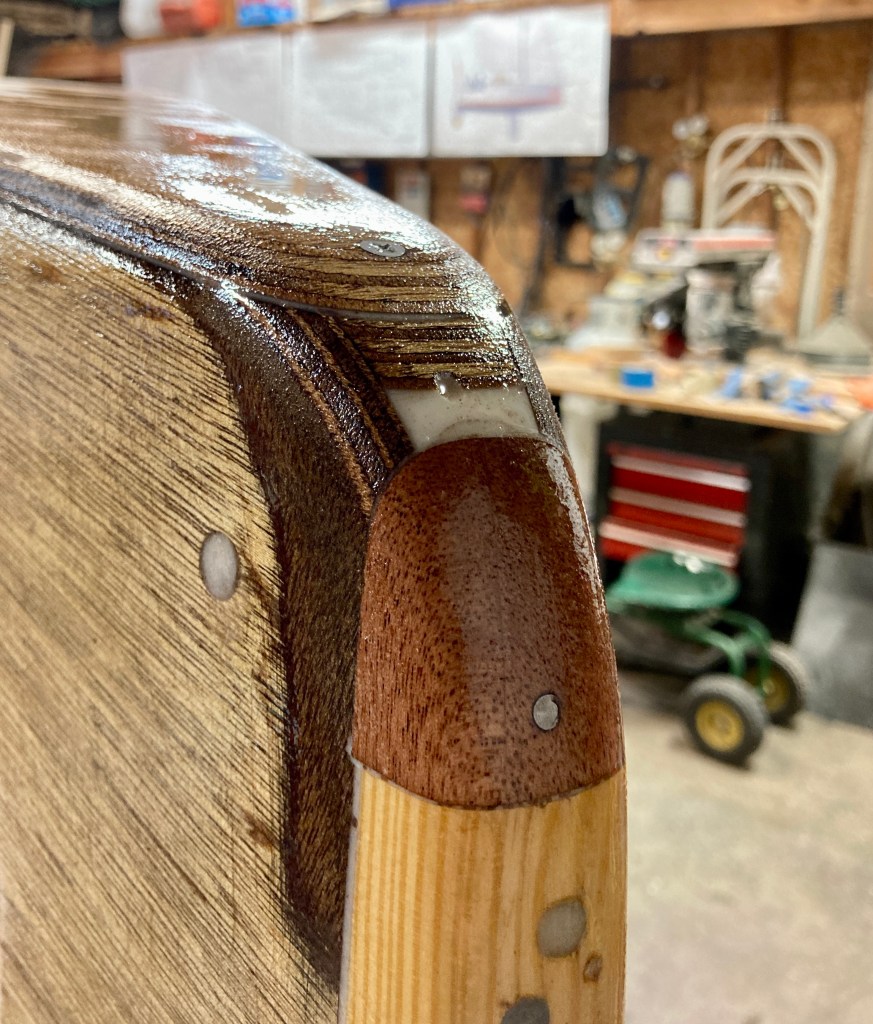
Next I rolled out the lengths of tape beginning at the stem and ending at the transom. I then would wet out the surface before rolling on the next layer. By staggering the edges of the fabric I hoped to help achieve a smoother layup. I did the same steps on the upper chines and panel joints as well as the transom. I left the tape a bit longer on the lower chines at the transom to add some extra bulk where the daggerboards will eventually mount to the hull.