Ahh, now for the fun part. Fairing and sanding. At the beginning of the project I knew that this would be the longest single step and that achieving a nice result depended on having patience and taking care. Being anxious to finally see the boat flipped over definitely made both difficult!
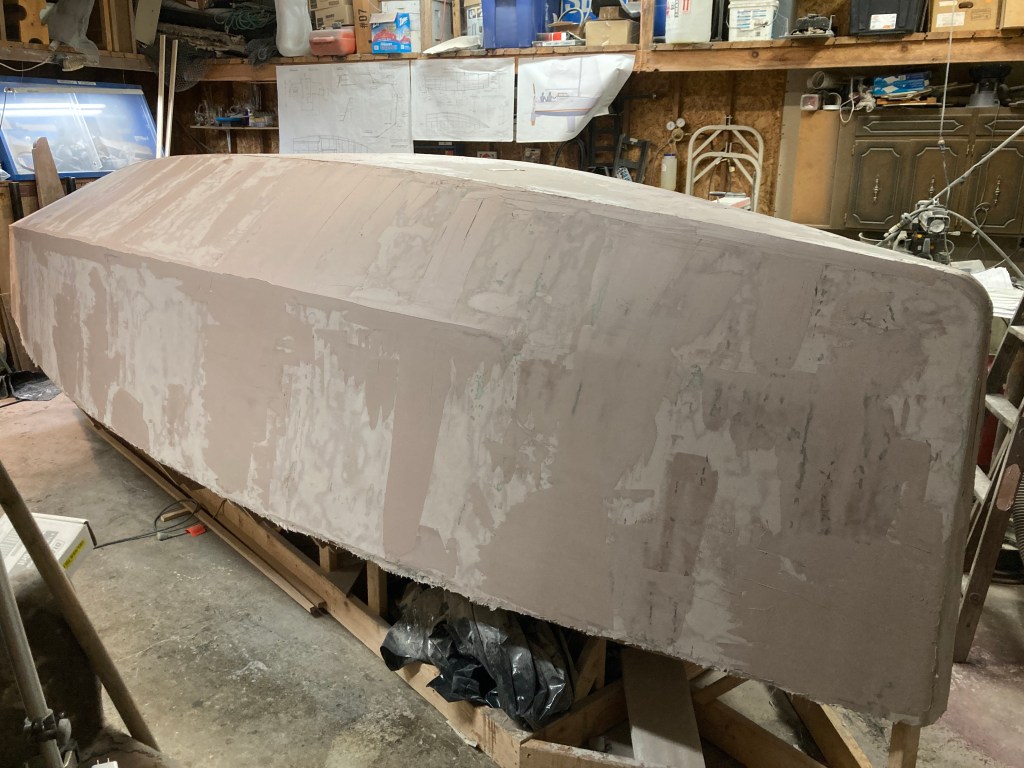
I started out by going over the cured, scuffed, washed, and degreased hull with one complete coat of fairing compound. For this I decided to use Alexseal’s Super Fair 212 fairing compound. I plan to use Alexseal paint for the topsides and it seemed like a good idea to stay in the same family of products. In hindsight it would have been better to really focus on getting the lowest spots filled, particularly where the seams were taped, before doing a complete coat. That would have definitely saved some time sanding, as well as some material, but I am nevertheless pleased with the results.
To begin the sanding process I again reached for the Mirka Dry Guide Coat in black. Using the sponge applicator I spread on a light coat of the black powder to help indicate where I had already sanded. For sanding I used a combination of the 3M flexible longboard, Baxter in-line air sander, and a hand block. I sanded off a good deal of that first coat of filler leaving only the lowest spots nicely filled. I only used 80grit and up sandpaper as I believe anything rougher would be more likely to print through in the paint stage.
For the second round of filler I went over the hull with my hand and marked the noticeably low spots with a pencil. Then I filled in the marked areas with filler and also pulled down a thin layer wherever it was still a little rough. I found that having the right tools made a big difference. On the first coat I just used a yellow epoxy spreader which left marks in the surface wherever I touched it down when pulling it out. For the rest of the coats I acquired a drywall ‘flexible hammer-end joint knife’ as well as a ‘12” taping knife’. These allowed me to pull the compound down much thinner and more evenly with less deep marks left from the trowel.
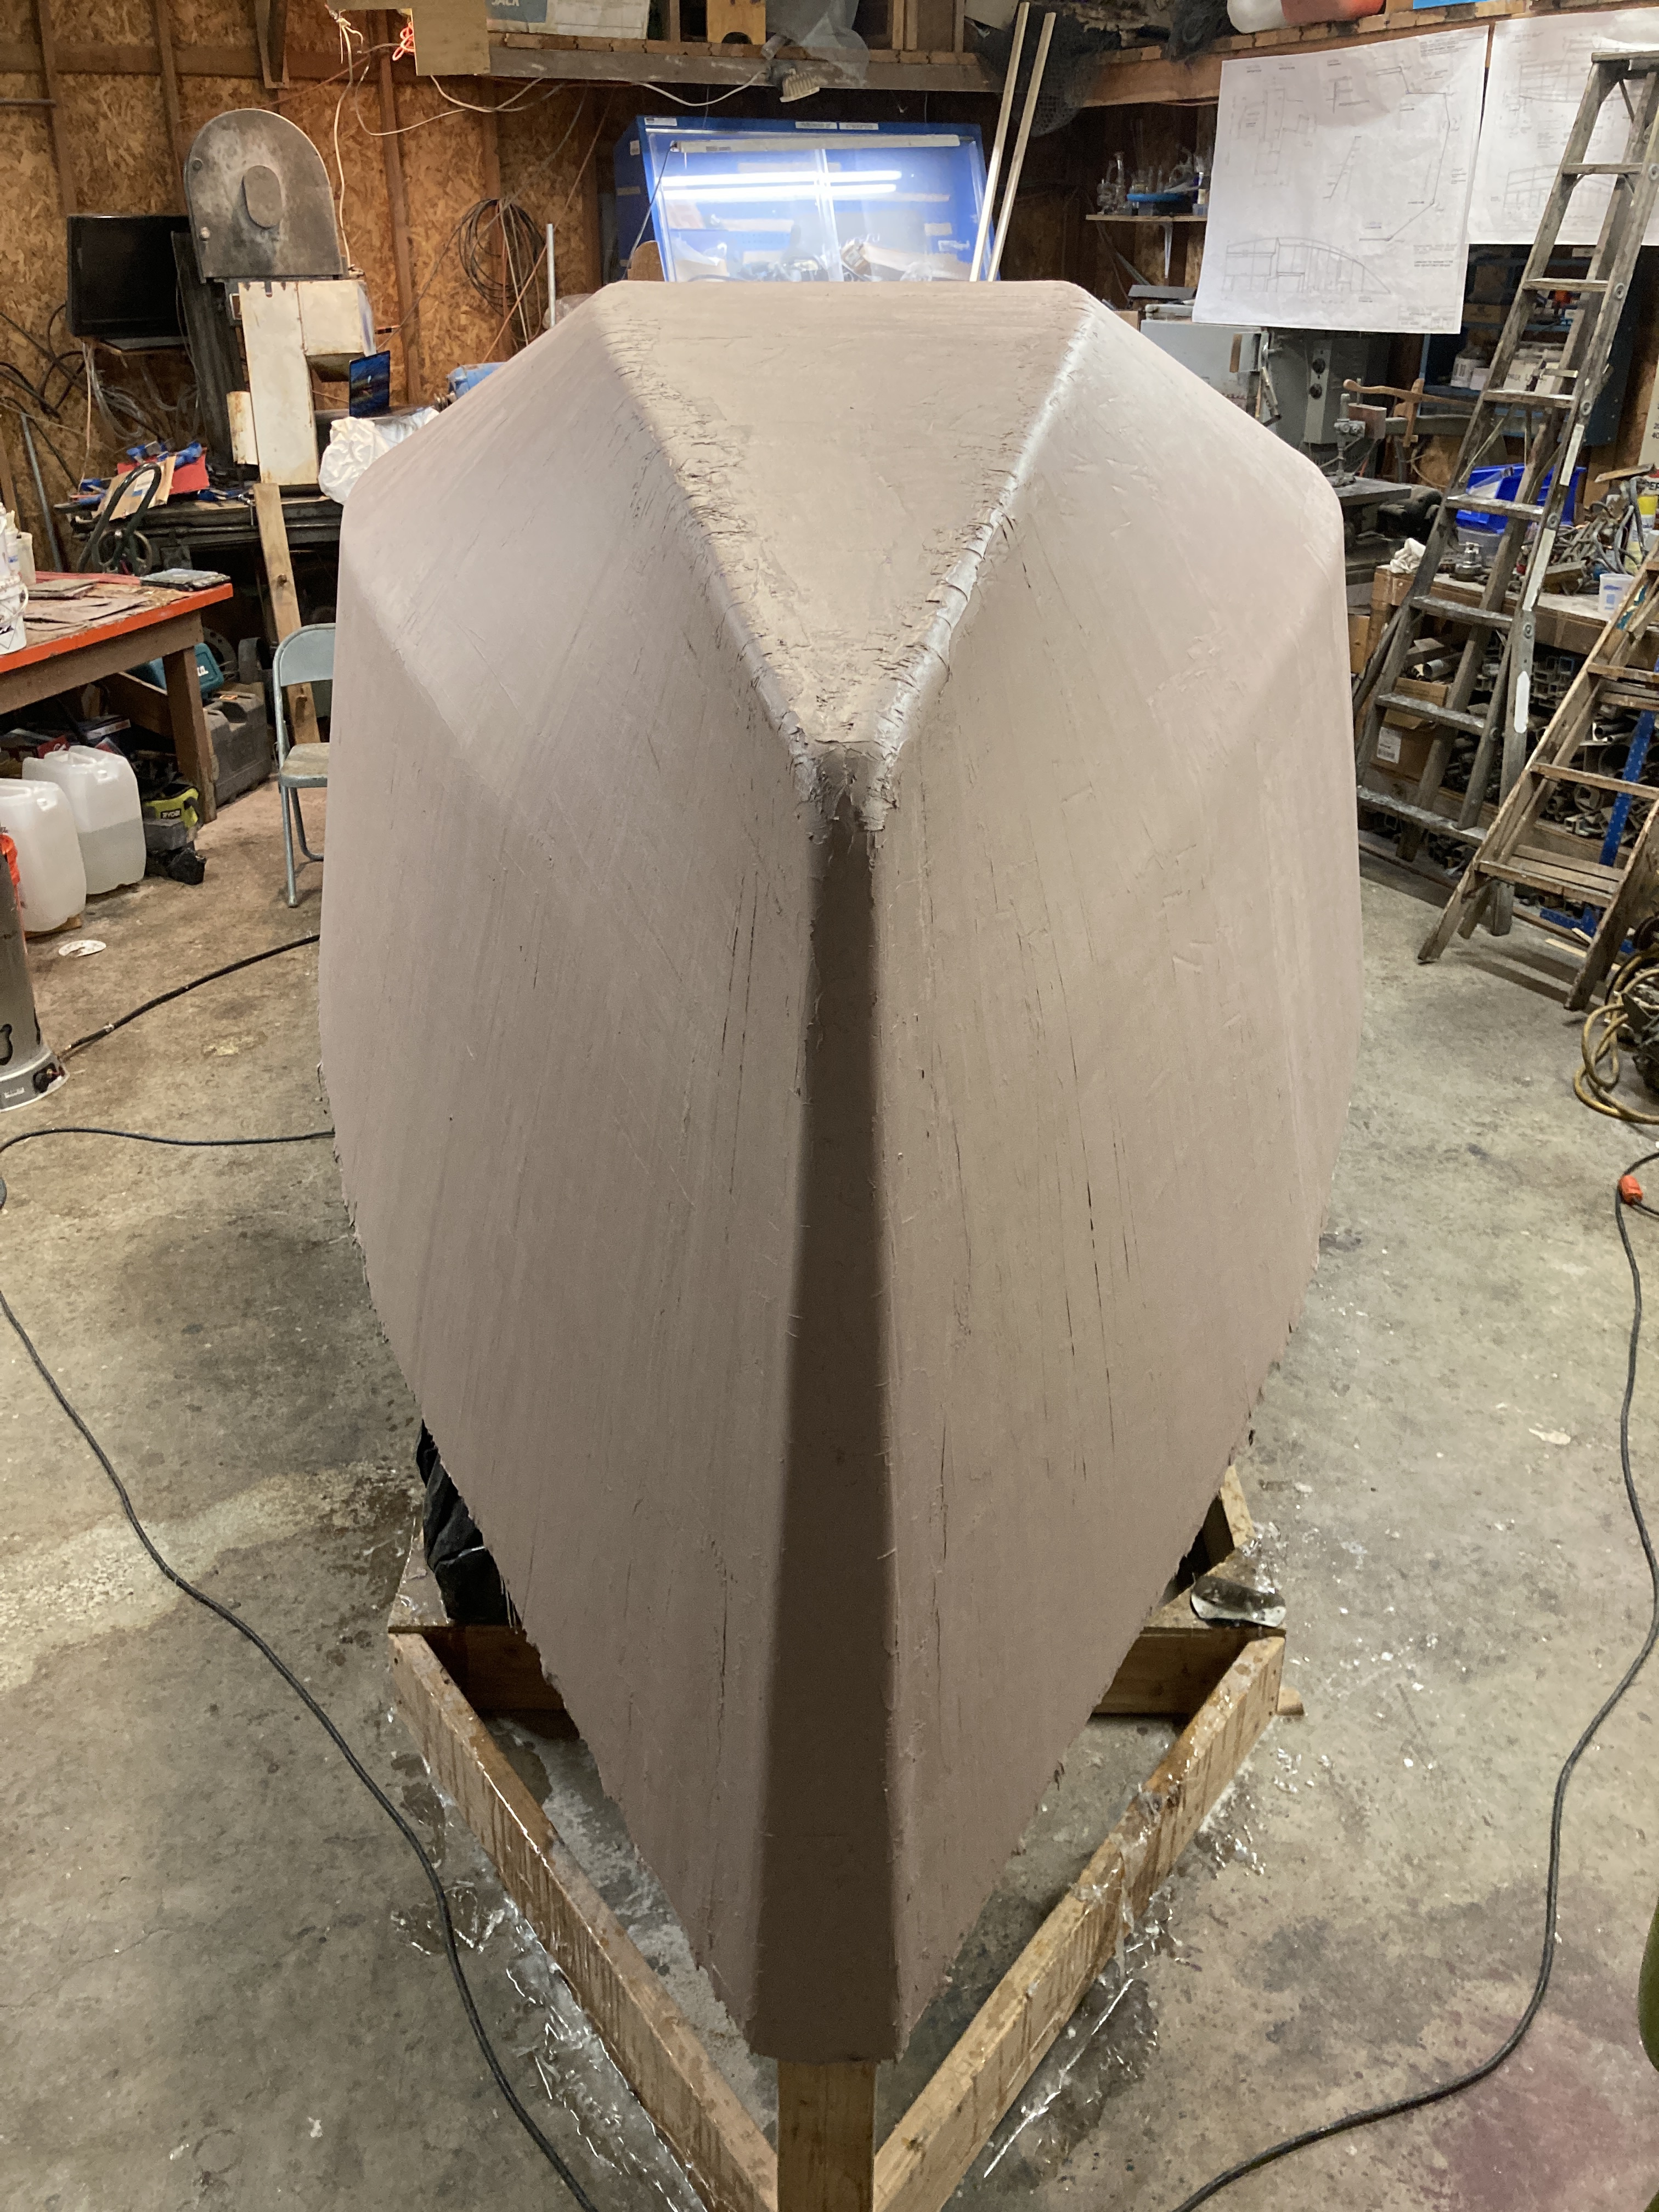
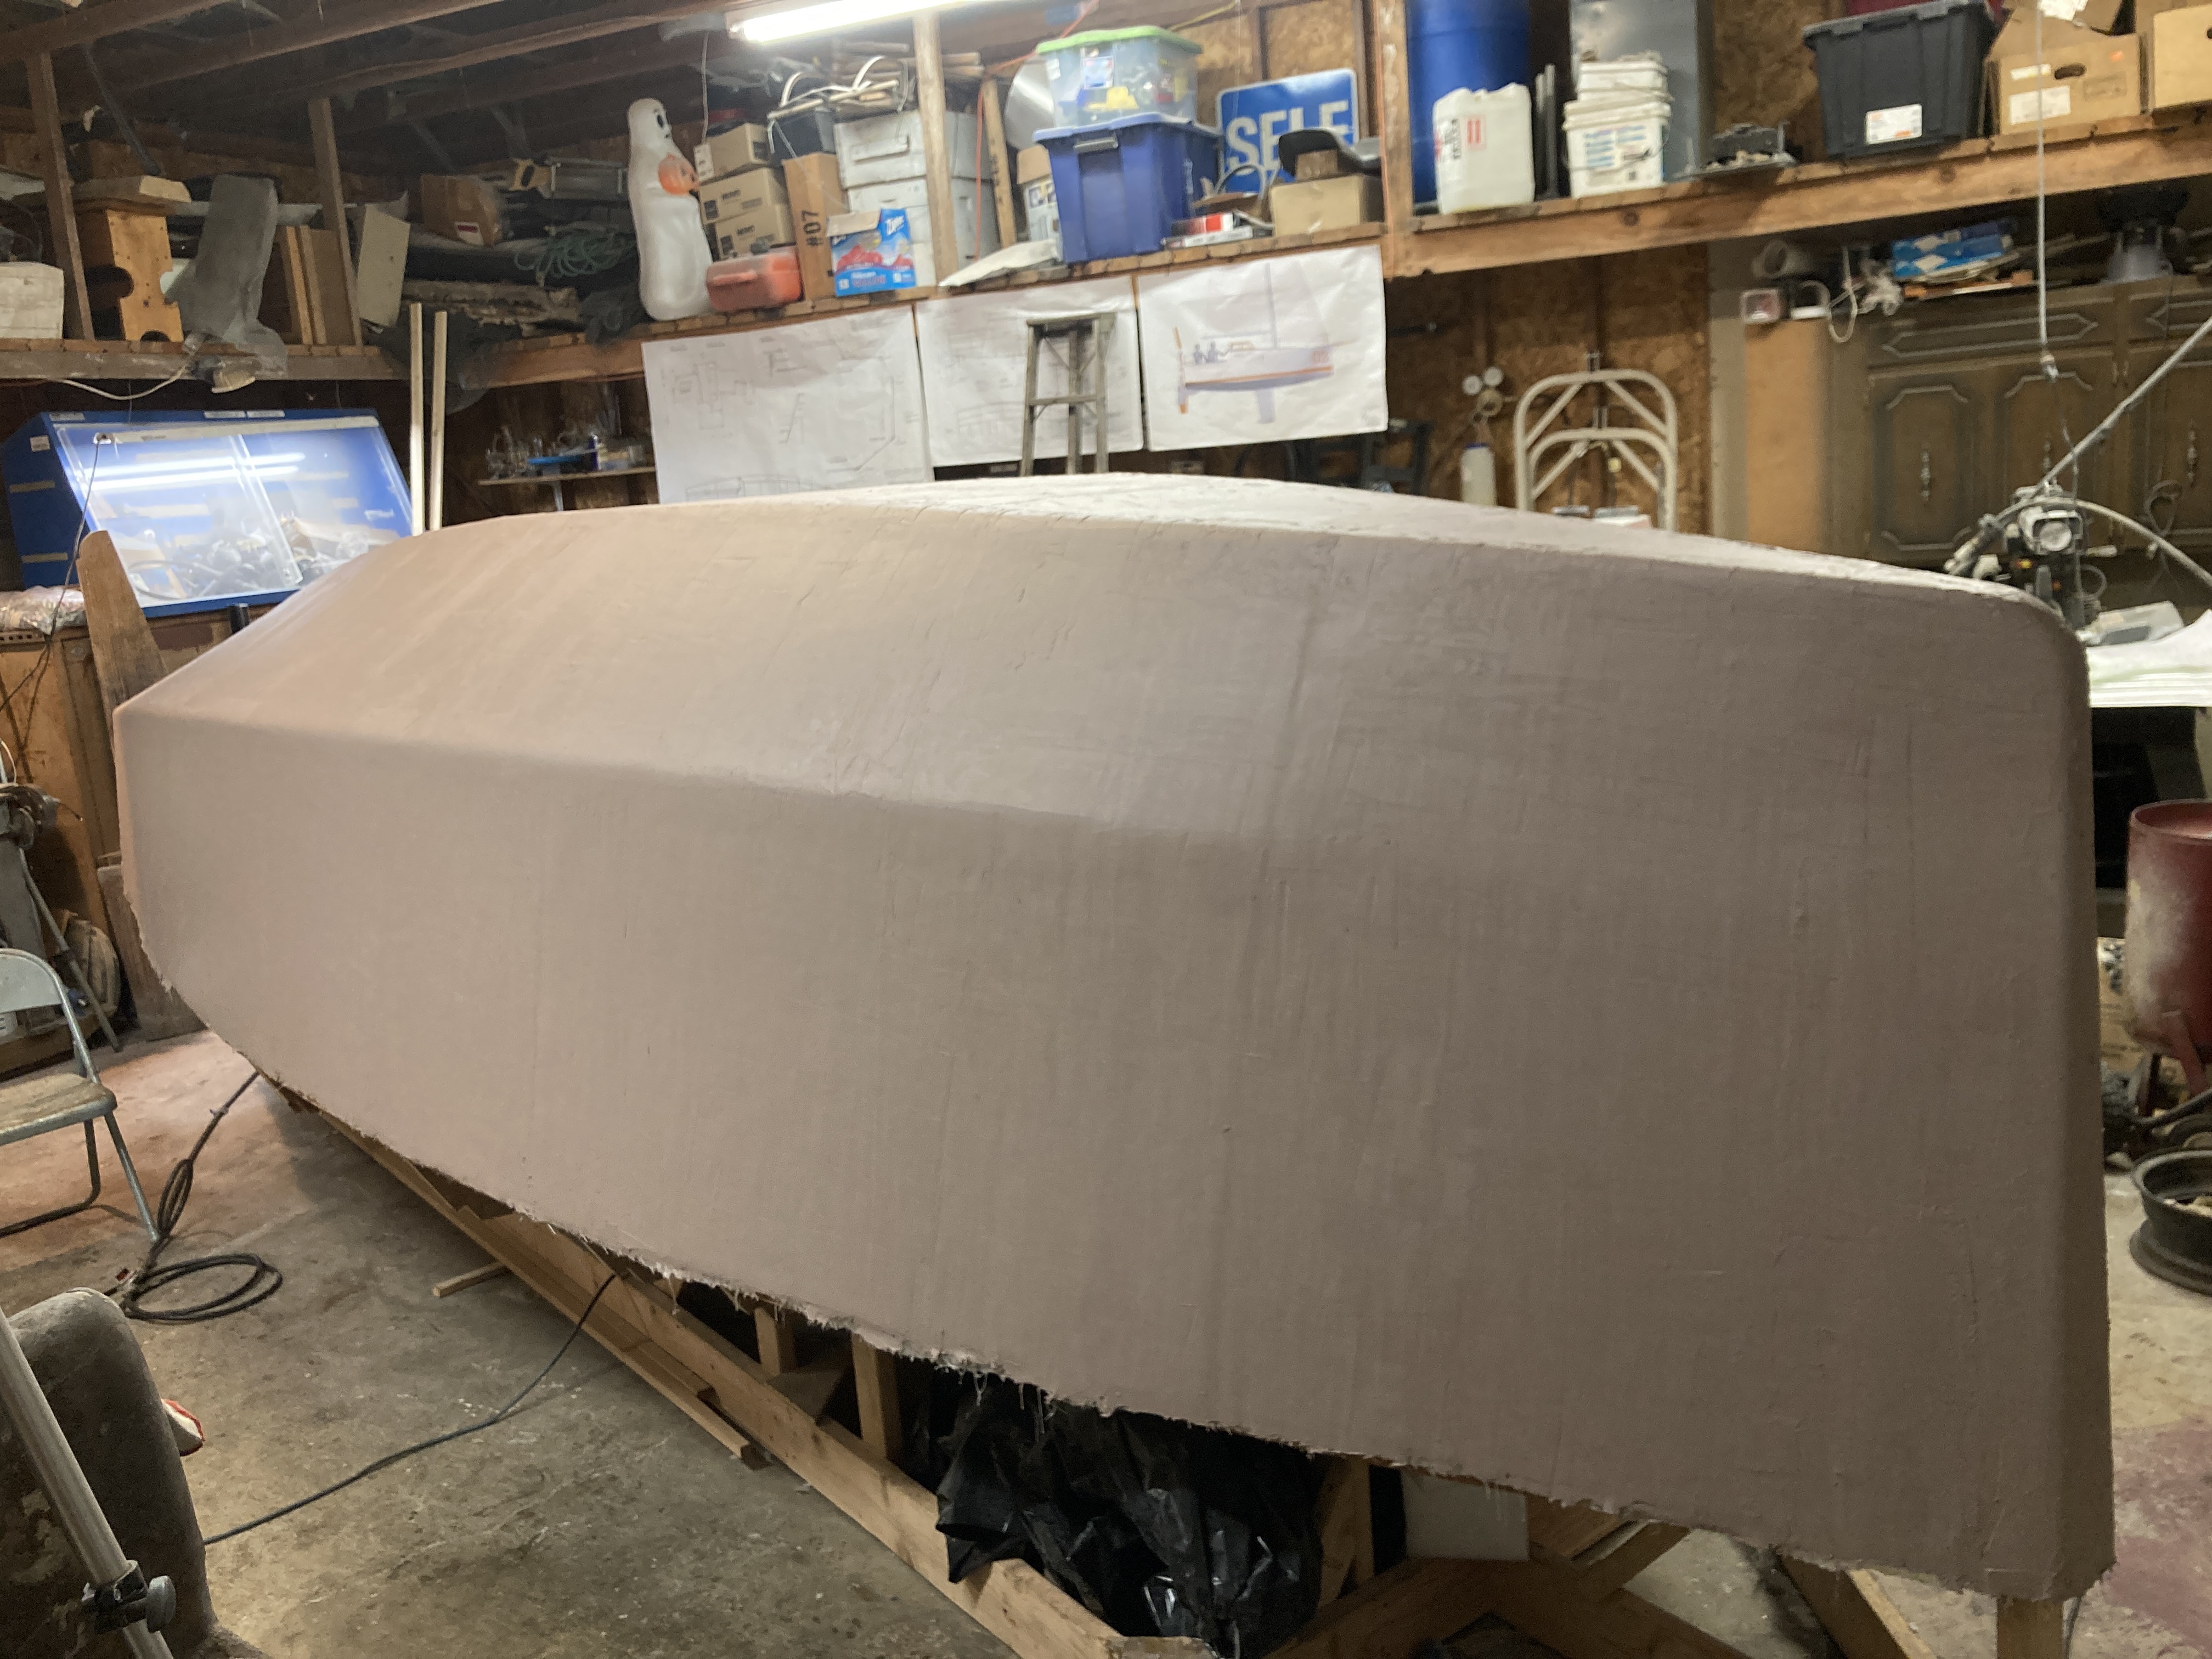
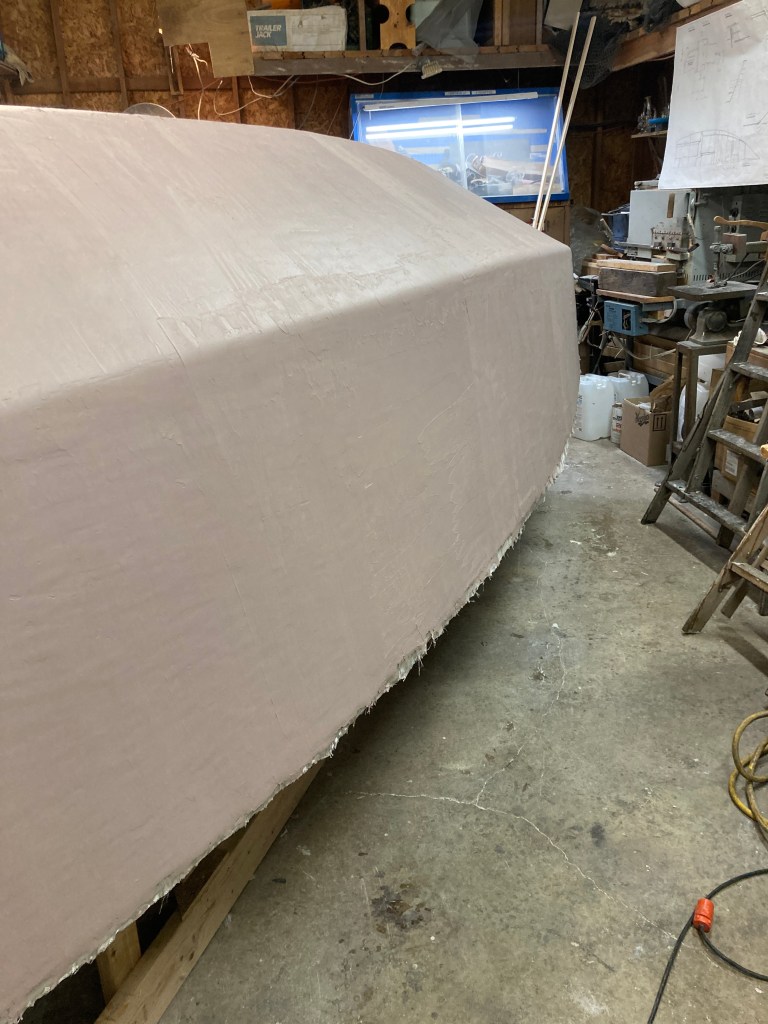
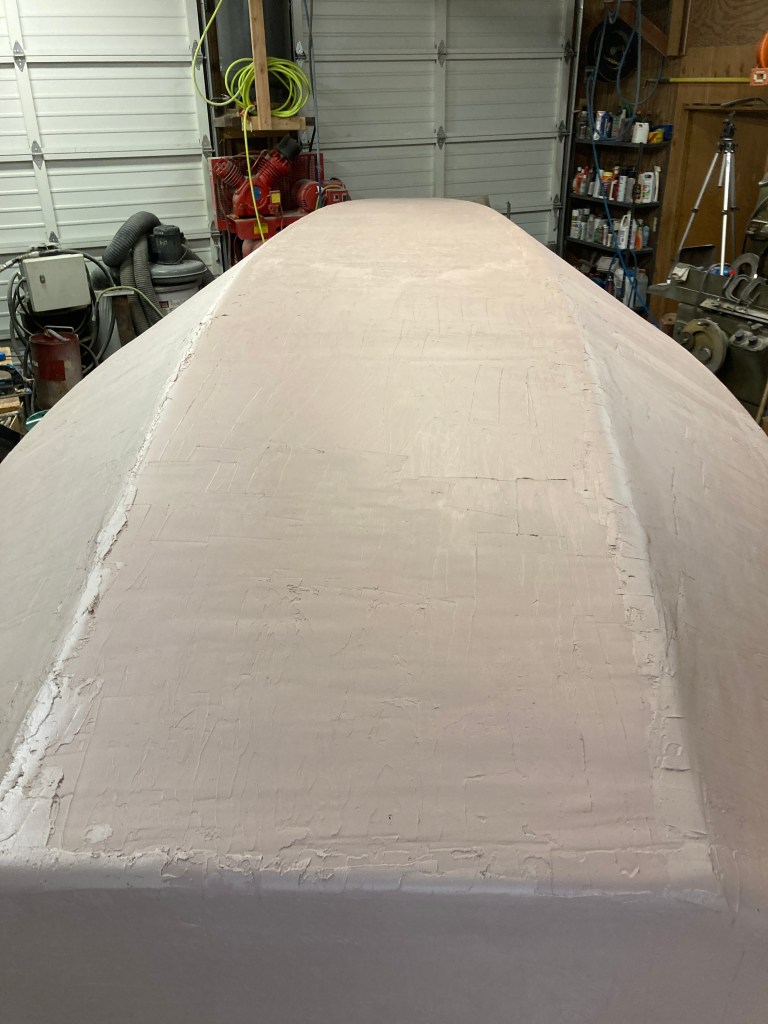
After another round of sanding with the air file and longboard I was ready for the third application. At this point I was just touching up any remaining noticeably low spots and heaping filler along the chines to work them back up to a nice sharply defined edge. This was not easy. It took 3 applications of filler along the edges, with sanding and shaping in between, to get the lines how I wanted them to look. I left the lower chines, as well as the stem, rounded at the bow until the point the upper chines start so that it will have a smooth entry into the water. I then sharpened the chines back to the transom and made nice defined edges to help the water break cleanly away from the hull upon exit.


With the hull nice and smooth and the edges all cleaned up and shaped it was finally time to roll on some primer!
