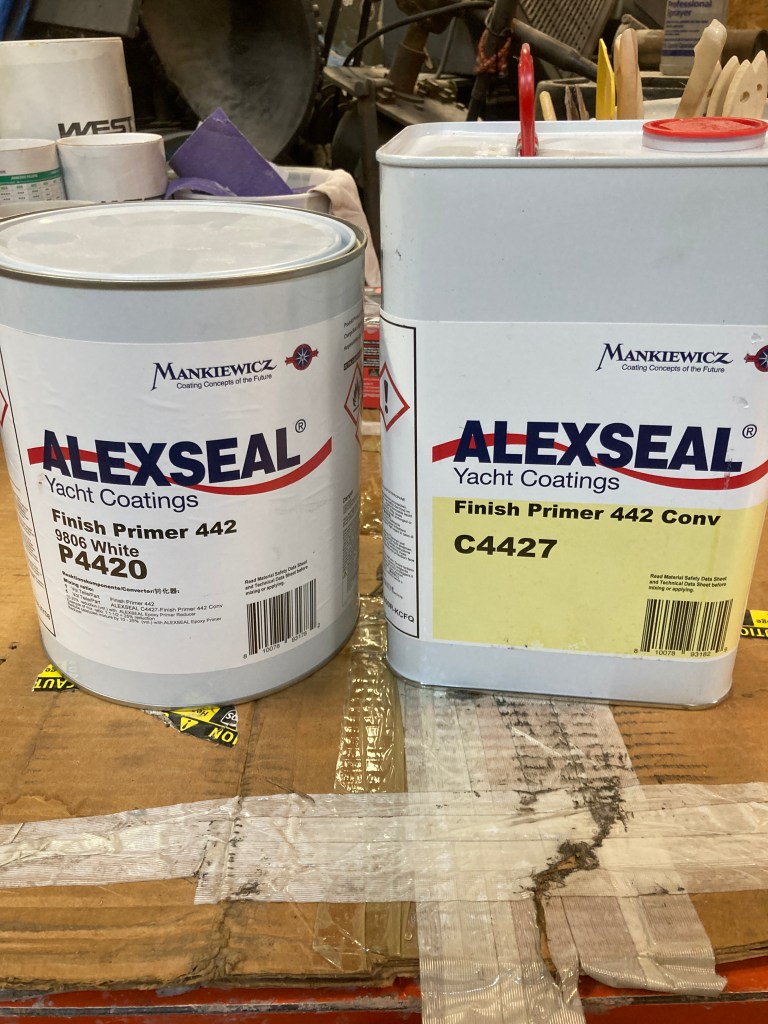
After I finished the laborious process of fairing the hull and shaping the chines and edges I was ready to roll on some primer. I decided to use Alexseal’s 442 finish primer as I have heard that the high build 302 really wants to be sprayed and rolls out quite thick.
I started by wiping the hull down throughly with acetone before mixing the two part primer. I ran the white 442 base through a paint strainer to remove any solids and mixed in 1:1 of the 442 converter. I thinned the mixed primer about 15% with the Alexseal topcoat brushing reducer per the instructions, as I was going to roll it on, the brushing reducer helps it to flow out a little better than the epoxy primer reducer.
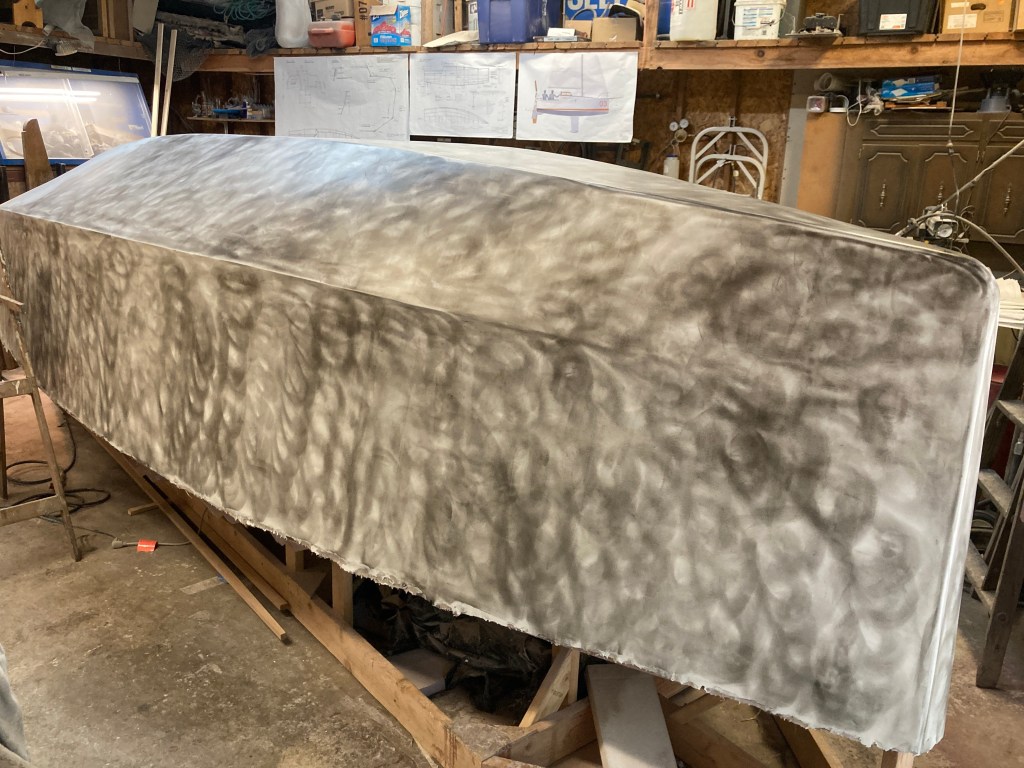
I rolled on the first coat using a similar technique that I have in the past rolling Alexseal topcoat. I used a 1/4in nap mohair roller that I removed the lint from by wrapping the roller with tape then pulling it off and taking the loose bits with it. I would load some paint onto the roller an roll on three or four roller widths and then do a light back roll to smooth out the lines from the edges of the roller. This did not work very well as touching the primer again after the initial roll out left an unreasonable amount of orange peel texture.
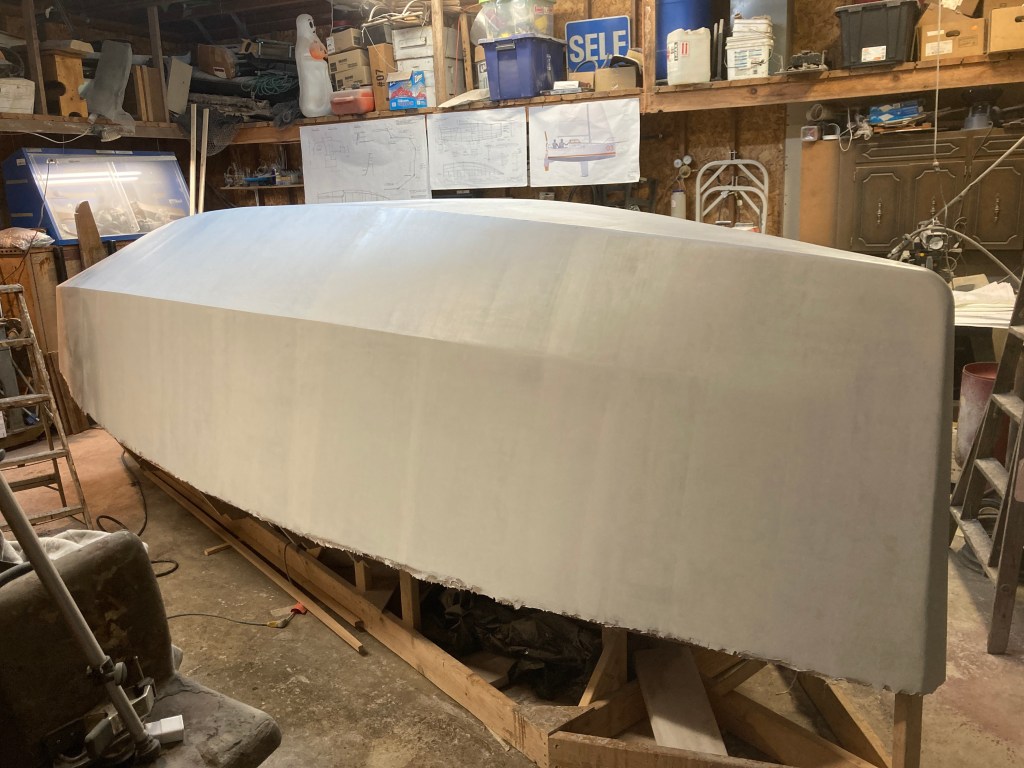
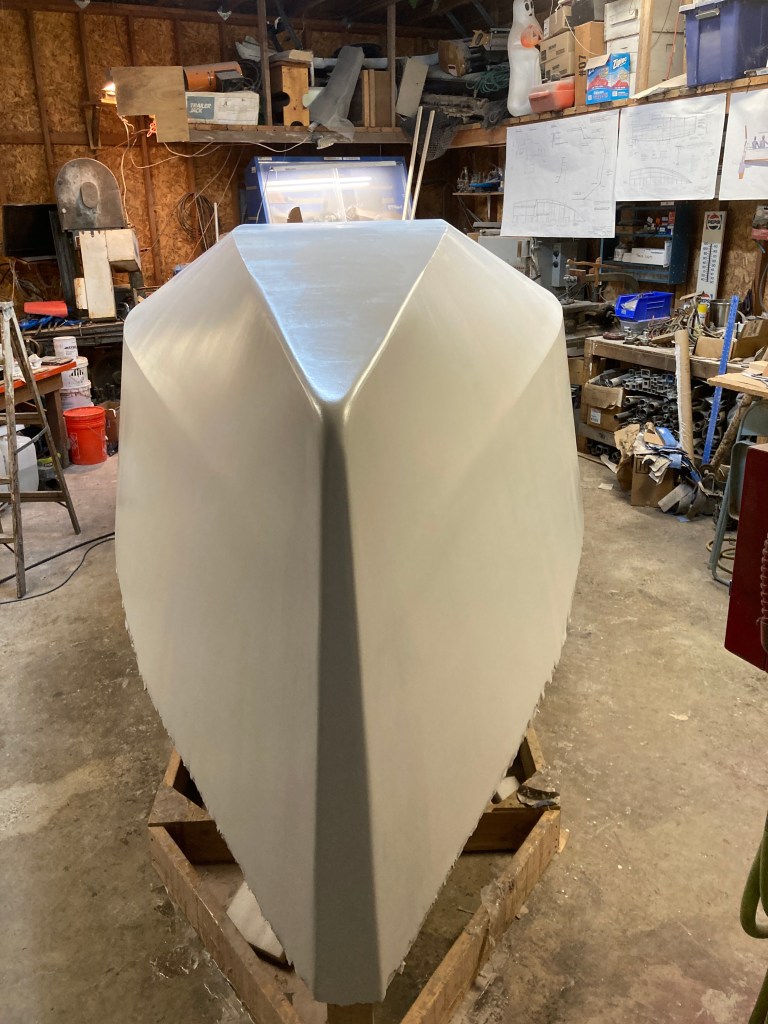
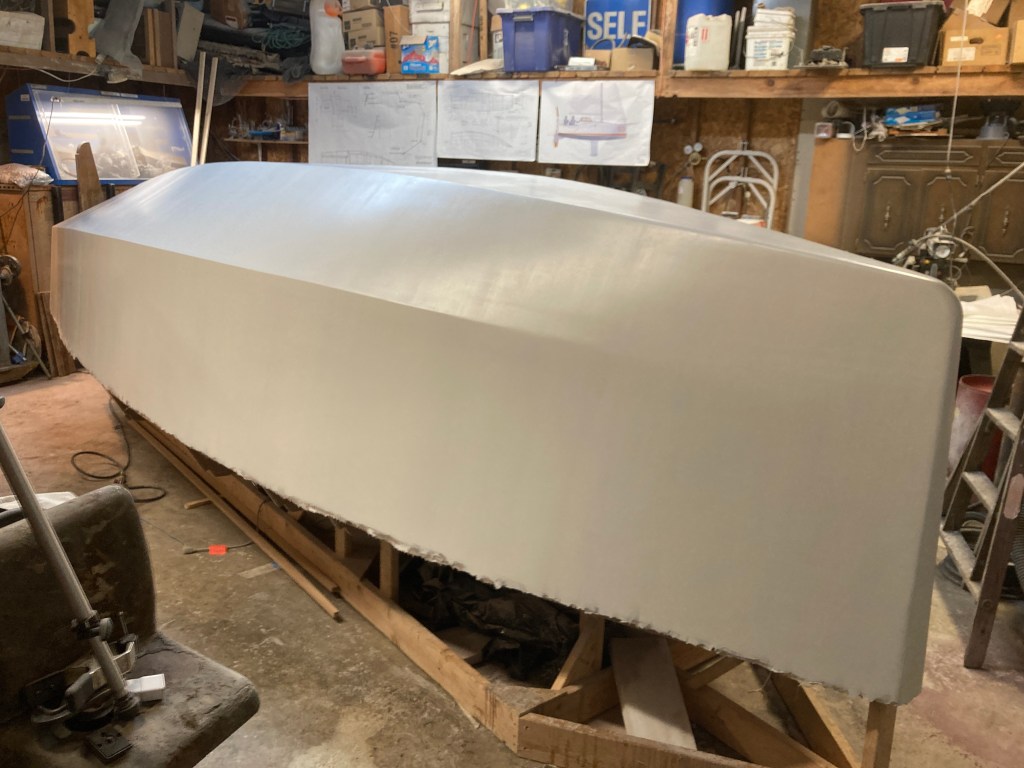

I allowed this coat to cure before sanding it smooth with an application of the trusty Mirka black guide coat. I ended up sanding most of this layer off in order to correct the orange peel. On the subsequent coats I used what I learned and adjusted my technique. I would roll out one roller width very carefully, allowing it to flow out smoothly and then I would not touch it again, simply moving on to the next stripe. Doing it this way I traded the orange peel for some roller lines but the primer dried smooth and hard and shiny. I repeated this process for three more coats and ended up with an attractive white hull.
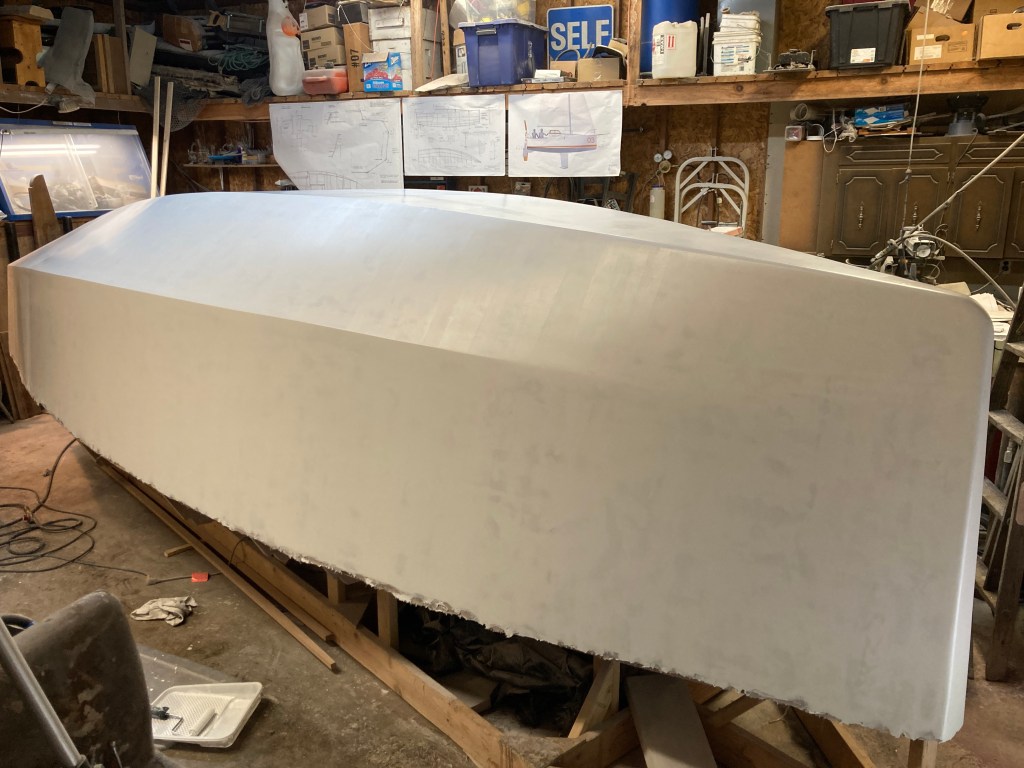
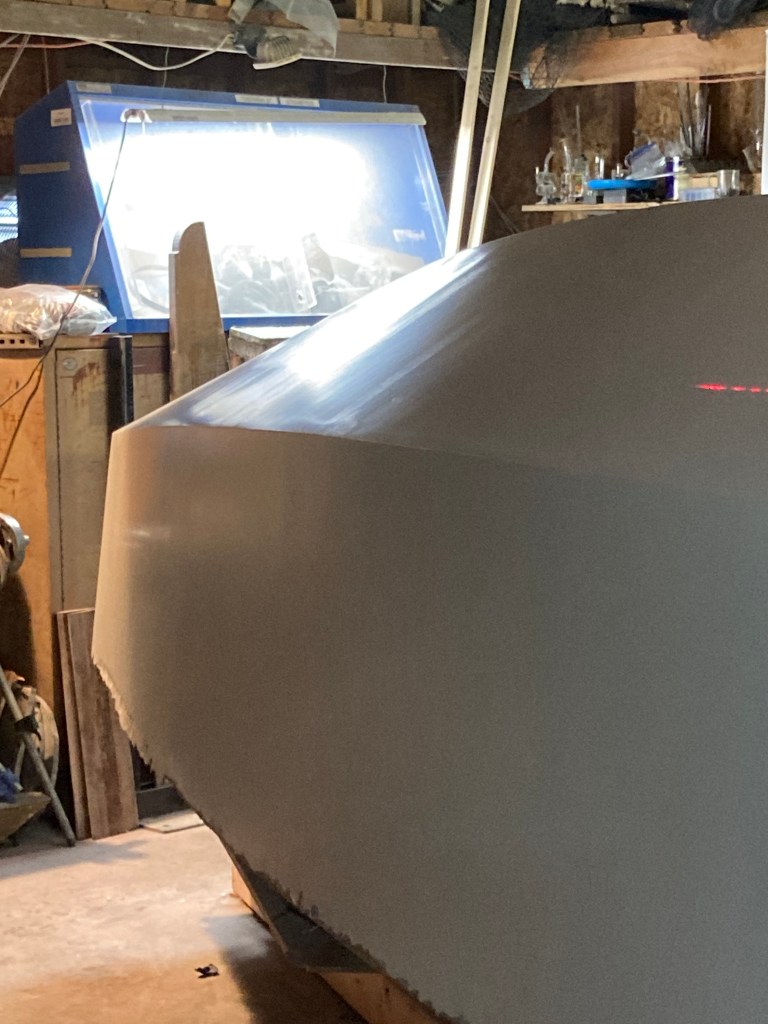
I left the primer to cure for a week and came back to a nice hard finish. It will need to be lightly sanded before I proceed to topcoat. Now she was almost ready to be flipped upright!
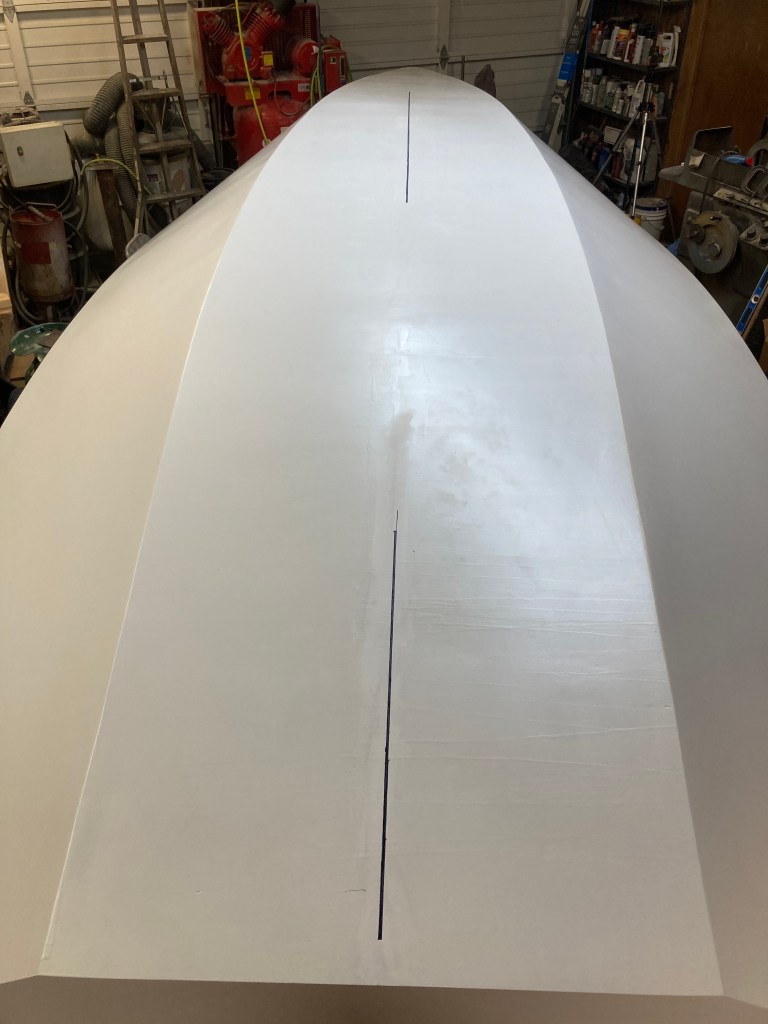
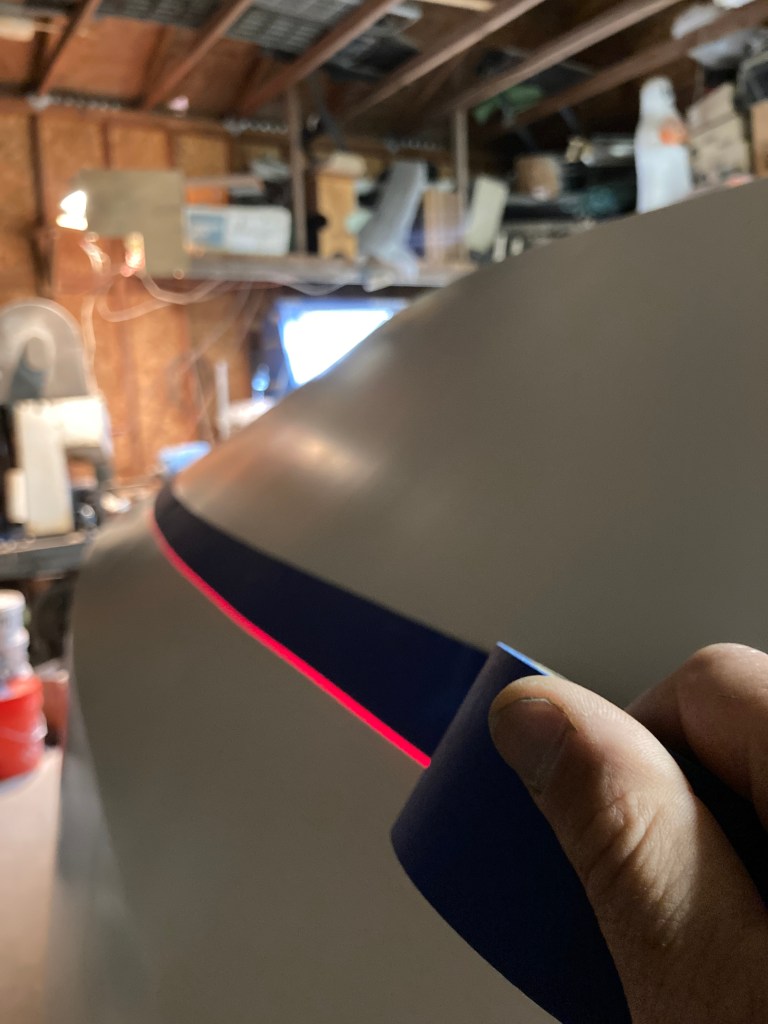
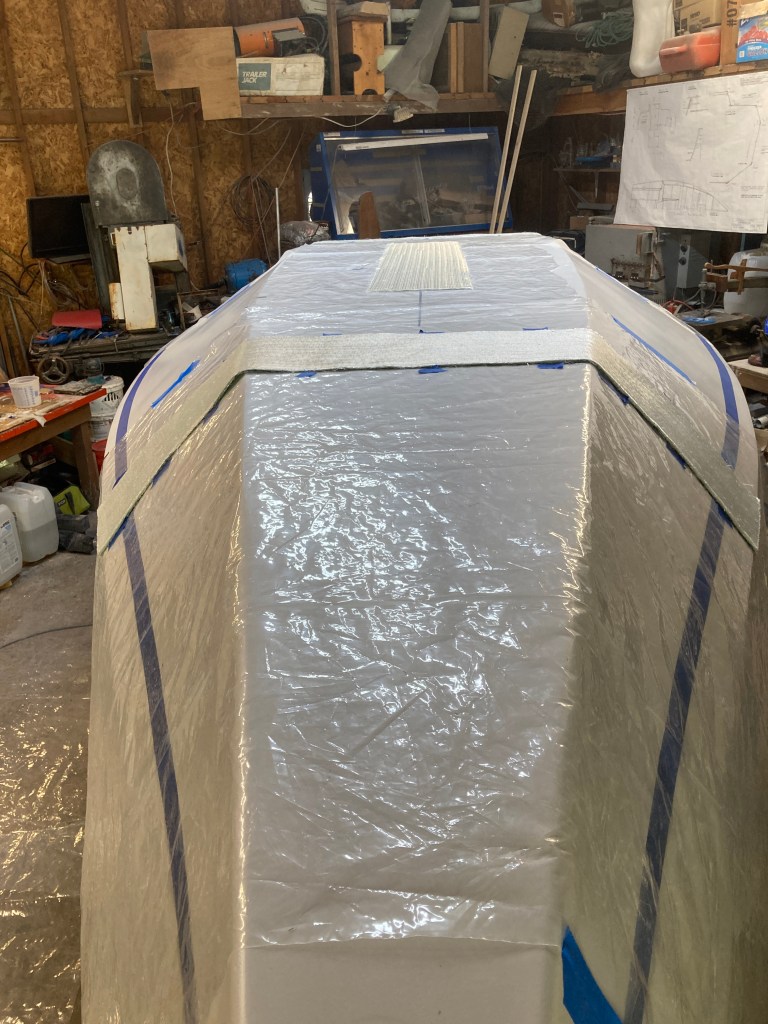
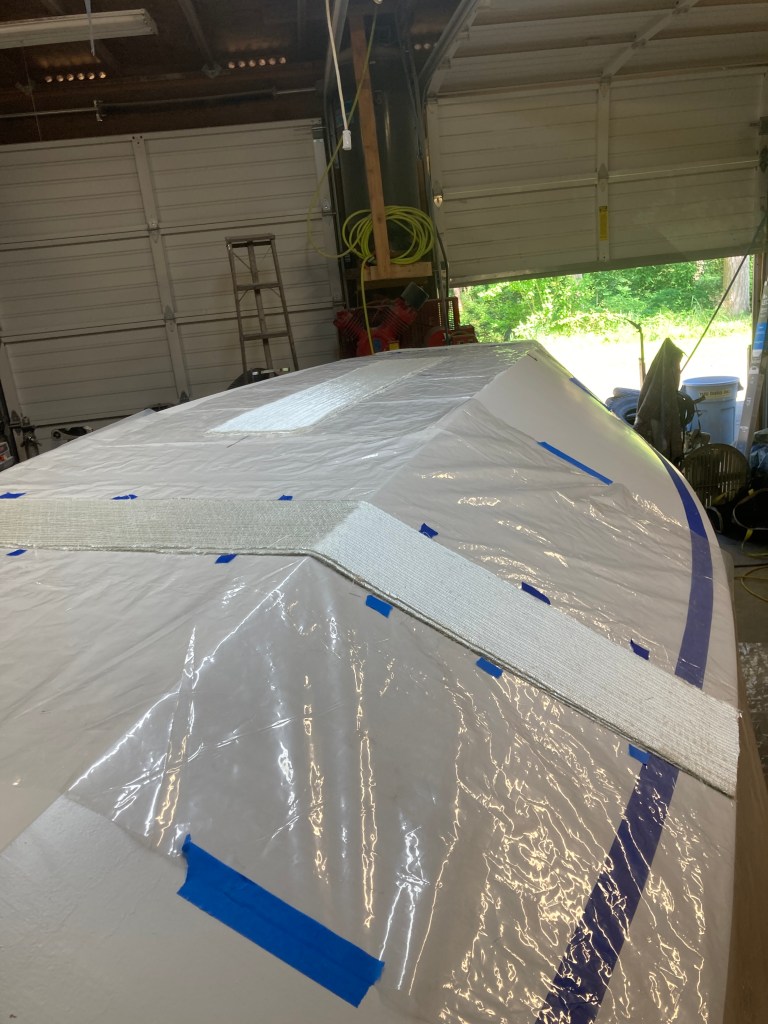
Before I flipped the hull I took the advice of past builders and added a waterline, center line marks for the keel and skeg, and I made some hull shaped fiberglass ‘bunkers’ for the boat to rest on upon the dolly once upright. I put the waterline nice and high above the DWL to allow room for it to be fully loaded and riding a swell. I also made a fiberglass representation of the keel plate to help with drilling the holes when the time comes to mount the keel. With those steps complete it was finally time for her to see the sun and get turned right side up!