Primer applied, waterline and centerlines marked, and the bunkers made out of fiberglass, a beautiful sunny day, everything was ready. The day had finally come to turn my little hull upright!
I deferred to my friend, who’s kind enough to let me mess up his shop building a boat, to come up with a good plan to roll her over. He decided we should use the forklift and some creative strapping to gently turn the hull, first onto its side, then finally onto the bottom. I went into the woods on the property and dug some old tires out of the bushes and combined them with some pillows and blankets that a boat owner had discarded at work. We laid them out on the ground ready to receive the hull.
We used some large casters that my friend had laying around to make the jig mobile and proceeded to roll her outside.
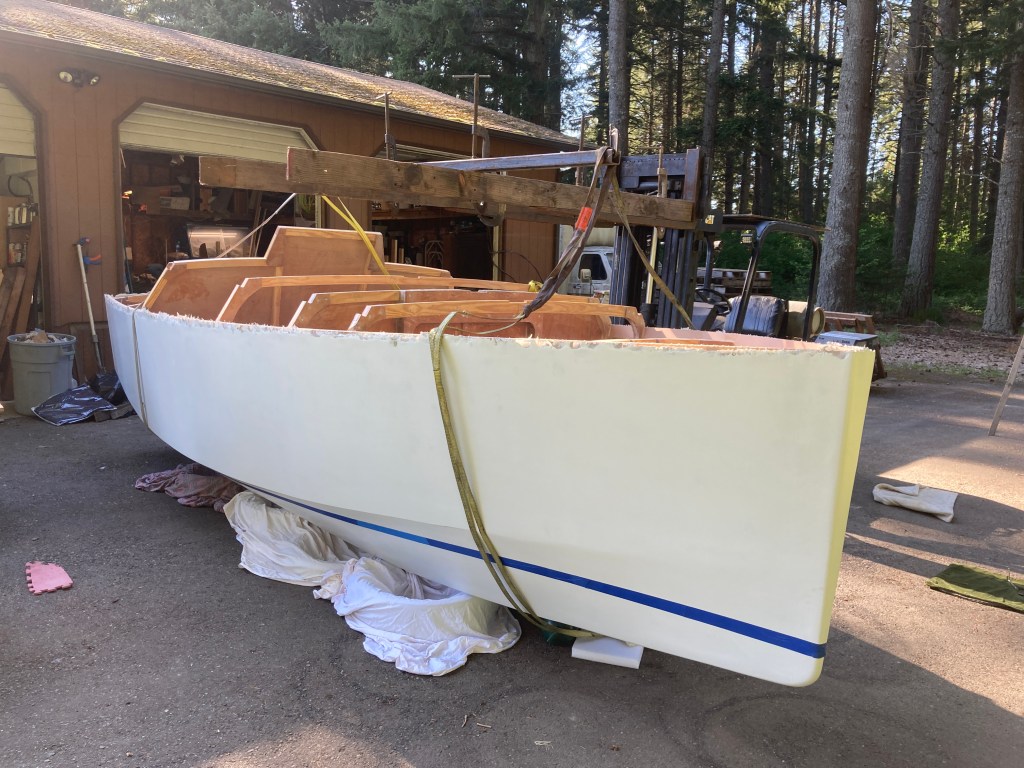
After rigging the forklift with some extra long beams to extend the forks, and getting the straps around the hull, I went to work detaching the boat from the jig. Then, with the boat lifted clear of the frame, it was time to get to business flipping her over.
We adjusted the straps and gently set her down onto the cushions. We then drove the forklift forward which began to roll the hull onto the side. Once it was resting on its side we re-adjusted the straps and rolled it onto the chine and finally the bottom. Whew! Huge sigh of relief to see her safely turned over! It was exciting to climb into the hull for the first time and get a feel for what she’s really going to be like!
I modified the strong-back that I built the hull on to have some support for the fiberglass bunkers and converted it into a rolling dolly to finish constructing the deck and cockpit. We then rolled her safely back into the shop all nice and snug! What a huge milestone! Although for those interested I would say that this stage is about 1/3 of the way through the build. Thanks for reading!