
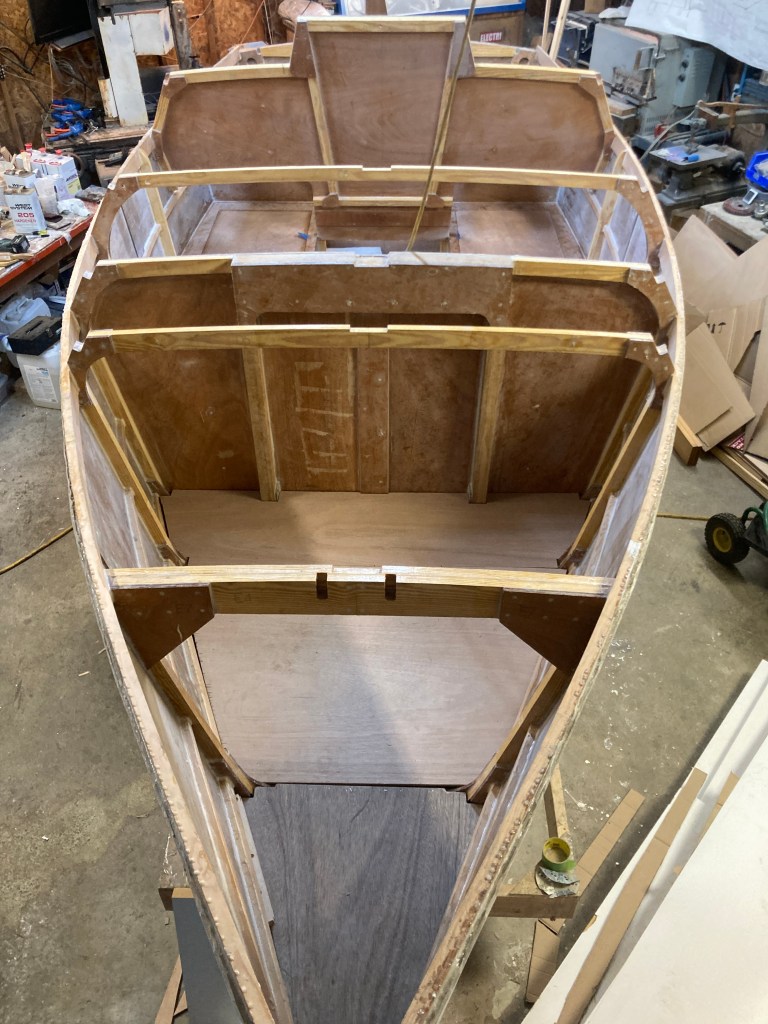
With the boat finally flipped upright it was time to get started on the major interior pieces; bunk tops with storage underneath as well as the floor in the vee birth and it’s complimentary storage. I wanted to get the larger components installed that would otherwise be too big to fit in once the deck panels were put on. In the essence of time my plan was to complete this phase and then close up the deck and cockpit before finishing the interior. The idea being that I can sail with a less than perfect interior but not without a deck.
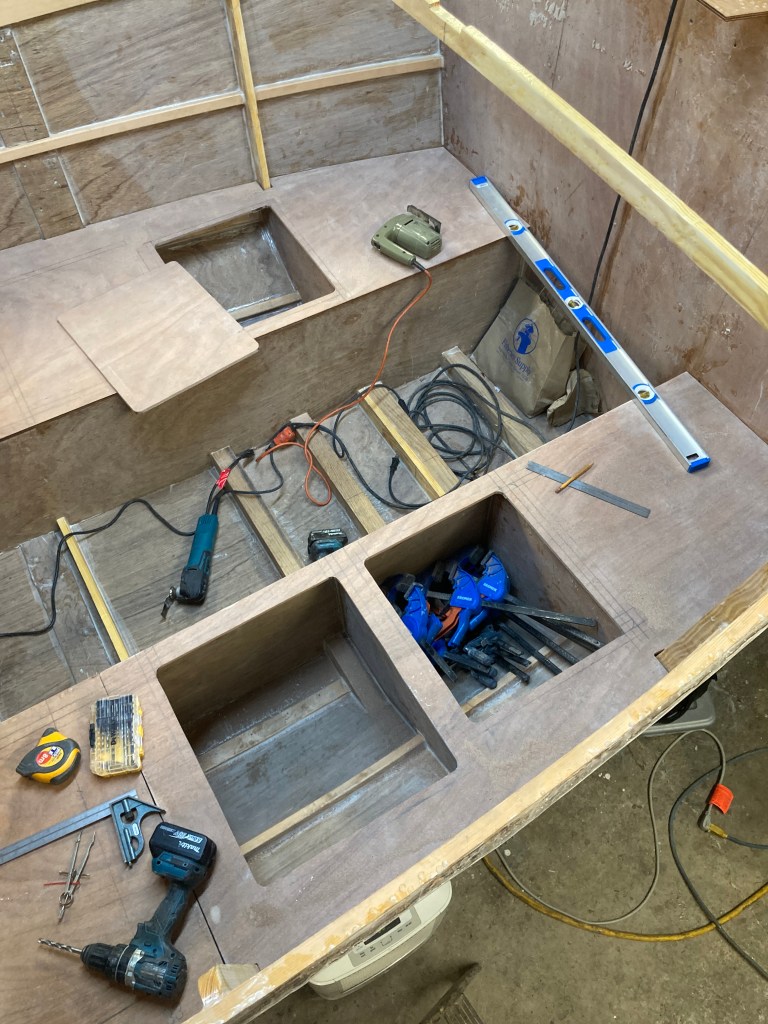
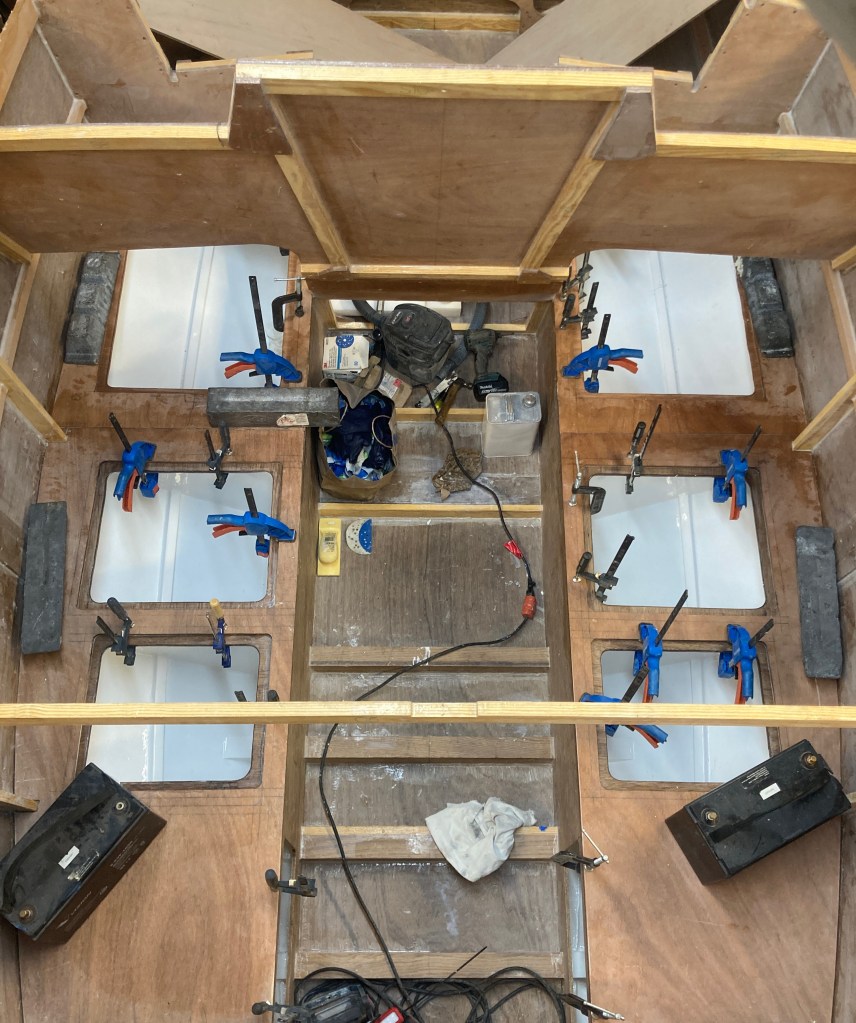
I started in the main cabin by dividing the four spaces under the bunks into six, three being on each side. I patterned and fabricated two additional bulkheads and got them epoxy coated before installing them into the hull with thickened epoxy. They effectively split the forward spaces under each berth into two, turning the spaces into three total compartments each side. One small, one medium, and one large.


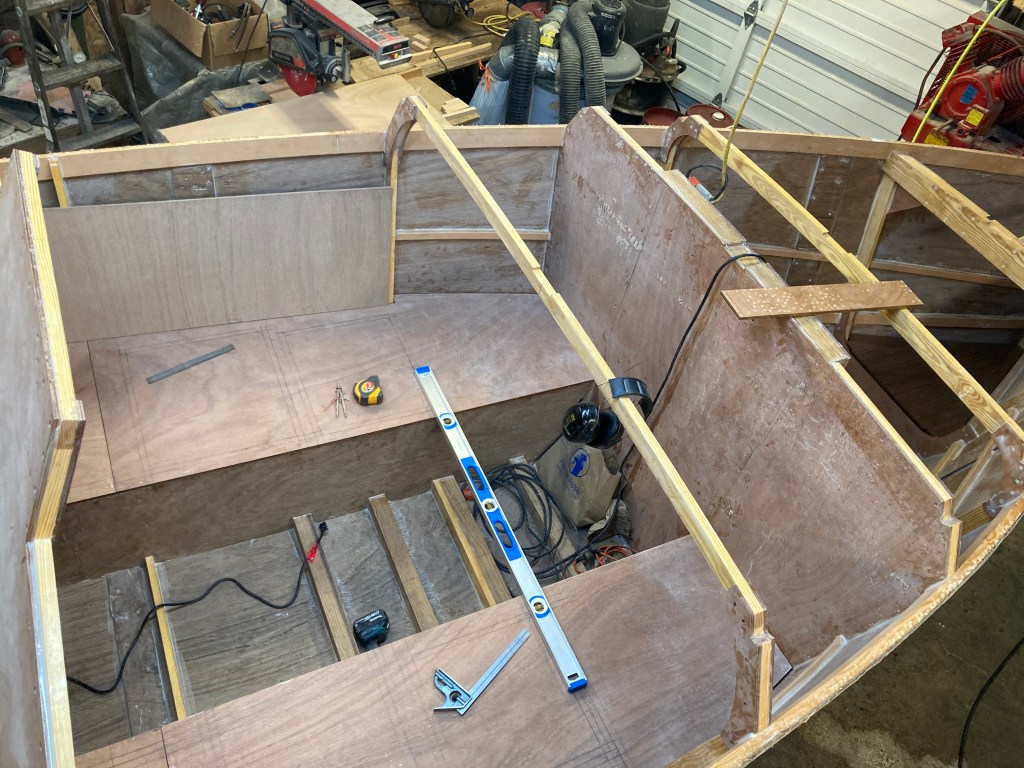
The next step was to make and glue in all of the cleating that would give support to the bunk tops. I used Douglas Fir and cut them to 7/8in square pieces. Likely one of the only imperial measurements used in the entire construction. I installed them around the perimeter on the inside of the hull and along each of the bulkheads. This made for a strong and stiff platform to finish the bunks.
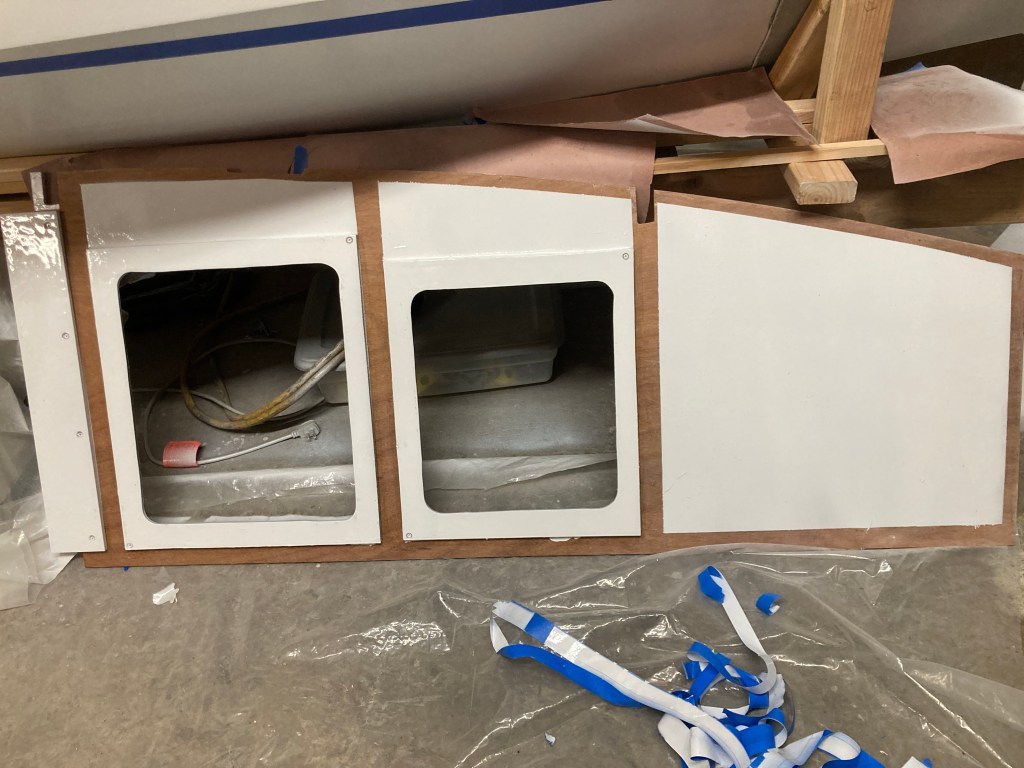
After getting everything square and level I cut the hatches out of the bunk top pieces. I then made plywood backers that fit to the undersides of the bunks and support the hatch lids when closed.
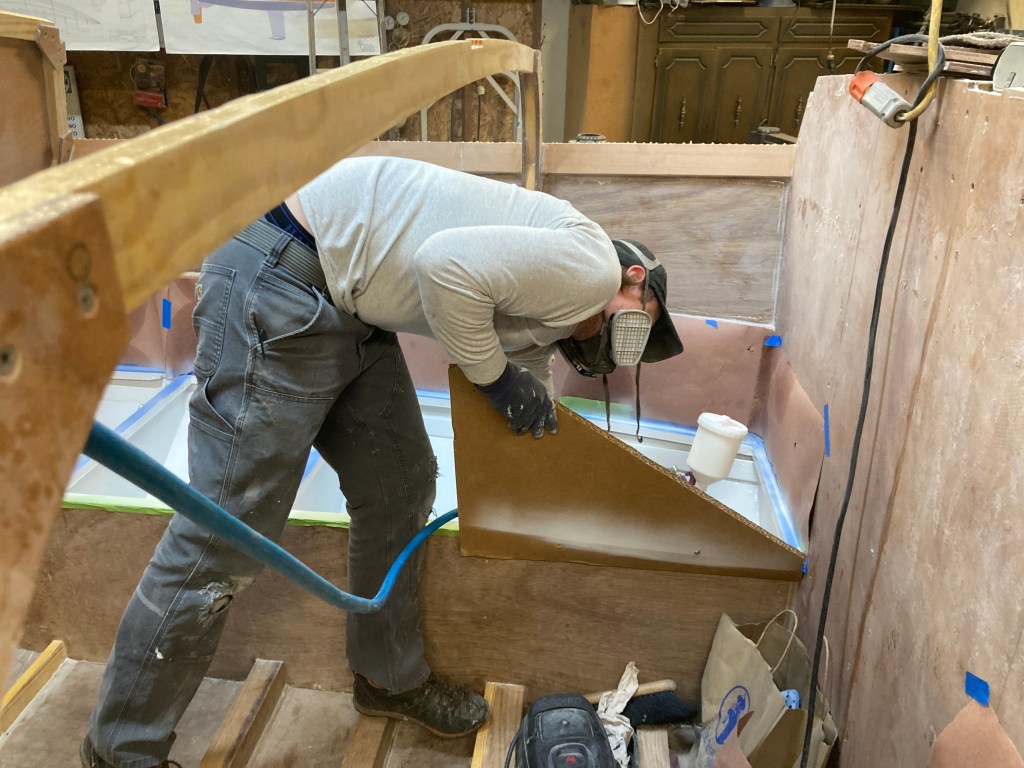
Next it was time to paint the compartments before gluing the bunk tops down permanently. I used three coats of Alexseal 442 Finish Primer followed by two coats of their Snow White 501 Topcoat. I love the Alexseal product, it’s not cheap but it sure produces a brilliant, glossy, hard finish. I sprayed it in with a cheap Harbor Freight spray gun which actually produced decent results. I didn’t worry too much about it being perfect as it’s just storage and it is going to get thrashed anyways. I also shot the undersides of the bunk panels so that everything was coated consistently.


Once the paint had cured I glued the bunk tops down using thickened epoxy, many clamps and several heavy objects. They significantly increased the stiffness of the hull and feel very solid.
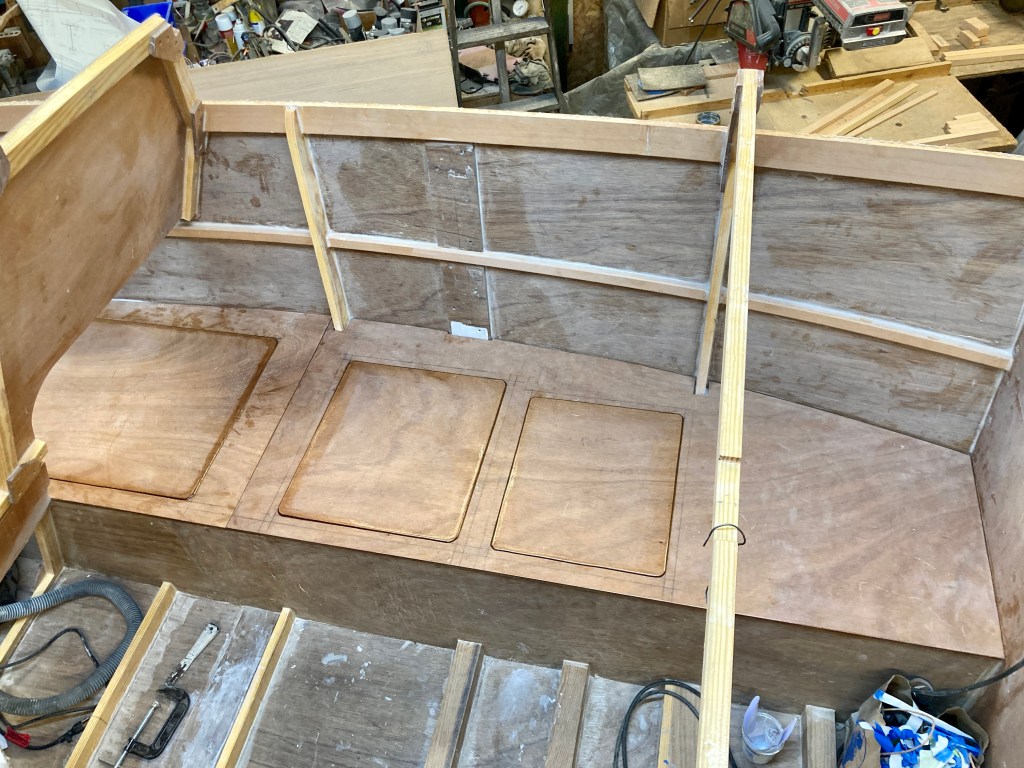

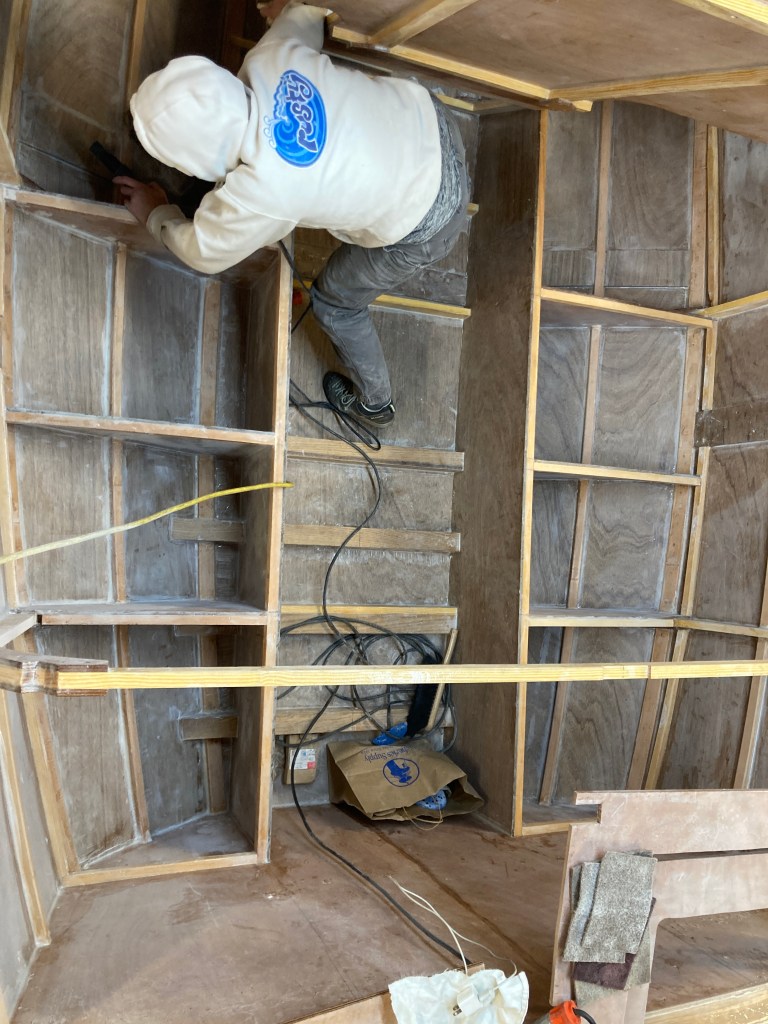
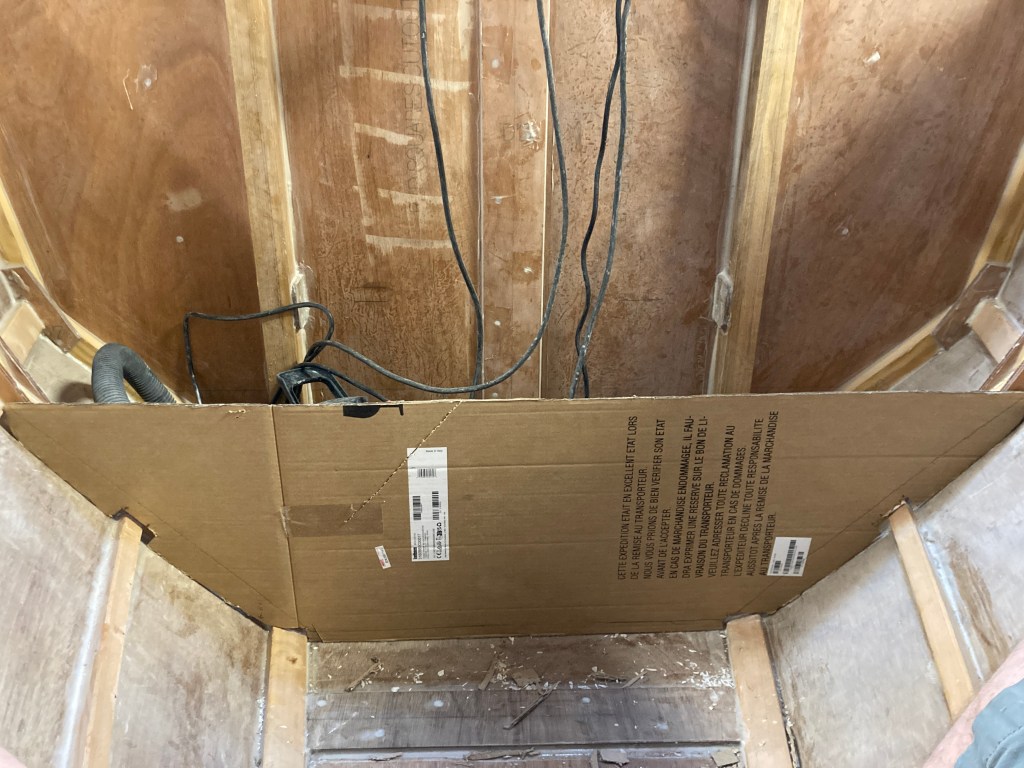
With the bunks in it was time to move into the forepeak and begin fabricating and installing the pieces that would make up the vee birth required for 5.80 racing certification. I began by making one athwart ships bulkhead at frame D and connecting it with two fore and aft stringers to frame E. I also gave the crash box space a triple coat of epoxy to seal it and installed the extra little bulkhead forward of frame E. This gave me a total of six compartments under the vee birth double berth.

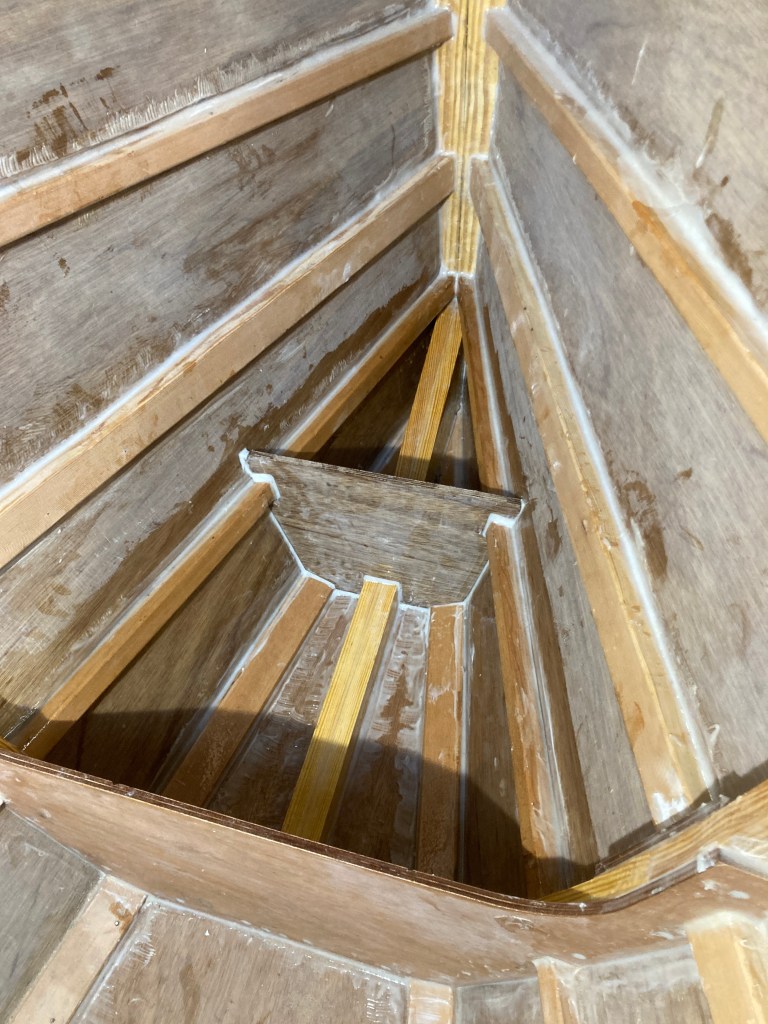
Then I made two additional small fore and aft stringers that I installed between frame D’ and frame D. These split the space in front of the mast supports into three compartments which I will install commercial hatches into. I did this to ensure that my battery compartment ( directly in front of the mast) will be completely water tight. It is a goal of mine with this build to make as much of the electrical system as watertight as possible. Finally I installed the cleating just like in the cabin using 7/8in square cut lengths of Douglas Fir.

Now it was time to paint the compartments before gluing the floor down. For the coating I applied the same process that I used under the berths in the cabin and everything came out great. I didn’t paint the crash box area as once it is filled with foam it will not likely be seen again.

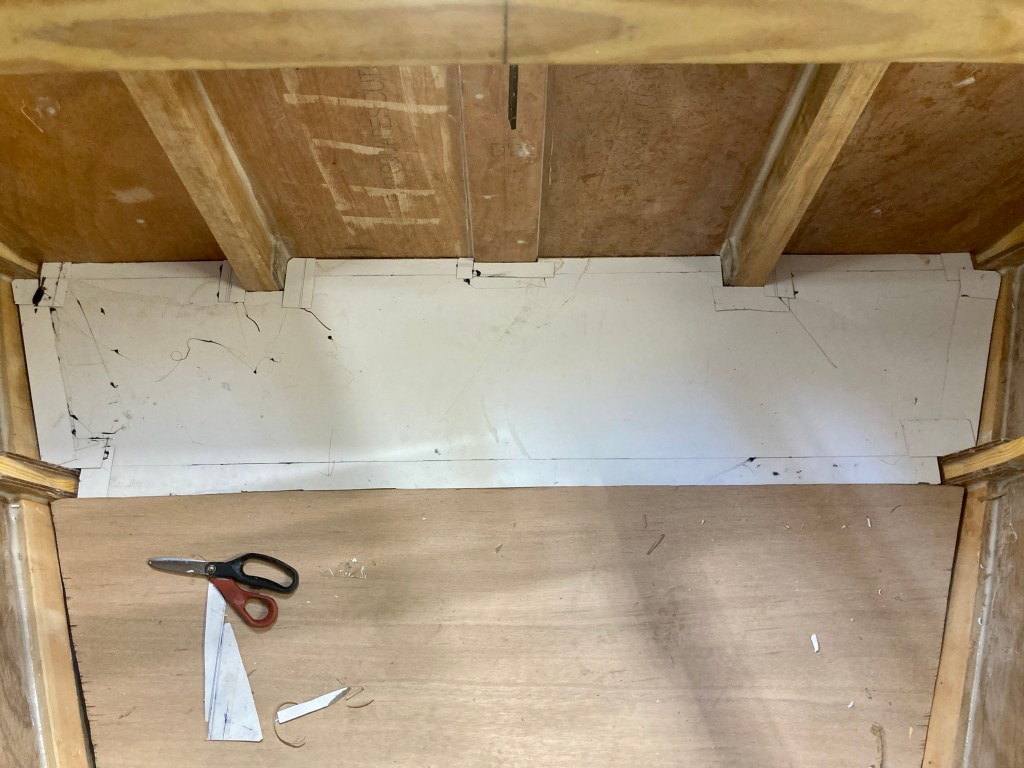
I then patterned out the floor pieces and cut them from the same Hydrotek 9mm plywood that makes up the hull. I made the floor in three pieces, the crash box top from the kit and the two that I constructed. For the center floor piece I made and installed three hatches in the same fashion as the bunk tops. This brought the number of compartments up forward to six.

Now with the berths installed in both the cabin and the forepeak area it was time to begin fitting the deck beams and panels and closing up the boat! Thanks for reading!
