Now that the largest pieces of the interior have been installed I was able to close up the deck and cockpit bringing the little boat closer to completion.
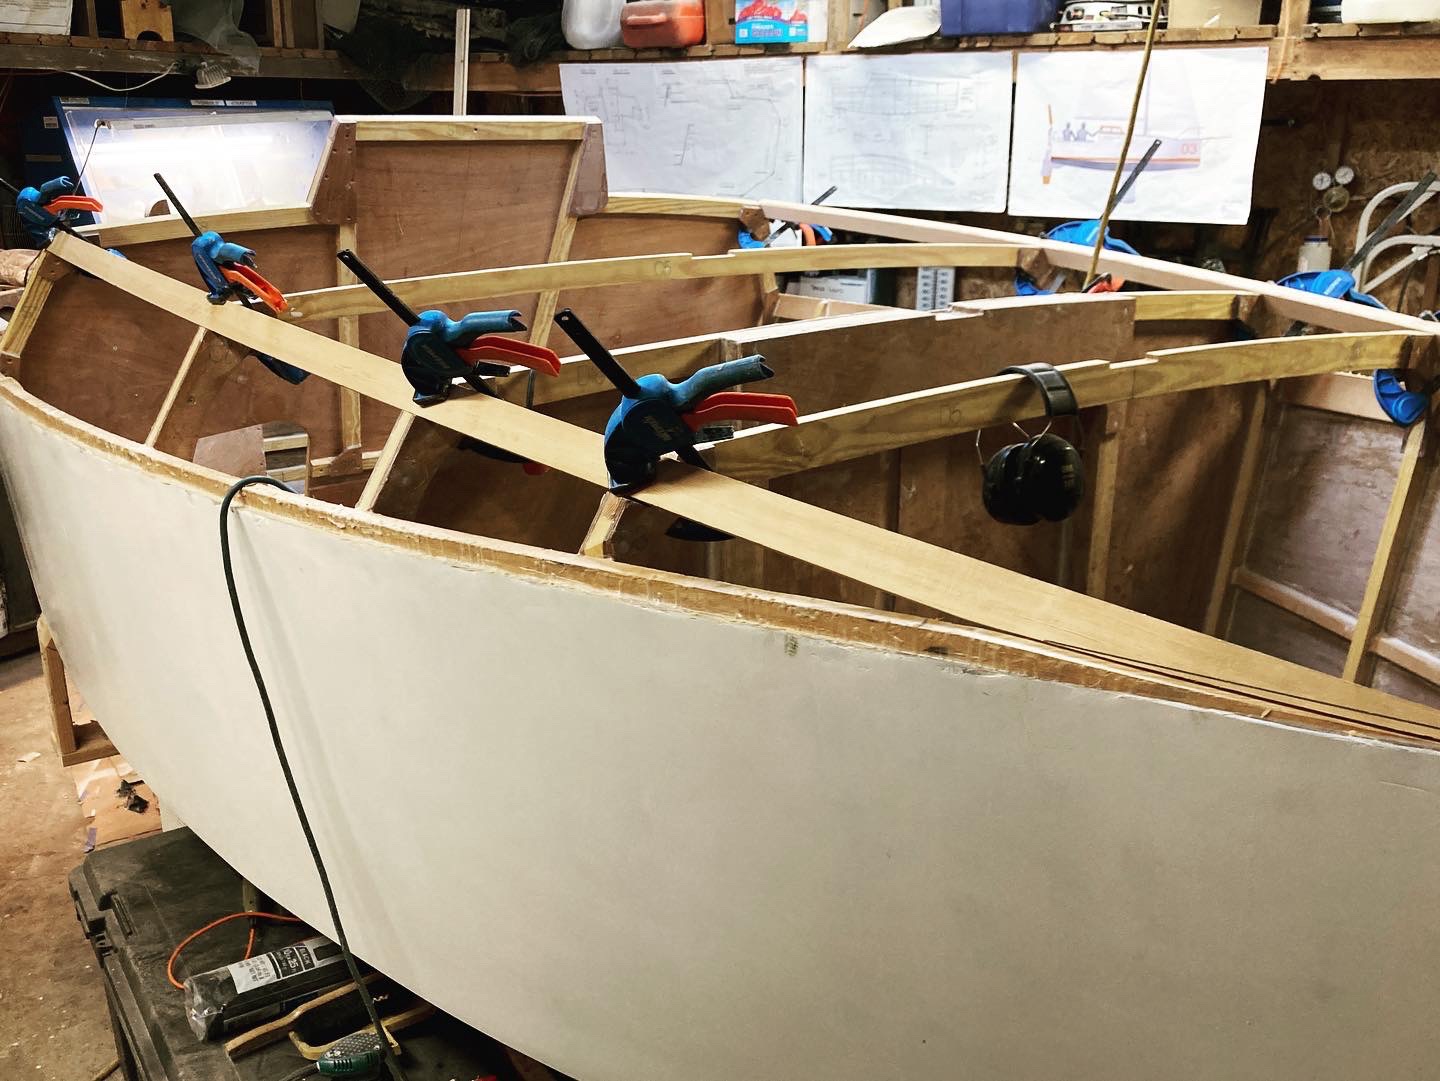
The first step was to fabricate some more stringers to give the coachroof its shape as well as provide attachment points for the various deck beams that were included in the kit. After another trip to Crosscut Hardwoods for some more CVG Douglas Fir I was ready to begin.
First, I made the sheer strake stringers and got them ready to be let into the frames. I used the same technique that I employed to let the hull stringers into their frames way back when I was building the hull. I would hold the stringer into the frames with clamps, measure the gap on either side of the frames, then remove the necessary material to get the beams inside the line of the planking to go on later.
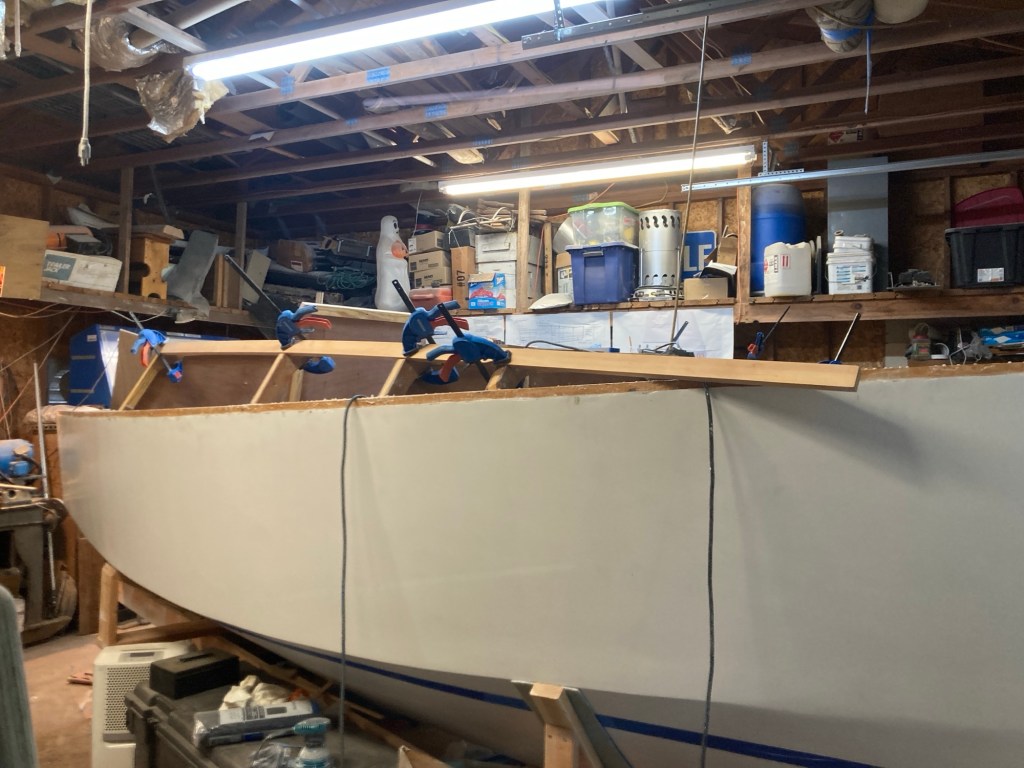
With the sheer strake stringers shaped and properly let into the frames it was time to glue them into place. Again I reached for the West System 105 epoxy resin and the 404 high density filler. Although I made the switch to the 205 fast hardener, as I wanted a good cure in the cooler fall temps.
Next I did some shaping to the ends of the deck timbers to help them fit the curves of the hull at their various mounting points. With that done I glued the beams into place with the thickened epoxy mixture and then did some beveling and shaping to get everything ready to install the planking.

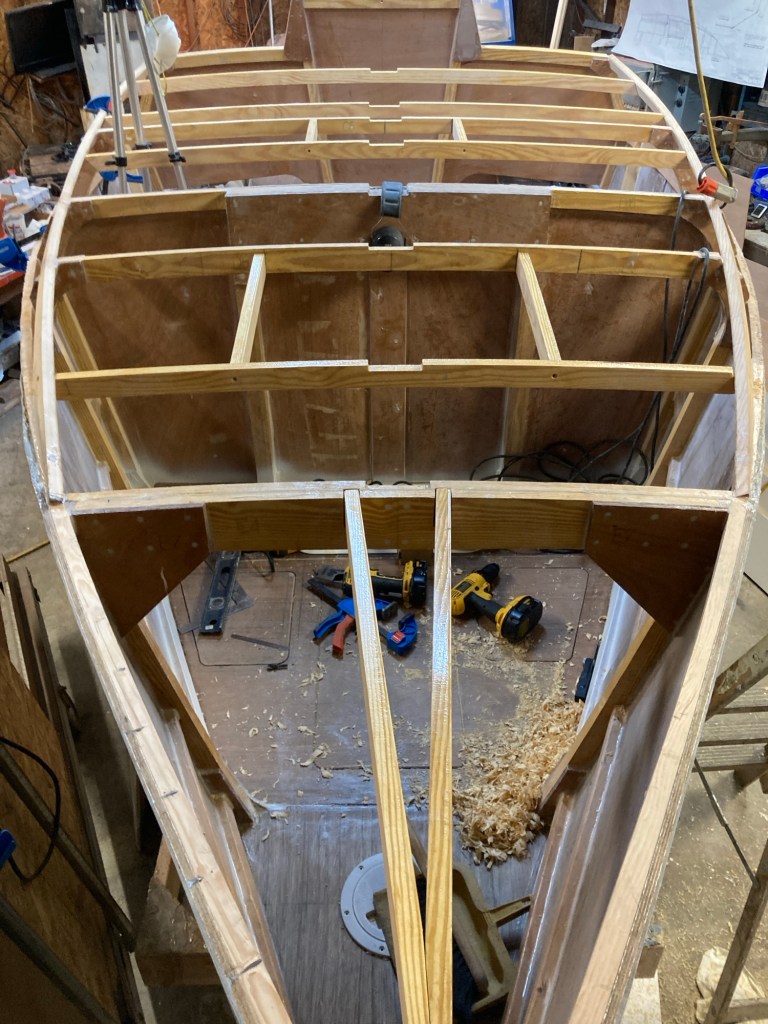
The deck planks fit up perfectly and really only needed a small amount of coaxing to get them to conform to the structure of the beams. I gave the panels a double coat of epoxy on the inside before installation. The outsides of the planks will get coated when I apply the fiberglass skin to the decks.
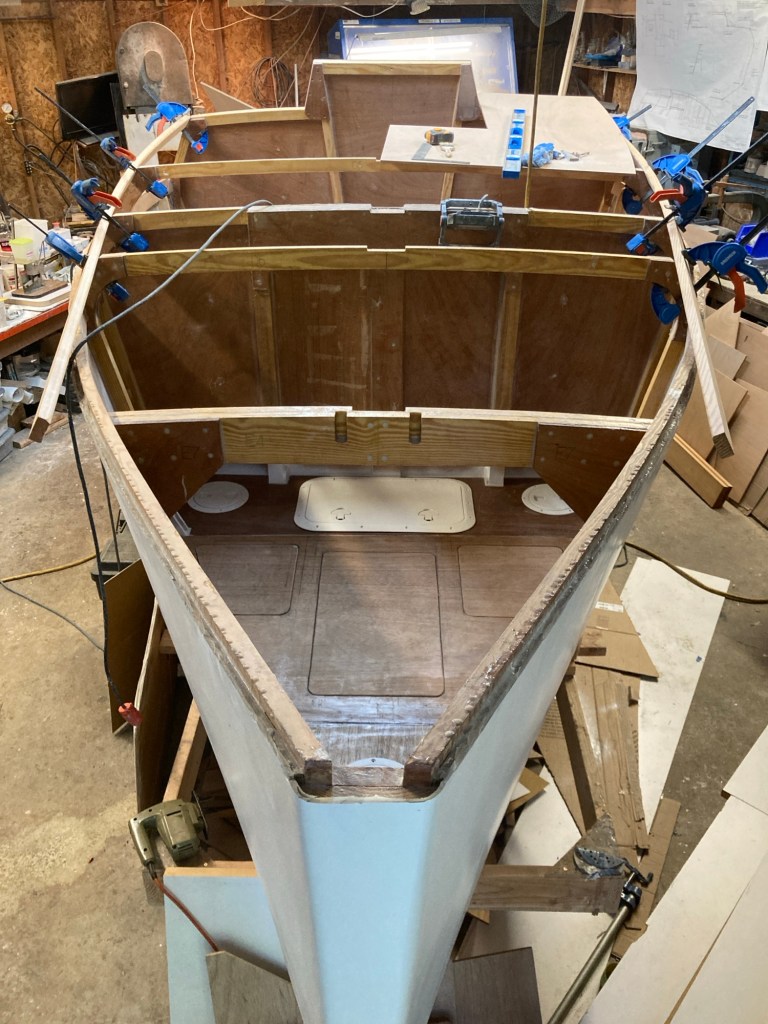
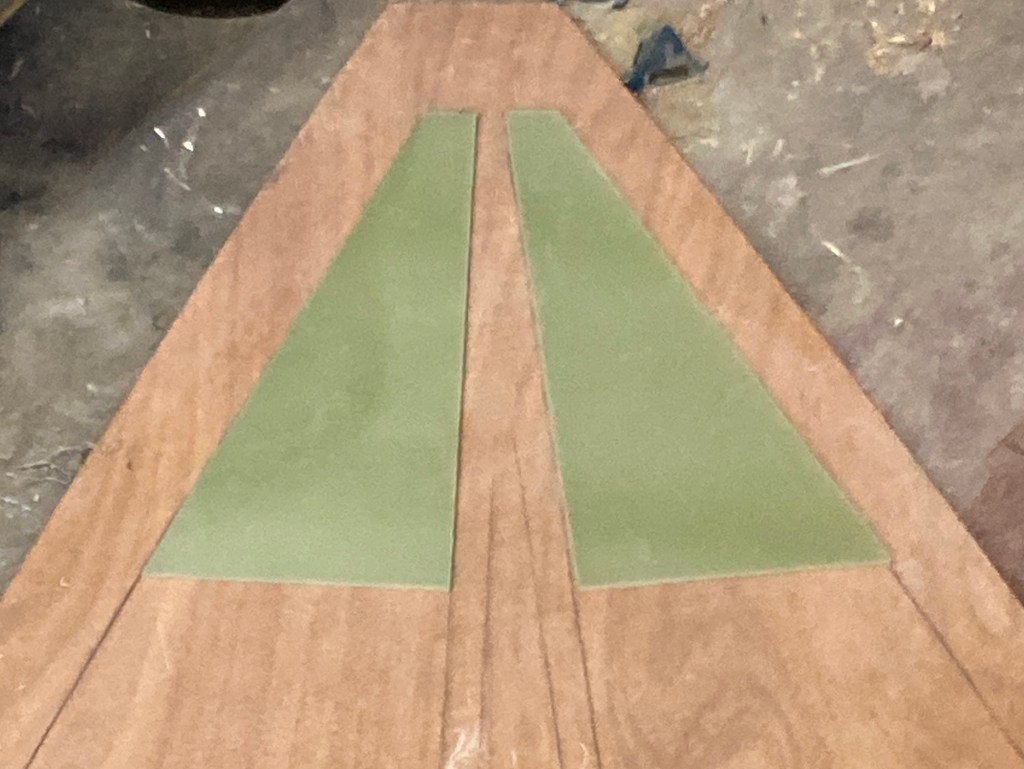
At this point I fabricated two triangular shaped pieces of 1/4in G10 plate to fit into the spaces on the underside of the foredeck, on either side of the king plank beams. These reinforcements will provide additional strength to the deck cleats ensuring that the boat is capable of being towed in a moderate sea. Once the cleat backers were securely attached, I glued all of the deck panels down to the frames with more thickened epoxy. I used a combination of screws and the raw lead material that I have for my keel bulbs to hold the panels down while the adhesive cured.

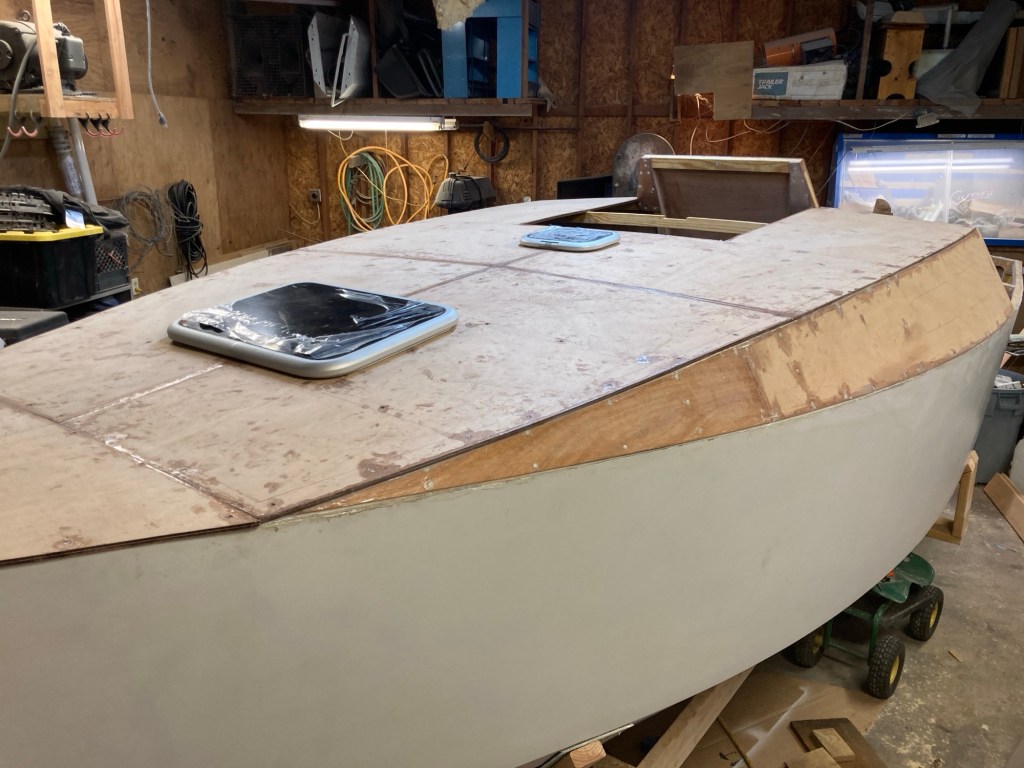
After cutting the holes in the deck for the hatches it was time to move on to building out the cockpit.
