The making of the skeg was actually a multi-year affair. I started out by making the shell of the skeg over the foam mold that was included with the B&B 5.80 kit. I worked on it occasionally, building it up in stages, until it was ready to install on the boat.
I began on the floor of my old apartment as it was January and simply too cold outside to do any fiberglass work. I laid down some plastic sheeting on the living room floor and got to work not only laying up the fiberglass mold, but also coating all of my furniture in fine silvery strands! The first step was to cover the foam mold in clear packing tape to help it release from the fiberglass later on.


The layup I used was one layer of thin 6oz (200 g/m2) over the foam plug. I used the thinner cloth to make it easier to get it to cover the mold smoothly. I followed that up with a layer of 0.75oz per sq/yd. chopped strand mat which works out to 6.75oz/yd or 228 g/m2. Although better suited for use with polyester resins the CSM does work with epoxy. Without the styrene to break down the binder the mat will not be as supple or turn as clear when using epoxy but, according to the Gougeon Brothers, as long as it is thoroughly wet out it will still be very strong.
The chopped strand mat is easier to conform to complex shapes and it helped to build up quickly to my target cloth weight. I followed the mat up with a layer of 17oz (576g/m2) biaxial cloth. This fabric has the long fibers oriented at a 45degree angle which makes for a supple and easy to form material. Combined with the first layer of 90 degree fibers it will help to provide strength in all directions.
I finished the layup with another layer of the 0.75oz chopped strand mat. This brought the total weight of the layup to 36oz/yd or 1233g/m2. Everything went down smoothly and the final layer of mat offers some protection from sanding and shaping to the more structural biaxial fabric below.
After digging the foam plug out of the mold with some difficulty it was time to trim the edges and sand it smooth. With that done I moved on to making the internal structure of the skeg that would secure it to the hull of the boat.

For the skegs internal structure I took a page out of Kraken Yachts design playbook. Kraken makes extremely capable ocean going boats and I wanted to mimic their Zero Keel and Zero Skeg designs in my own construction. The skeg of a Kraken yacht has a cast in, aluminum super structure that adds an incredible amount of reinforcement. Being that the bolts for my skeg are stainless steel I made the internal skeleton for my mold out of stainless as well.

I bought a sheet of 316 (A4) 3/8” stainless and used a cardboard pattern to cut out a fin shape that fit inside of the skeg mold. I then had my best friend Josh (jstrathern82@hotmail.com) weld a small plate to the top of the skeleton and then weld on the stainless bolts that attach the skeg to the hull. I made the assembly lighter by using a metal hole saw to cut several holes into the plate.


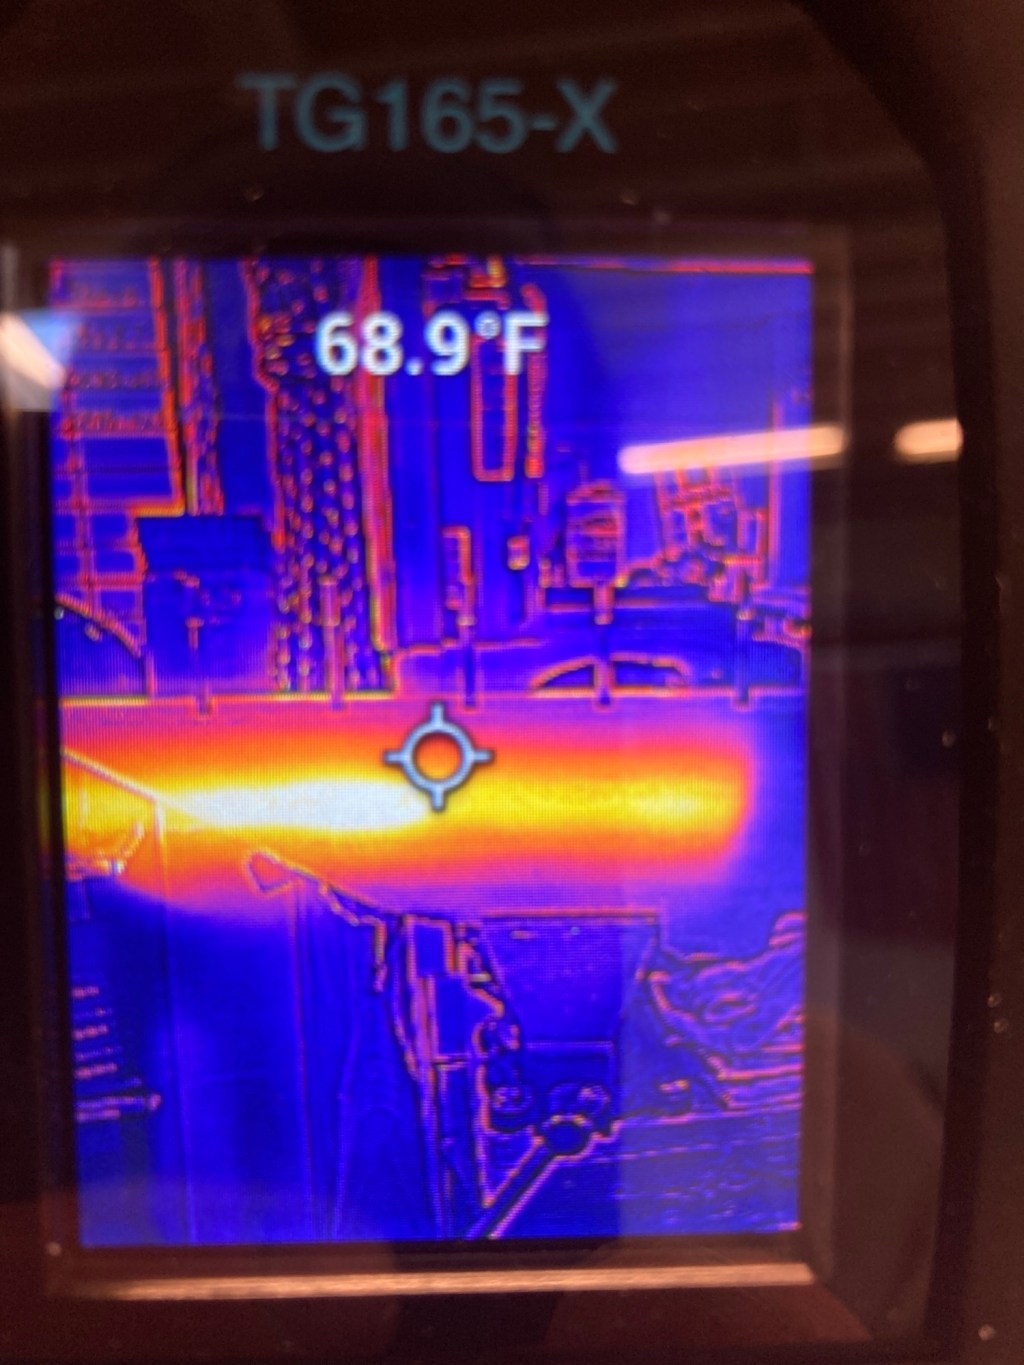
With the super structure complete I began filling the mold in with epoxy resin and coarse milled fiberglass fibers. I did it in four consecutive pours, giving each pour time to harden up before the next. Doing it in stages helped to mitigate the heat generated during curing which also helps prevent the resin from cracking. I used a Flir camera during the curing process to monitor the temperature. The result was a rock hard super strong skeg that will likely outlast our civilization.


I did a few rounds of fairing compound and sanding to get the skeg as smooth as I could before installation.


Next I drilled the holes in the hull using the center lines that I had placed before flipping the boat upright. I used my go to, West System epoxy thickened with the 404 high density filler, to glue the skeg to the boat. I bolted it up tight and added a thick fillet of the epoxy mixture to the joint where the skeg meets the hull.
With the skeg installed and looking great it was time to do a little fairing to the joint for a nice smooth transition. Now it was ready for primer and anti-fouling! Thanks for reading!
