After finishing up the fiberglass on the deck and in the cockpit it was time for another round of everyone’s favorite…, sanding and fairing. Again, I reached for the Alexseal Super Fair 212 and got spreading.
I had learned a lot from my first experience with fairing the hull. Instead of applying one huge coat of compound over the entire deck, like frosting a cake, I focused on filling in the really low spots first. I leveled out all of the overlaps where the fiberglass pieces were seamed together. I also went around with a pencil and the flat of my hand I felt for and marked off any depressions.

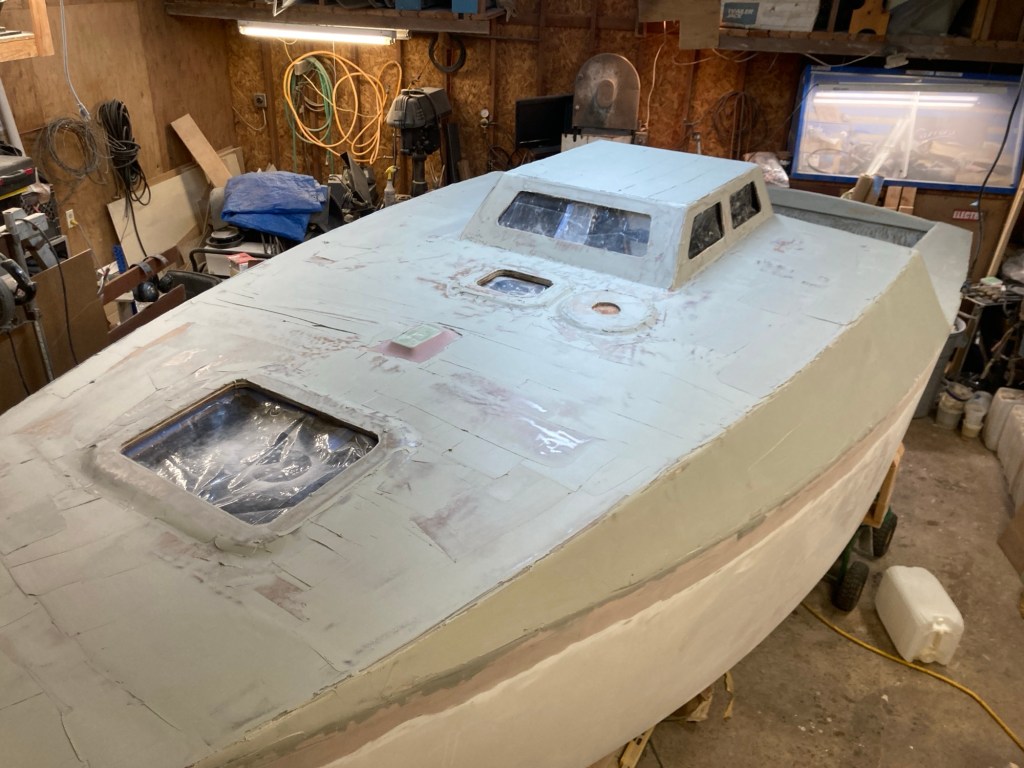
With all of the low spots filled in I then did a skim coat over the whole surface to help fill in the fiberglass weave. I likely should have done this a second time, as I did end up with quite a bit of print through of the fabric in the final paint job, unfortunately I just didn’t have time.
I avoided using the torture board as much as possible and instead used my auto body in-line air sander to do the majority of the leveling. I wasn’t able to achieve the perfectly smooth surface that I desired although the result was satisfactory given the time constraints I was working under.

After getting the major surfaces smooth and looking alright I turned to focusing on the edges. Just like the chines it took about three rounds of applying compound, sanding, shaping, and excessive eyeballing to get them from looking fairly wavy to being uniform curves. The most difficult part of this stage was smoothing out the cockpit. There are so many inside and outside corners and curves that sanding it all simply took forever. Eventually it all got done, albeit with more than a little perseverance.
Up next was sanding and painting the interior. Thanks for reading!
