The making of the keel was a very involved process that included people and businesses from all around the Seattle region. Careful tolerances had to be closely followed to make sure that it met the requirements for certification.
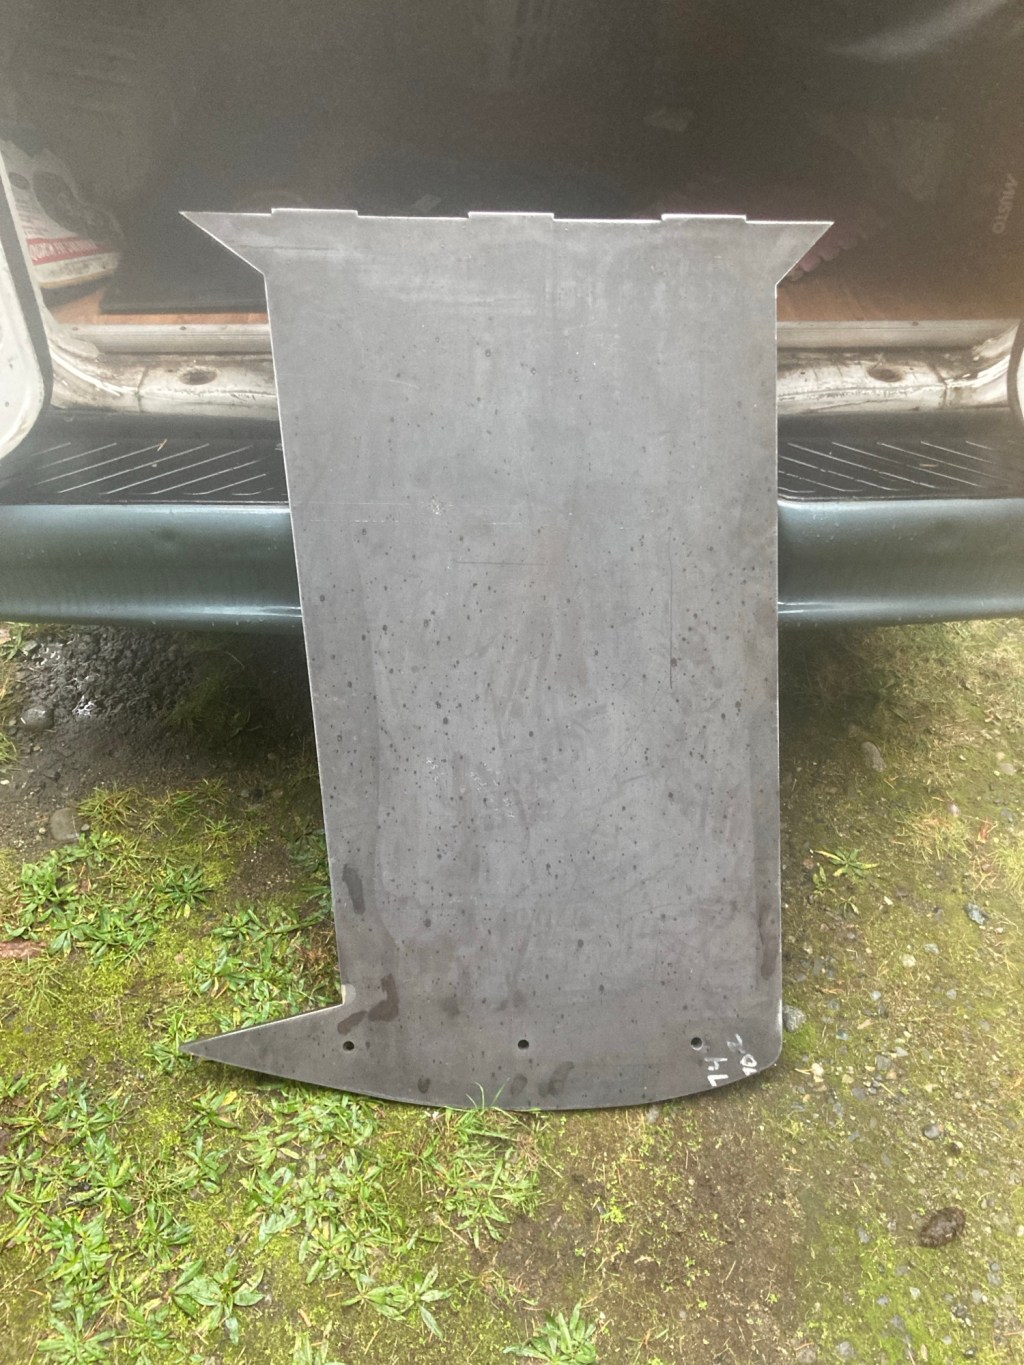
I started by sourcing the material for the fin and going about getting it cut to the correct dimensions. I contacted several area steel suppliers but, as most of them deal primarily with large contracts, they were reluctant to take on my small job. The plans call for a 15mm steel plate for the body of the fin and, as I live in the U.S., I was going to have to use the standard equivalent which is a 5/8in plate.
Finally I found a company in Tukwila, WA called Automated Gate that was willing to take on the job. I send them over the pdf of the keel plan sheets and they converted them to CAD files for processing. They had their job shop cut the keel fin profile with a water jet machine as well as cut, drill, and camber the top plate. I collected the fabricated parts from them and paid $1380 for the material and production work.

Next up I brought the plates down to Lacey Machine Works where Josh Strathern did the machining on the plates. Josh used the horizontal milling machine to make the bevels on the trailing edge of the fin as well as the radius on the front edge. He also made the bevels on the edges of the top plate.
With the machining done it was off to the welder to have it assembled. I took the pieces to Ballard Marine Fabricators where after some discussion it was made clear what needed to be done for the welds to meet the class specifications. They were very accommodating and the fillet weld joining the fin to the top plate turned out beautifully.


Now that the basic structure of the keel plate was complete it was time to get the lead ballast bulbs cast. The plug for the lead bulb was actually the very first thing that I made for this project way back in November of 2021!
I got about 300 lbs of scrap lead that was a take off from a job at work where a boat from the factory was over ballasted. I brought that down to Andrew at Gil’s Aluminum Shell Core Foundry in Tukwila, WA. Andrew made up the green sand molds from my original plug and took them over to Non-Ferrous Metals, also in Tukwila, to have the lead cast into them.
Once the casting was complete Andrew cleaned up the freshly made bulbs and called me to come pick them up. Aside from a little flashing around the edges they were essentially perfect.

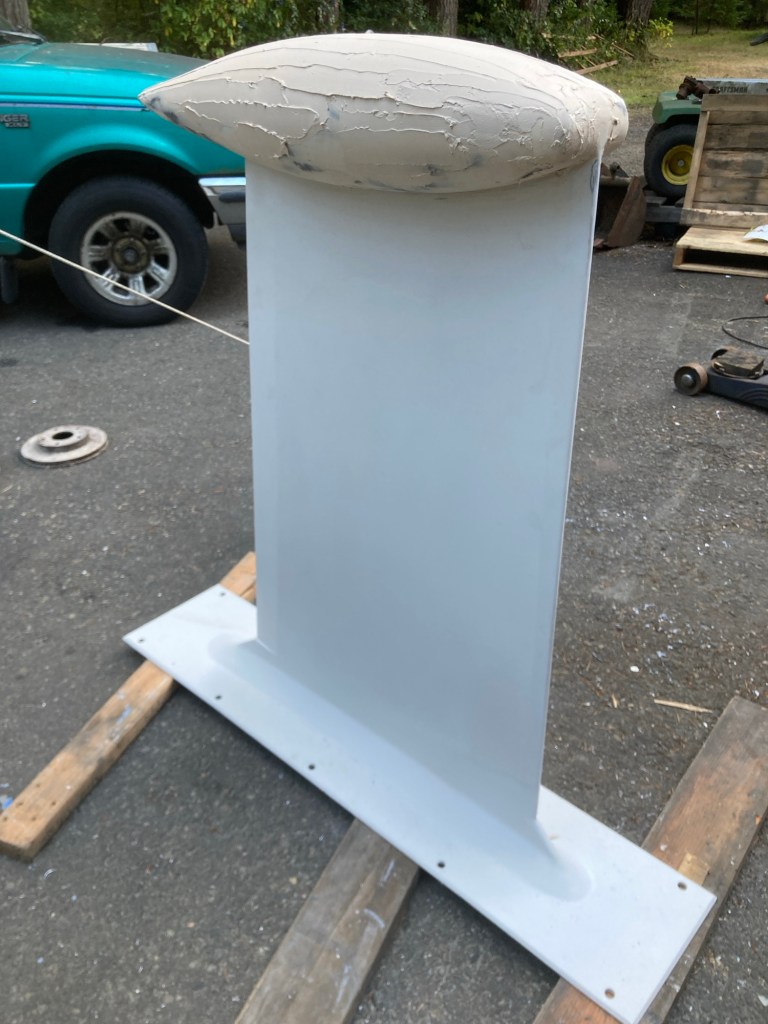
I started working on the bulbs by first weighing them to be sure they were going to be in spec. Then I used my trusty electric wood planer to smooth out the flats and do some light contouring on the curved side. I also used a flap disc on an angle grinder to give the curved side its final shaping. After that I cleaned it up with some 80 grit on the RO sander. I was amazed at how much working the lead was more like working with wood than metal.
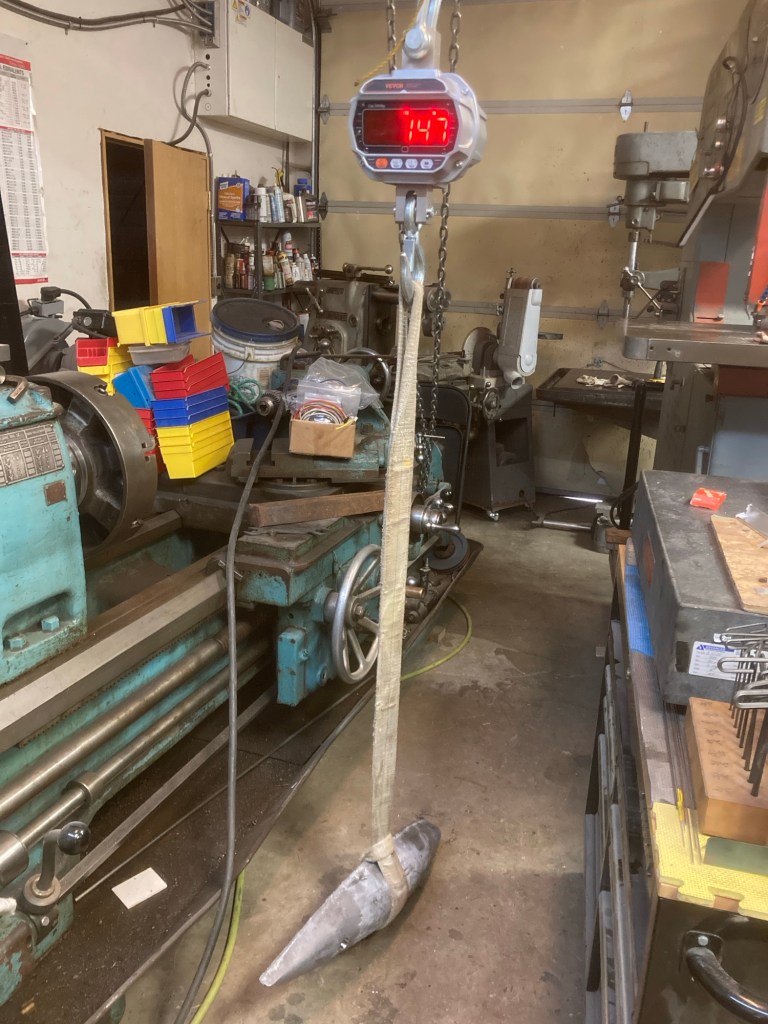
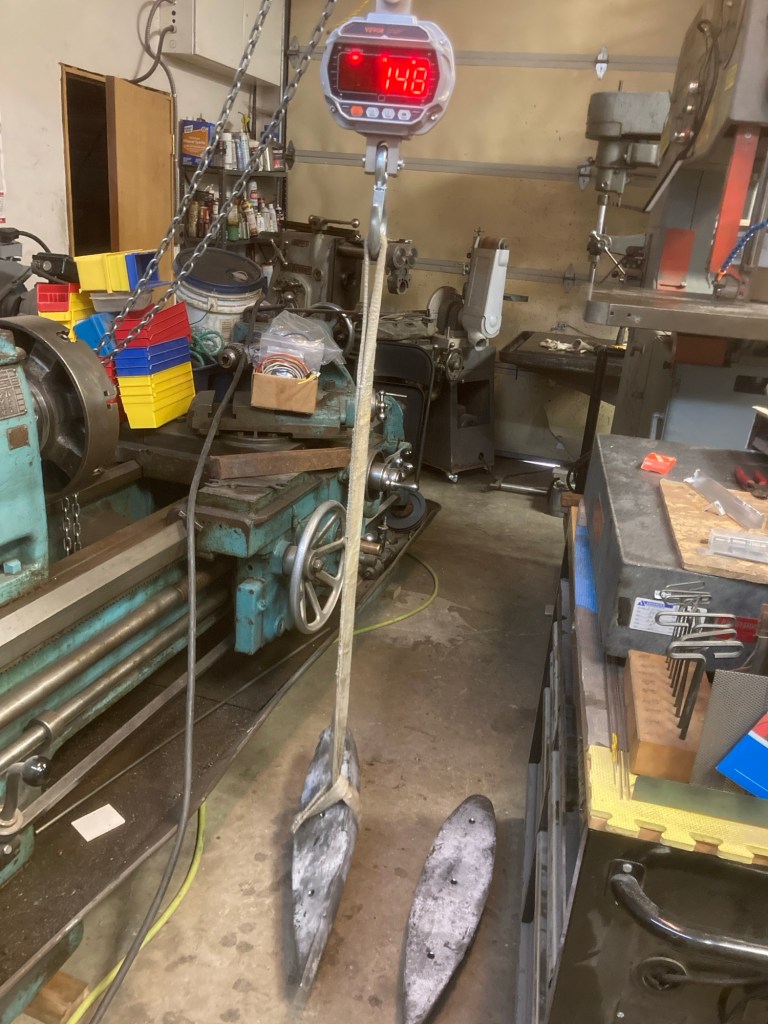
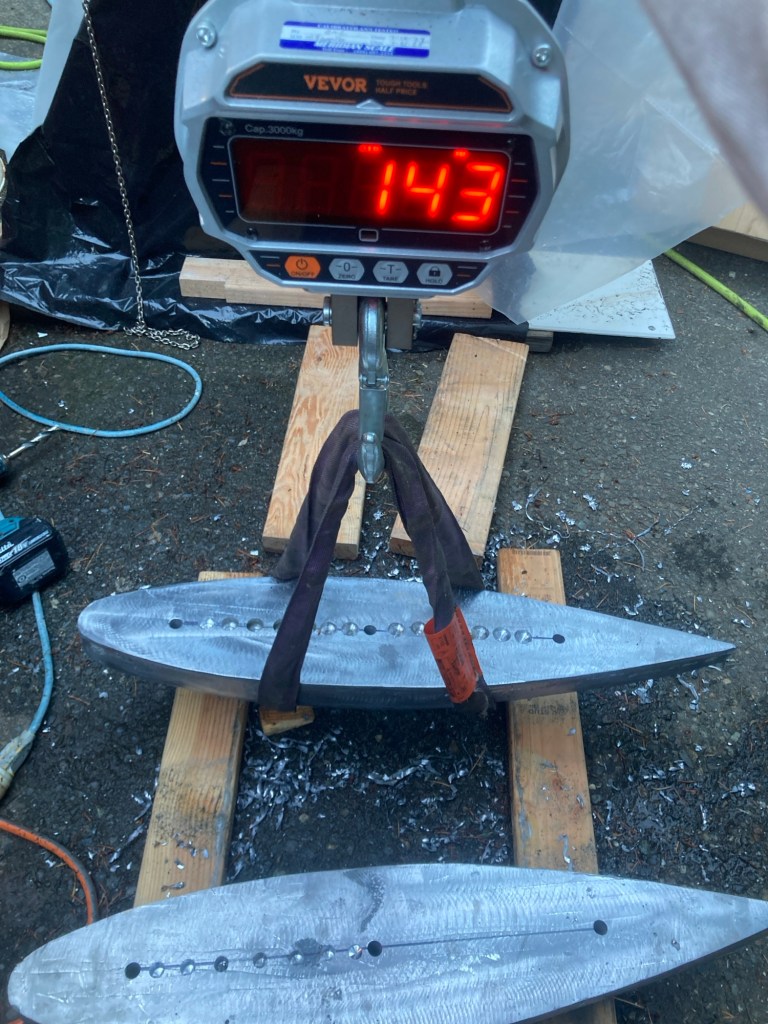
Next up, back at Lacey Machine Works I had Josh drill the holes and counterbores in the bulbs to accommodate the bolts. And, after realizing that they were still a little heavy I drilled several holes into the mounting surface to match the weights and lighten them up a bit. Using my certified and calibrated crane scale I made sure that they were even and light enough to be under the maximum weight once combined with the fin, nuts and bolts, fairing compound, and paint.

Working in the evenings at the workshop after business hours I first did a lot of grinding to get all of the mill scale off of the keel fin assembly. I used a wire wheel on the angle grinder to get the surface down to bare metal for painting.
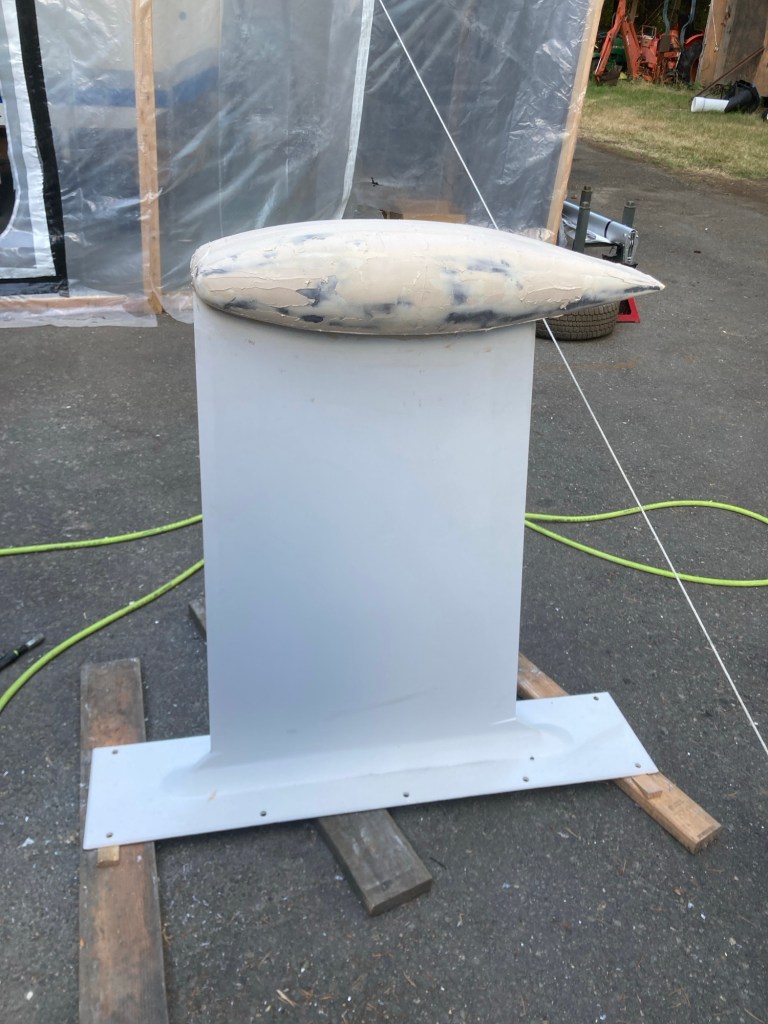
I faired the fin to top plate joint with West System epoxy thickened with the 407 Low Density filler. Three rounds of filling and sanding yielded a nice smooth transition while remaining within the spec for maximum fairing thickness in this area.
With the joint area faired smooth I then sprayed three coats of Interlux 2000e Barrier Coat onto the fin and top plate assembly. This is an extremely durable protective primer for underwater fiberglass and metals and it should provide a long lasting base for the antifouling.

Now that the keel fin / top plate were about as heavy as they were going to be I weighed the unit to make sure I was keeping to the tolerance.

Everything was now ready for final assembly. Keel plate welded, faired, and painted with barrier coat, lead bulbs smooth and of equal weight with bolt holes drilled and ready. I bolted the pieces up with high quality 316 stainless hardware and stood the whole unit up for final fairing and painting.


I filled in the bolt recesses, as well as fairing over the bulb to plate interface, with more of the West System epoxy, this time thickened with the 410 microlight filler. This made for easy fairing and sanding as well as being relatively soft enough to be chiseled out again if the bolts ever need servicing.

All that was left to do now was paint some of the Interlux 2000e onto the bulb and take a final weight. I mixed the paint to the correct 3:1 ratio and sprayed it on using my tired old $17 Harbor Freight spray gun.


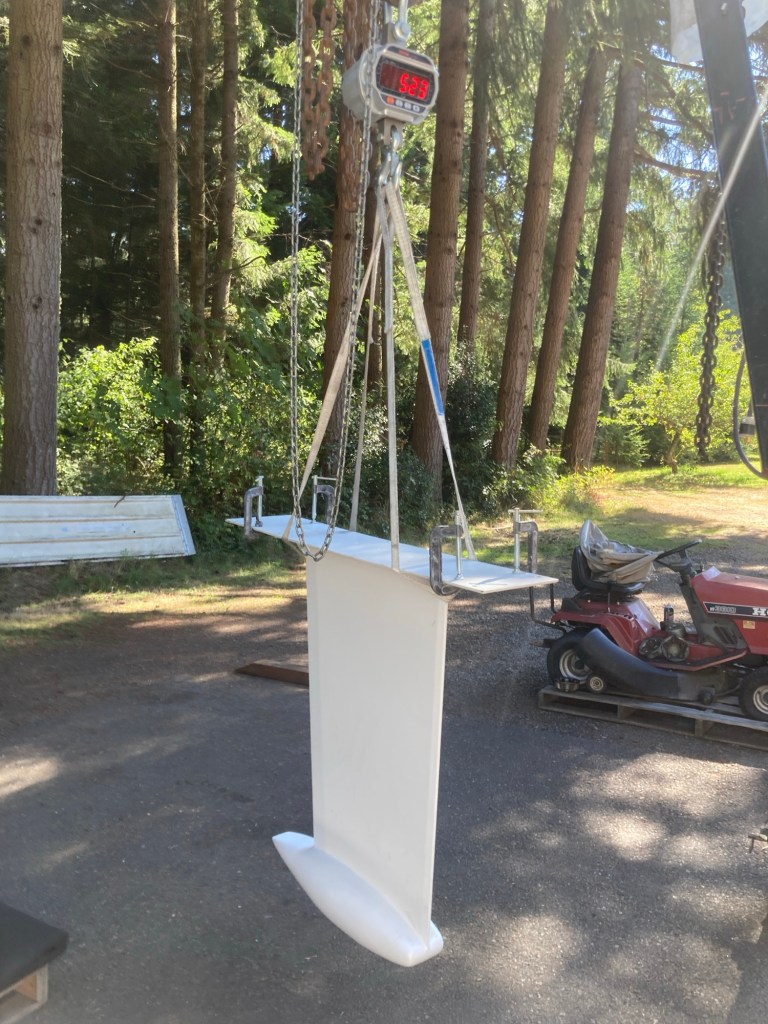
The all up official weight minus the lifting slings and clamps ended up being 523lbs. That is 237.2kg. Which makes it 7kg under the 244kg maximum weight and only 1kg over what I estimated it would weigh. Perfect.
Now it was ready to be installed onto the hull.
Making this one component of the little yacht was a long and complicated project all on its own that required the talents of a number of craftsman from all around the region. That is understandable given its importance for the stability and seaworthiness of the vessel. Thanks for reading.
