The summer has come and gone and with the change of seasons comes a change to the next phase of the project.
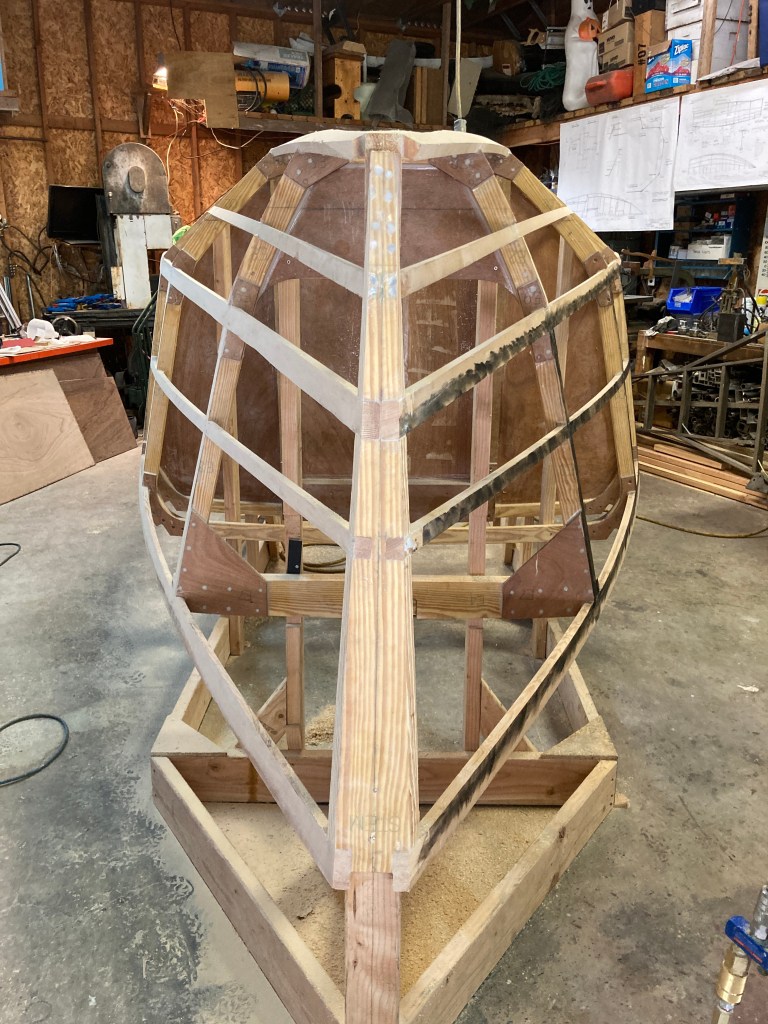
After getting all of the frames hung up on the jig I then glued in the various free floating pieces including frames B and C as well as the oak keel floors and the stem-knee assembly.
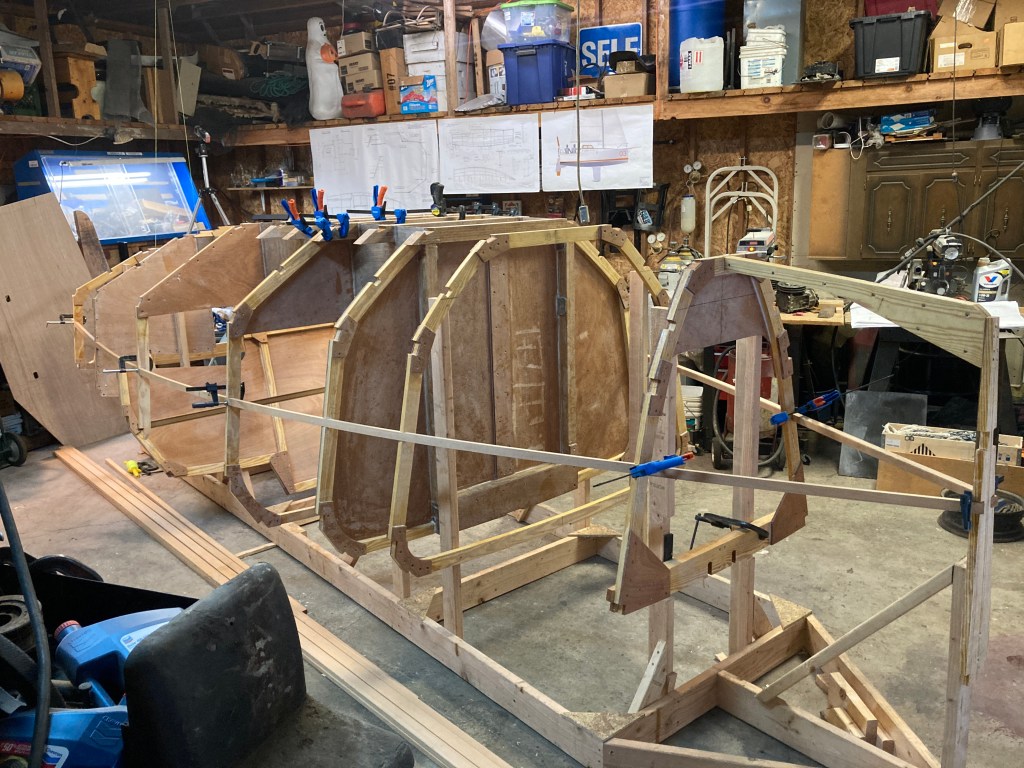
The next step in the process was to make and install the longitudinal stringers and battens that tie the frames together as well as offer support for the hull planking.
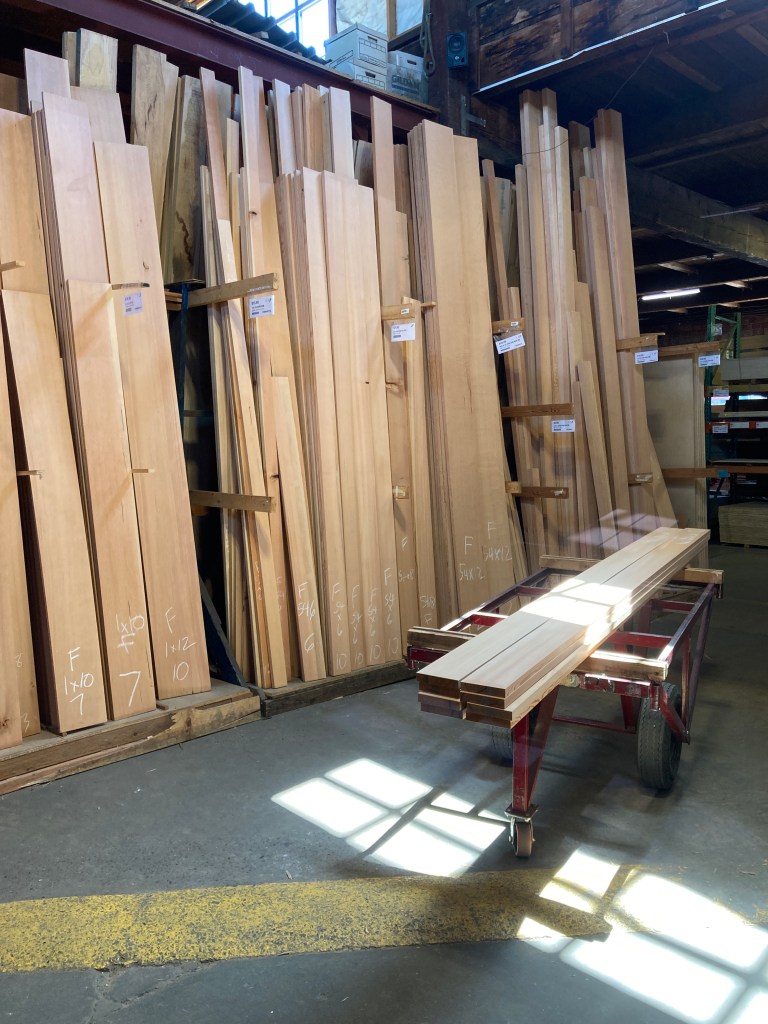
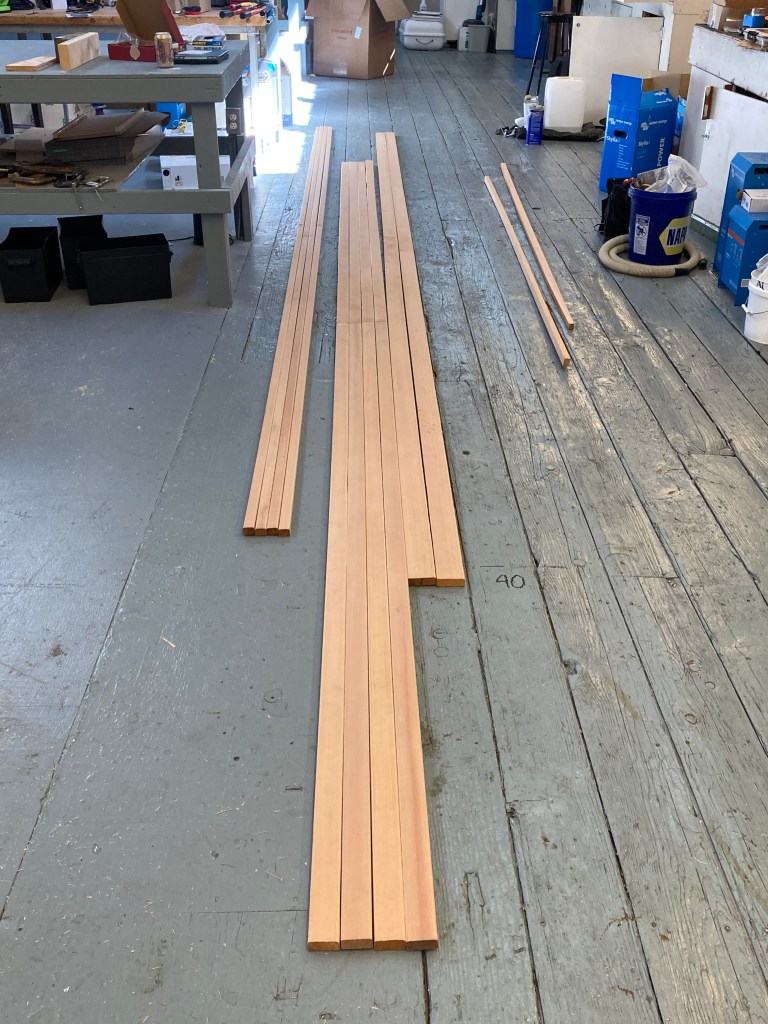
I began by visiting the local fine lumber supplier, Crosscut Hardwoods, for some materials to make the pieces from. They have a beautiful selection of various woods from all over the world and I was able to select some very nice pieces of CVG Douglas Fir for the project. The lumber was cut at 1” thick and, as the plans specify the stringers to be 22mm, I had to have the boards milled down to the correct thickness. I found a local woodworker that was willing to plane the boards for a reasonable fee, as I don’t own a thickness planer, and I had them back the same day.
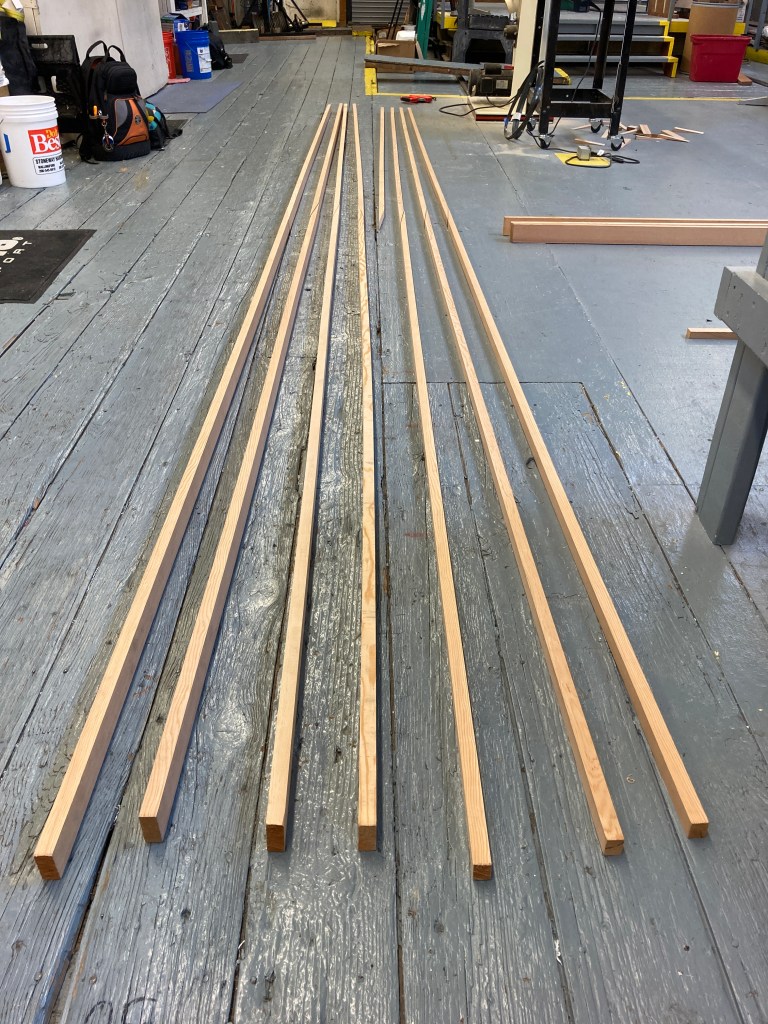
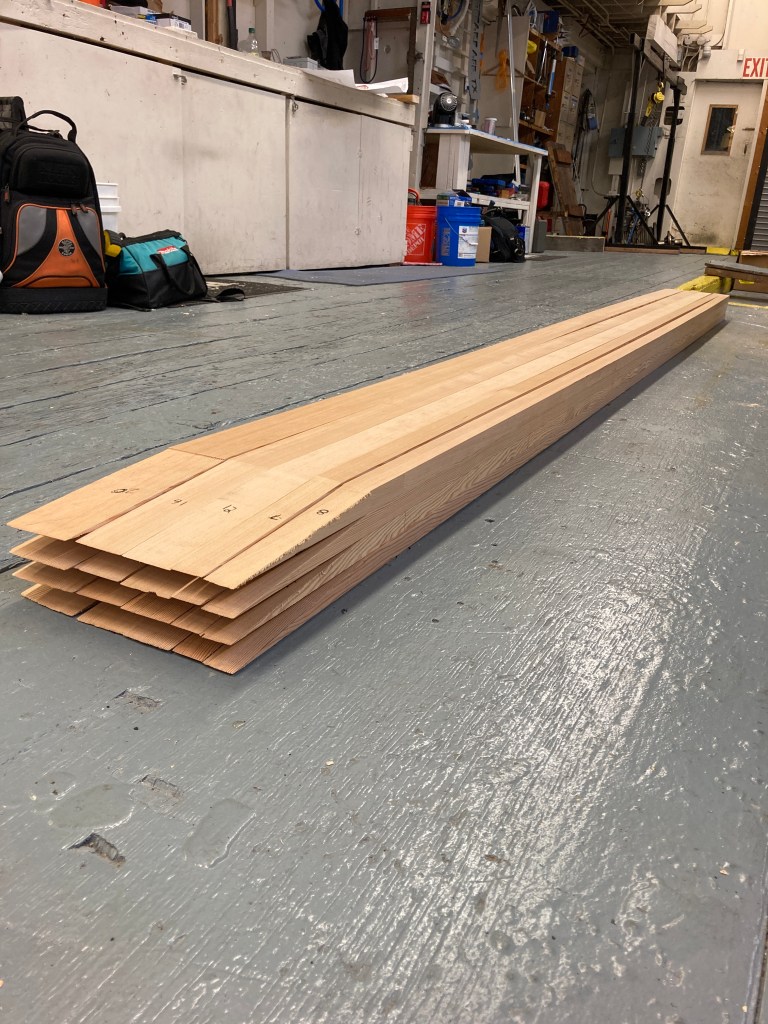
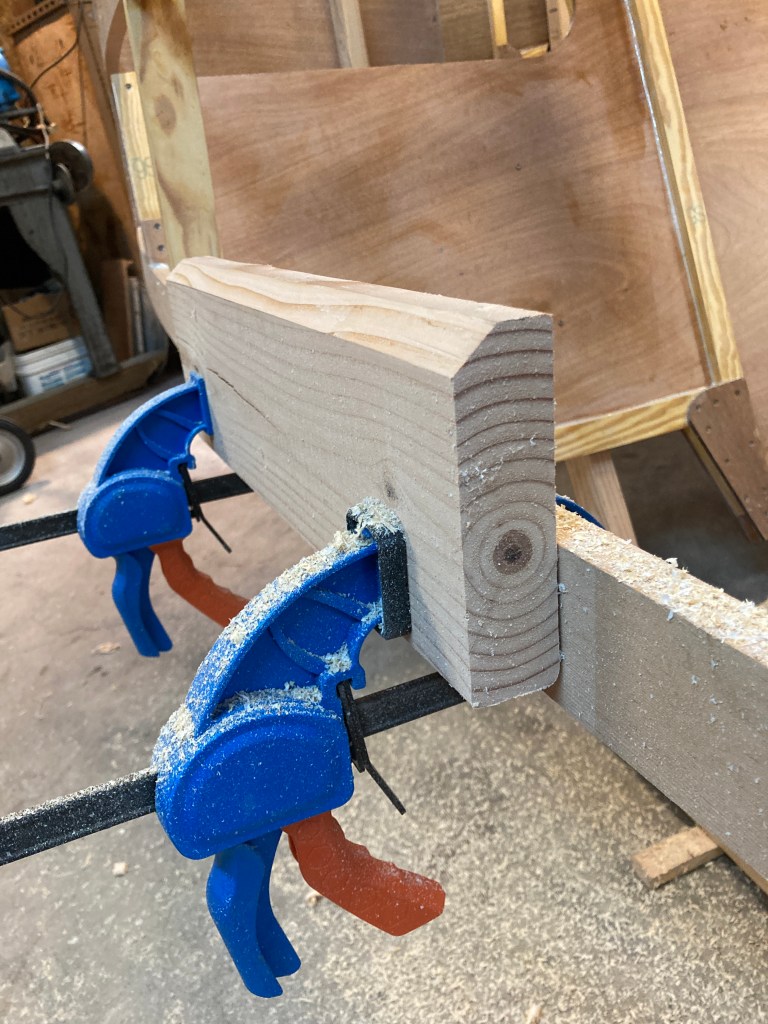
With the boards prepared I was able to cut the 10’ long boards to the correct width using the band saw and some rollers. I then straightened them out a bit with the jointer. Finally I used the band saw again to cut 8/1 ratio scarfs into the ends so that the 10’ boards could be joined into the full length 20’ sections. Using some thickened 105 epoxy I joined the scarfs and clamped them together to dry. Afterwards, I ran the pieces through the router table to make nice rounded corners for the inside of the boat.
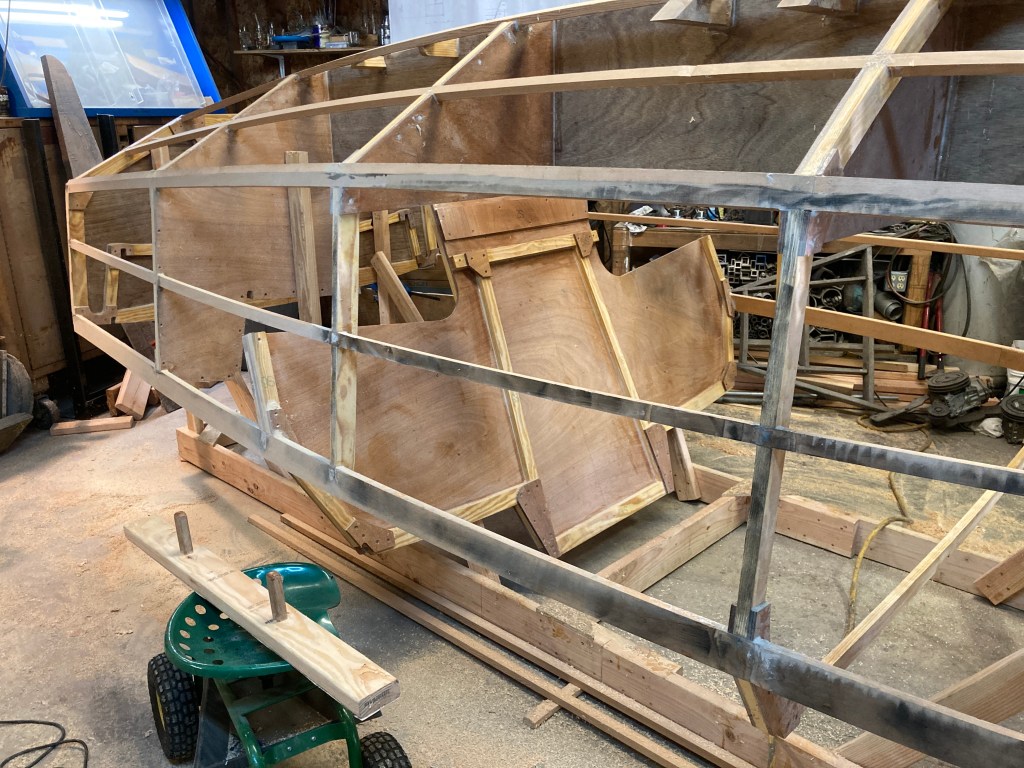
I took the finished stringers and battens down to the workshop to be installed into the frames. I began by clamping all of the stringers into the jig and measuring just where and how much material needed to be removed from each frame to allow the battens to follow the contour of the hull. I then shaped the notches in the frames using a combination of a band-file air sander, a chisel and hammer, and a no.62 rabbet plane.
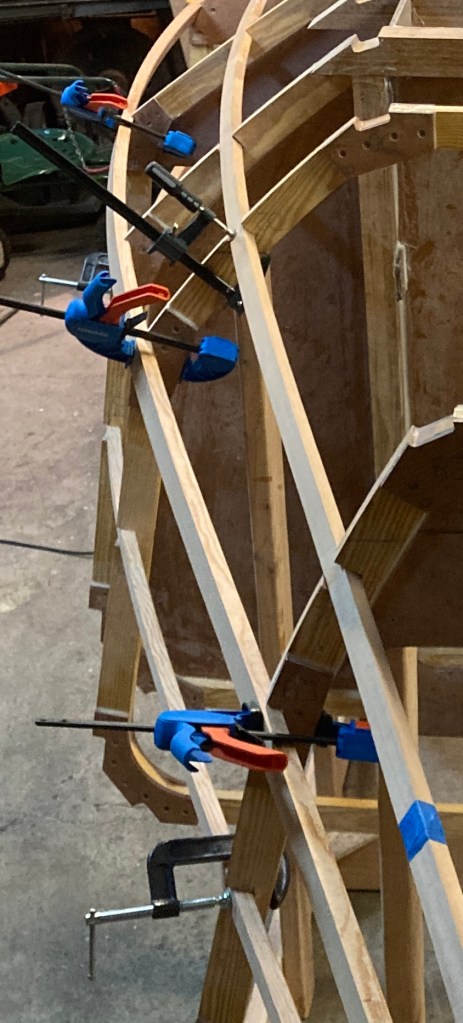
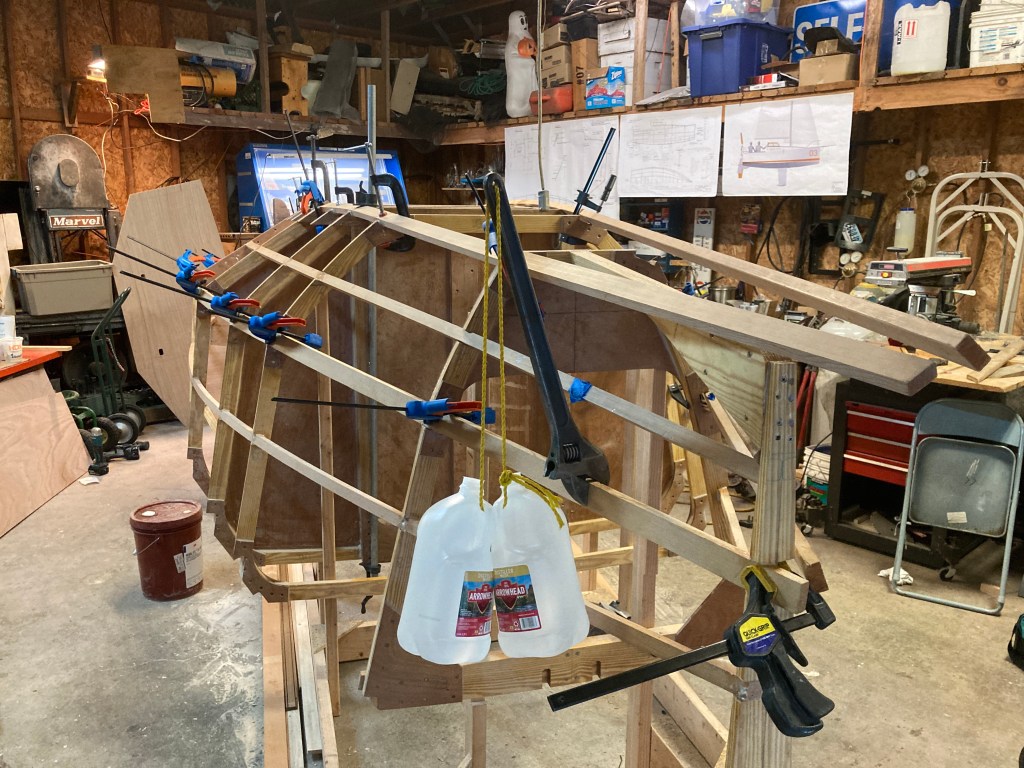
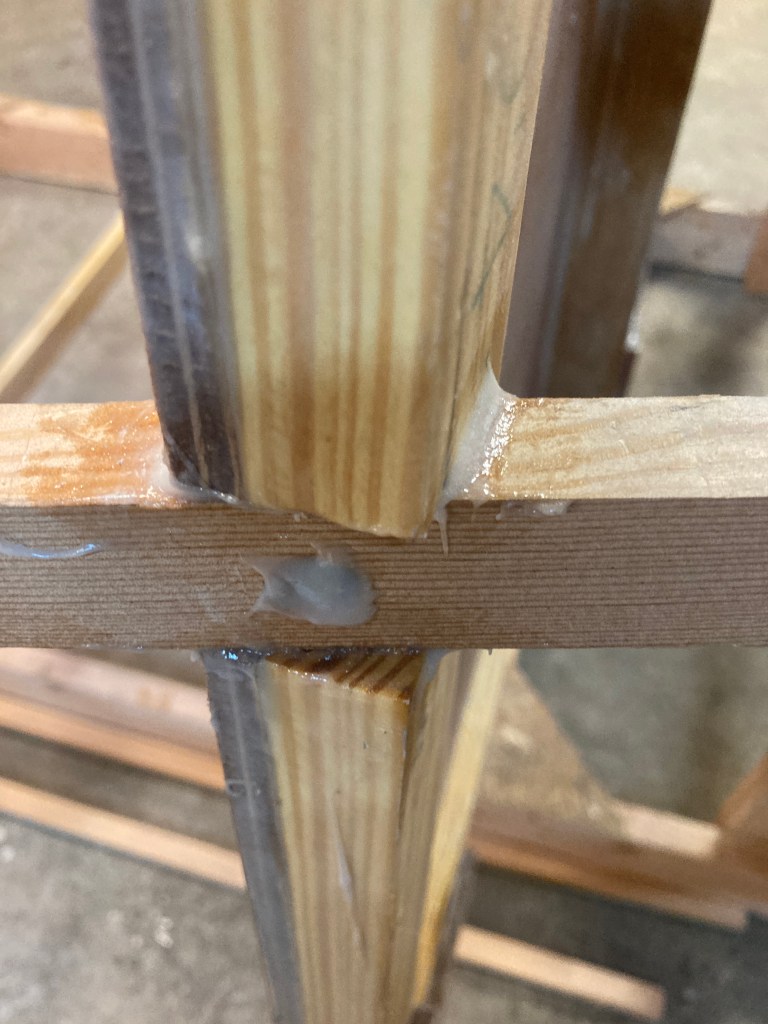
Once all of the stringers were fitted into the frames, I was able to begin gluing them in place with more thickened 105 epoxy. At first I used a large wrench and some weights to bend the wood in place where it was quite twisted near the bow, eventually I switched the weights out for a ratchet strap around something solid for better control.
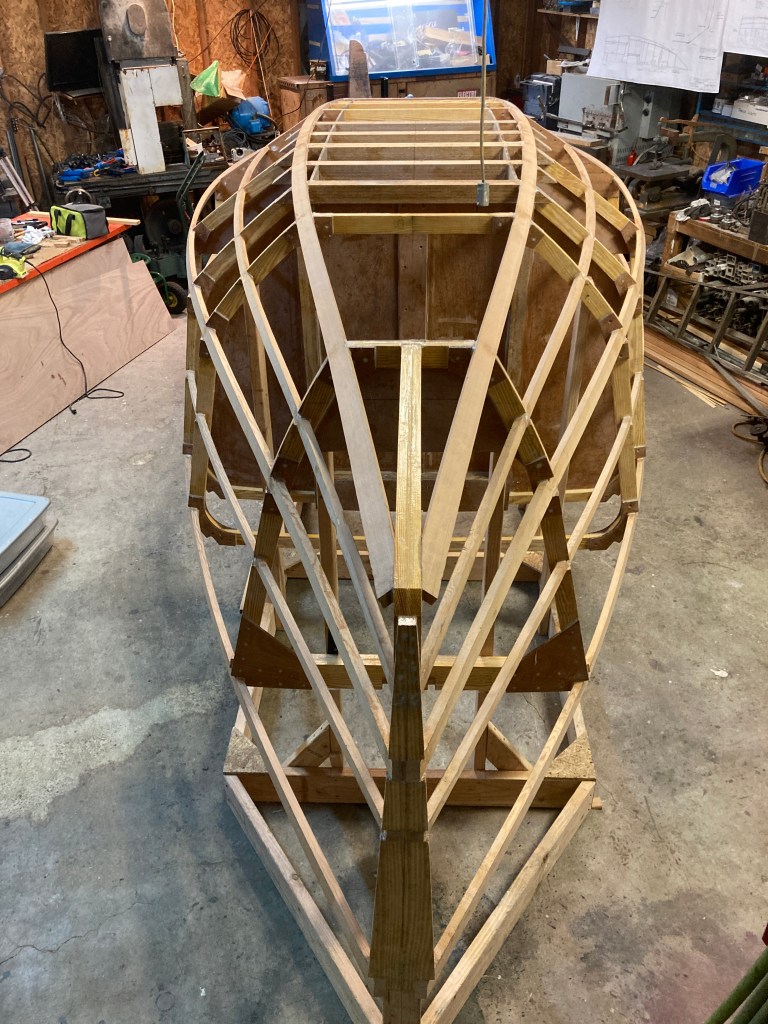
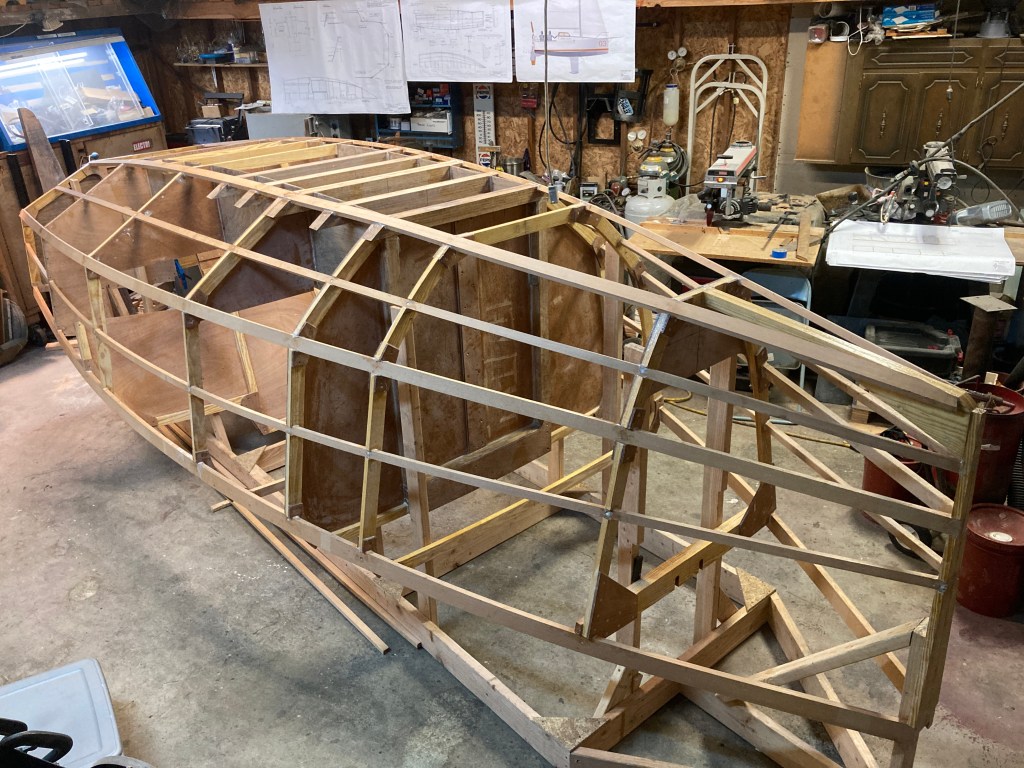

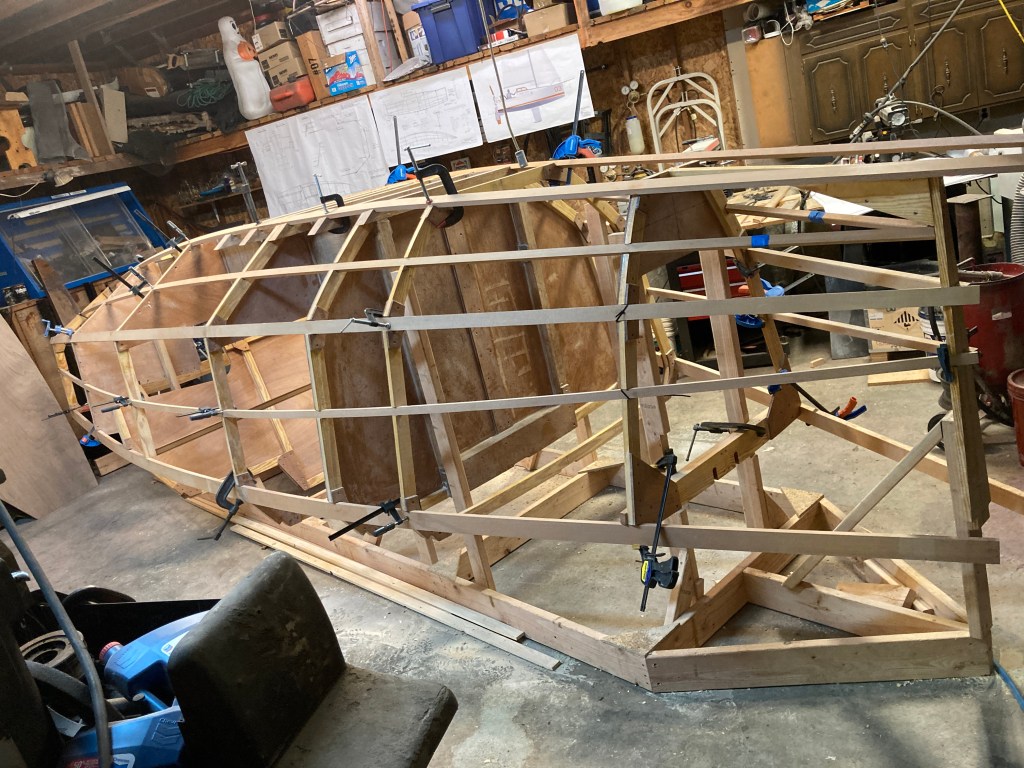
With all of the stringers and battens installed it really starts to look like a boat! After the epoxy had time to cure I started the process of planing the frames and stringers to accept the planking. For this I used a Ryobi corded electric plane that I modified using the video instructions from Louis Sauzedde’s YouTube channel ‘Tips from a Shipwright’ and it worked perfectly. I finished up the job by fairing the frames, battens, and stringers to one another by first applying some Mirka Dry Guide Coat to them and then sanding them with a longboard sander until the guide coat was gone. This ensures that the boat frame is as fair as possible and to help make for a nice tight fitting hull.
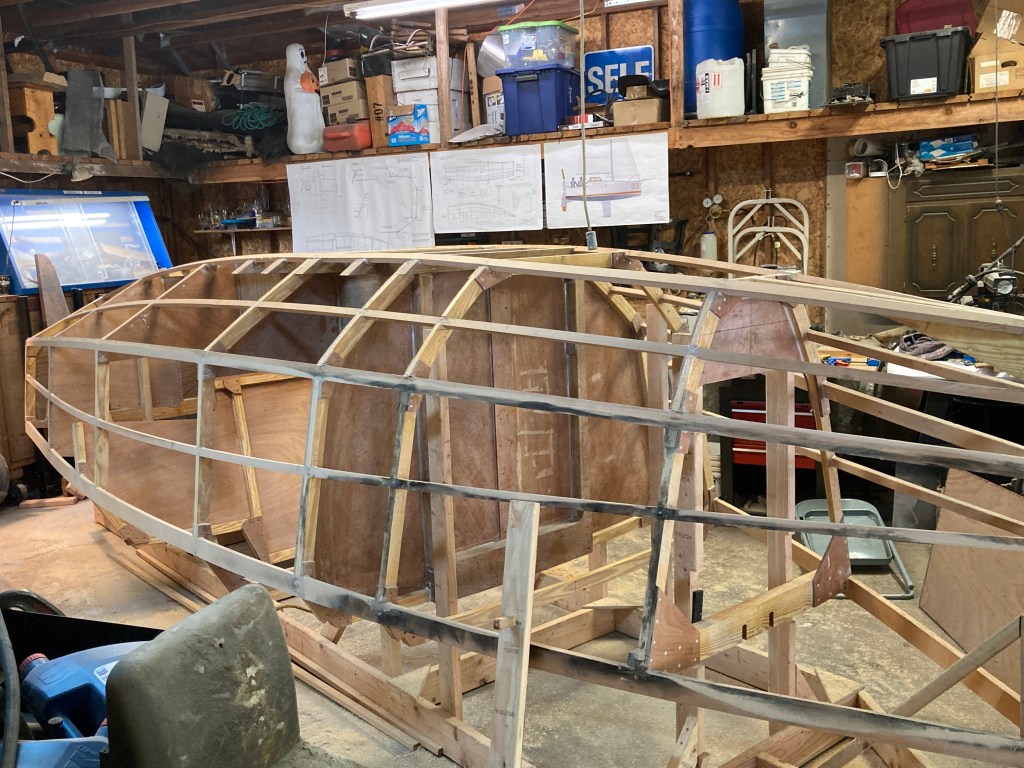
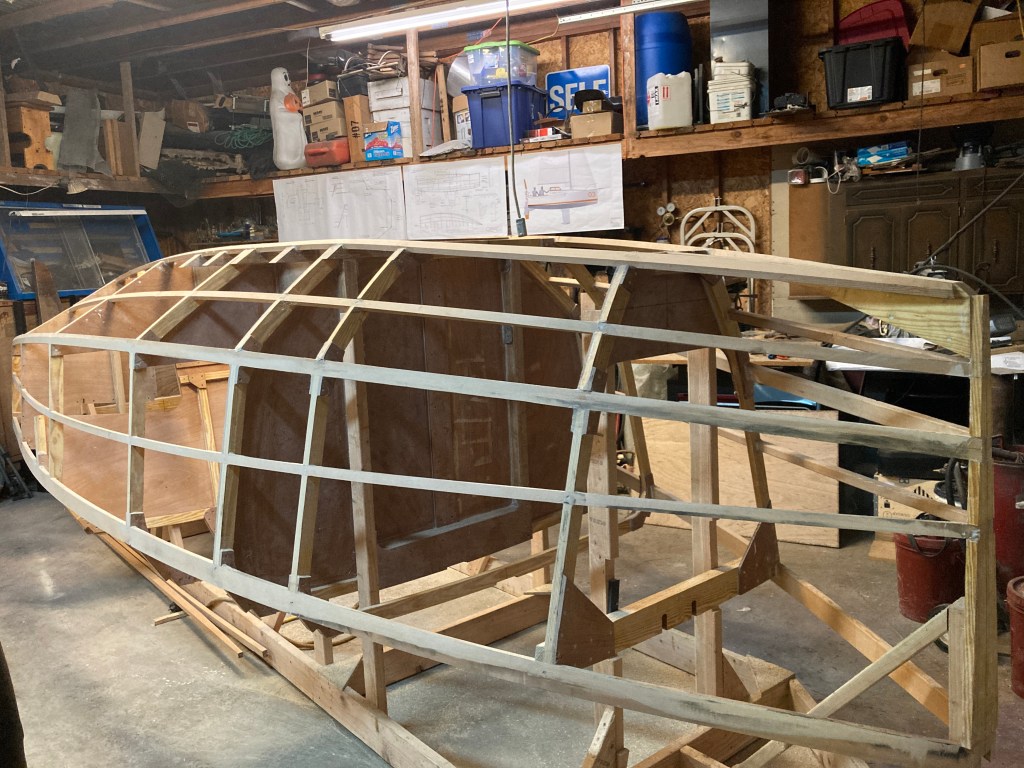
With the sides beveled and faired for planking I moved on to the bottom. I used the same process up there, climbing around on the boat like a jungle gym. My plan is to apply the side planking and the bottom planking and then bevel and fair the remaining area for the chine panels all at once before finally installing the chine panels and closing up the hull.
Thanks for reading and my next post should involve the application of the hull paneling and preparations for the fiberglass reinforcement!
Josh Kali – Class Globe 5.80 Hull #157 – ‘Casero’
