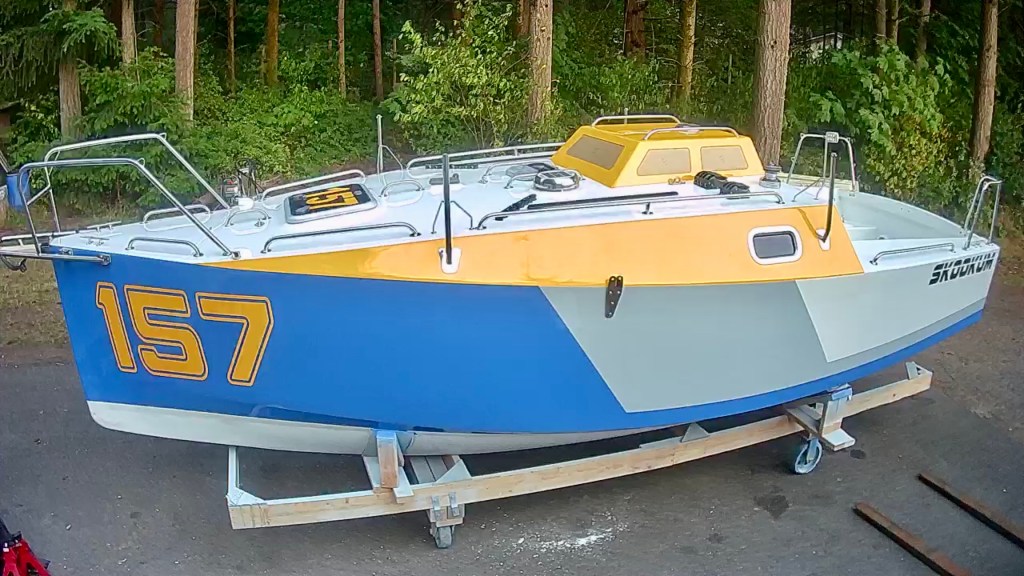
Class Globe 5.80 Hull #157
-
Painstaking Paintwork Pt.1
Well, with all of the fairing finally done on the outside it was time to start getting it painted. I began inside, painting my way out from the bow. The paintwork was a long tiresome process that fortunately yielded a nice result in the end. In order to paint the interior I had to do…
-
It will Keel!
The making of the keel was a very involved process that included people and businesses from all around the Seattle region. Careful tolerances had to be closely followed to make sure that it met the requirements for certification. I started by sourcing the material for the fin and going about getting it cut to the…
-

Fairing Fun Pt. 2
After finishing up the fiberglass on the deck and in the cockpit it was time for another round of everyone’s favorite…, sanding and fairing. Again, I reached for the Alexseal Super Fair 212 and got spreading. I had learned a lot from my first experience with fairing the hull. Instead of applying one huge coat…
-
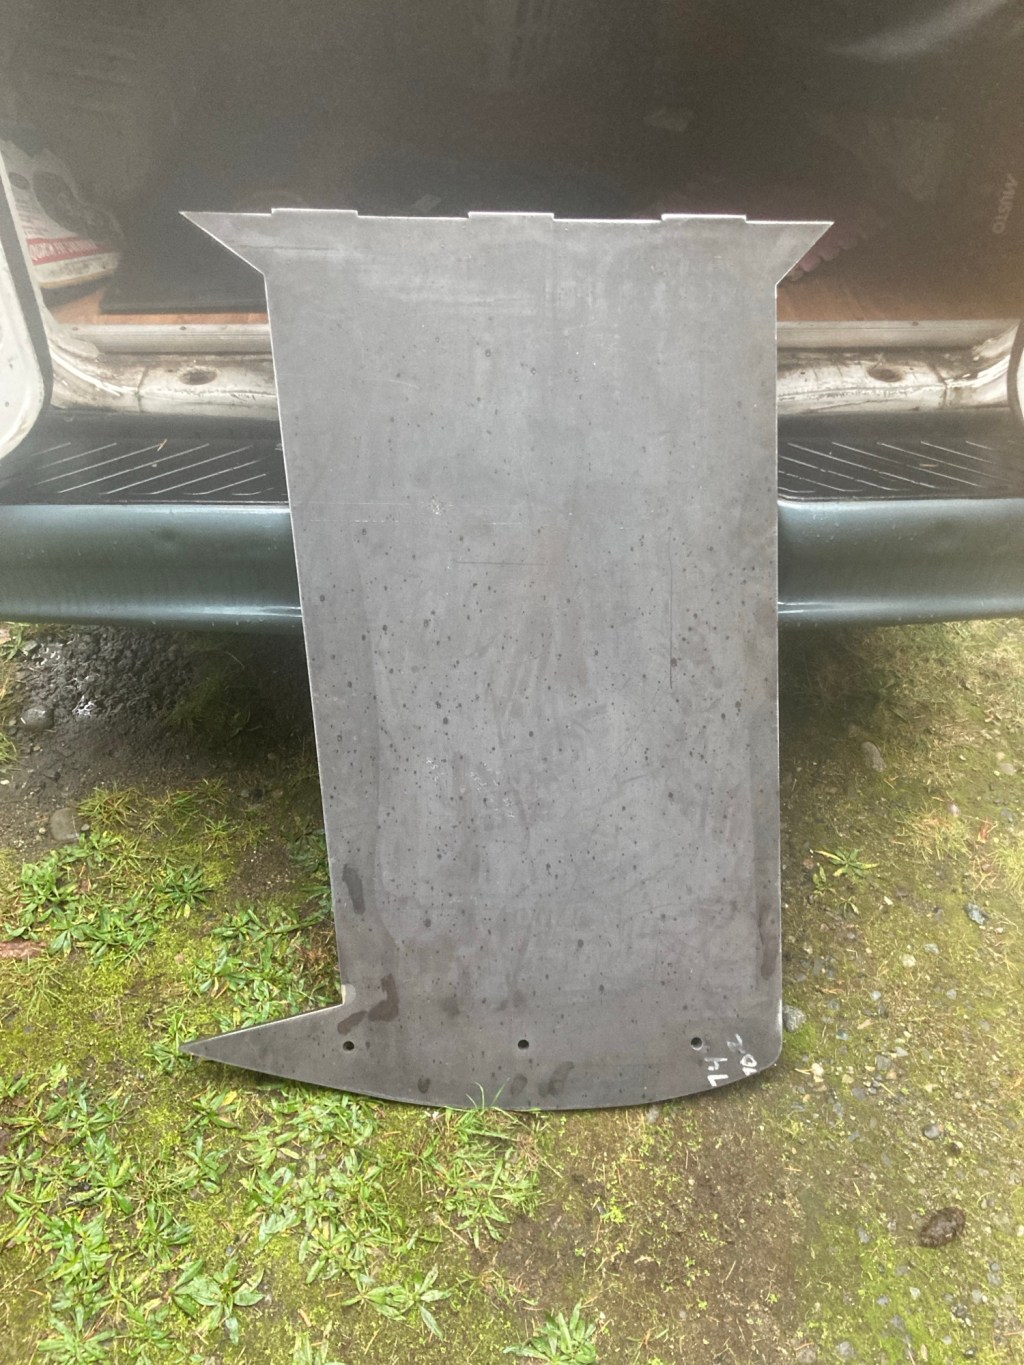
Skeg-o-saurus
The making of the skeg was actually a multi-year affair. I started out by making the shell of the skeg over the foam mold that was included with the B&B 5.80 kit. I worked on it occasionally, building it up in stages, until it was ready to install on the boat. I began on the…
-
Fiberglasss Pt. 3
With the start of the Mini Globe Race 2025 rapidly approaching I had a hard time being patient enough to wait for the right conditions to apply the fiberglass to the deck, sealing the hull up for good. The seasonal chill made it too cold for the resin and cloth to adhere to the wood…
-
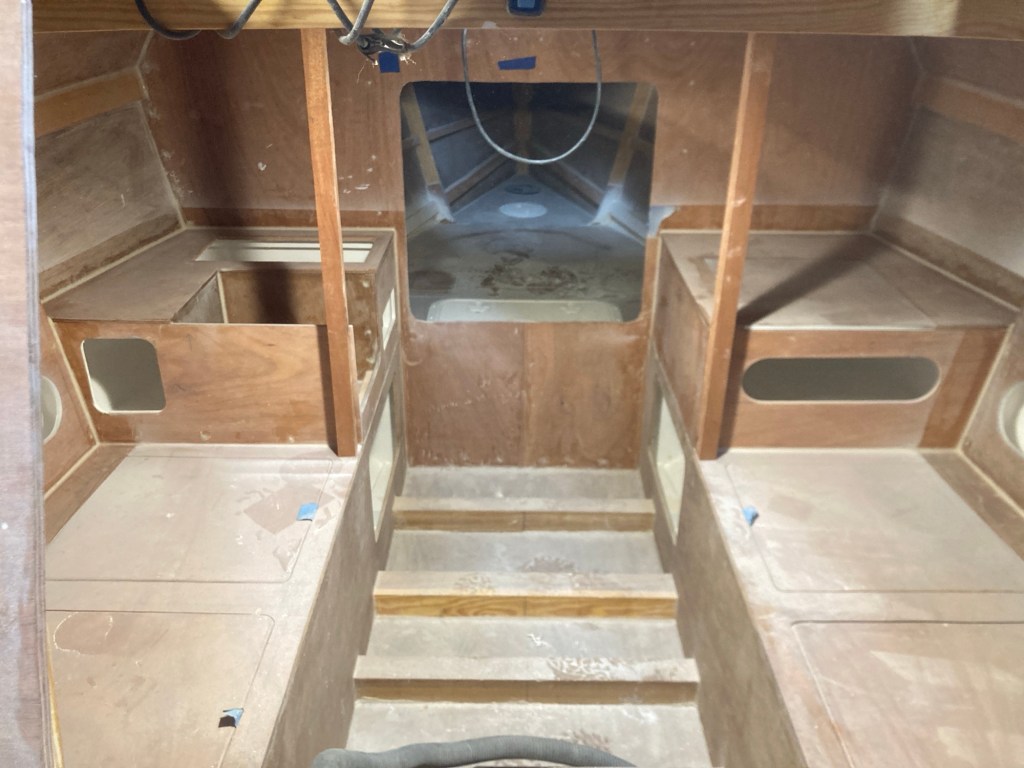
Interior Accommodations
Moving right along it was time to finish up the bits of interior that still needed to be built before I closed the roof up for good. First up I made a couple of seat backs for the cabin berths out of more BS 1088 marine ply with a double coat of epoxy. The backrests…
-
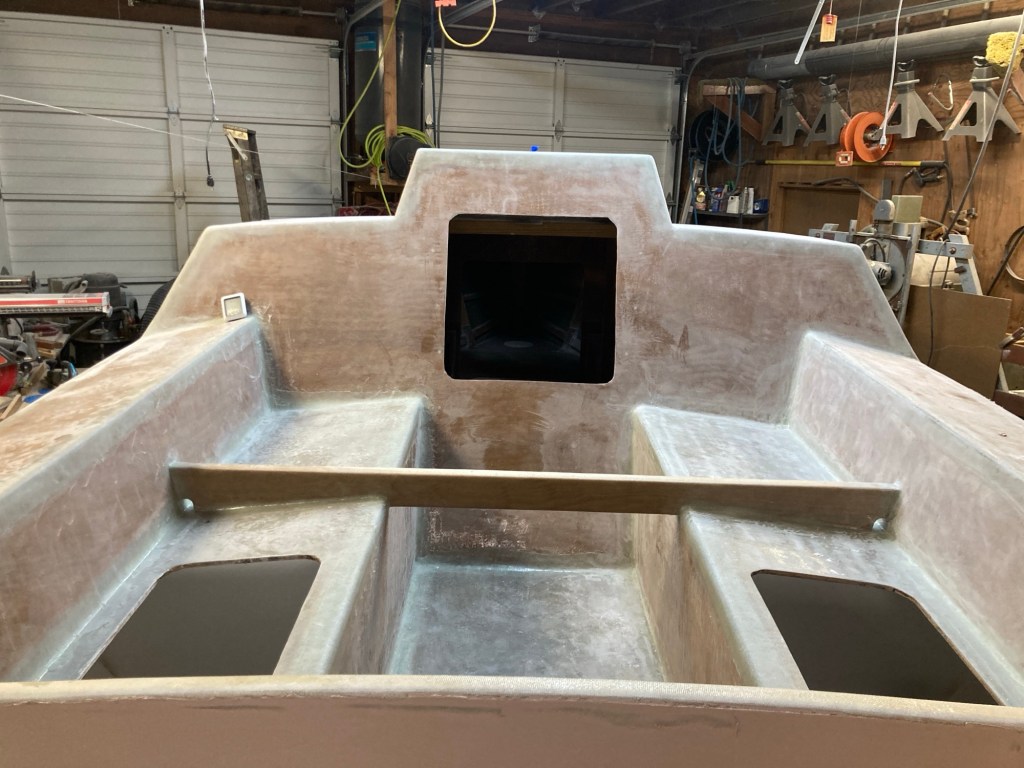
Cockpit Complete
Now that the deck was all closed up I was ready to finish up the cockpit. I began by doing a bit of pre planning for future systems and adding reinforcements for various hardware. First up I added the stainless steel brackets from the Globe 5.80 stainless package to the transom. These will provide strength…
-
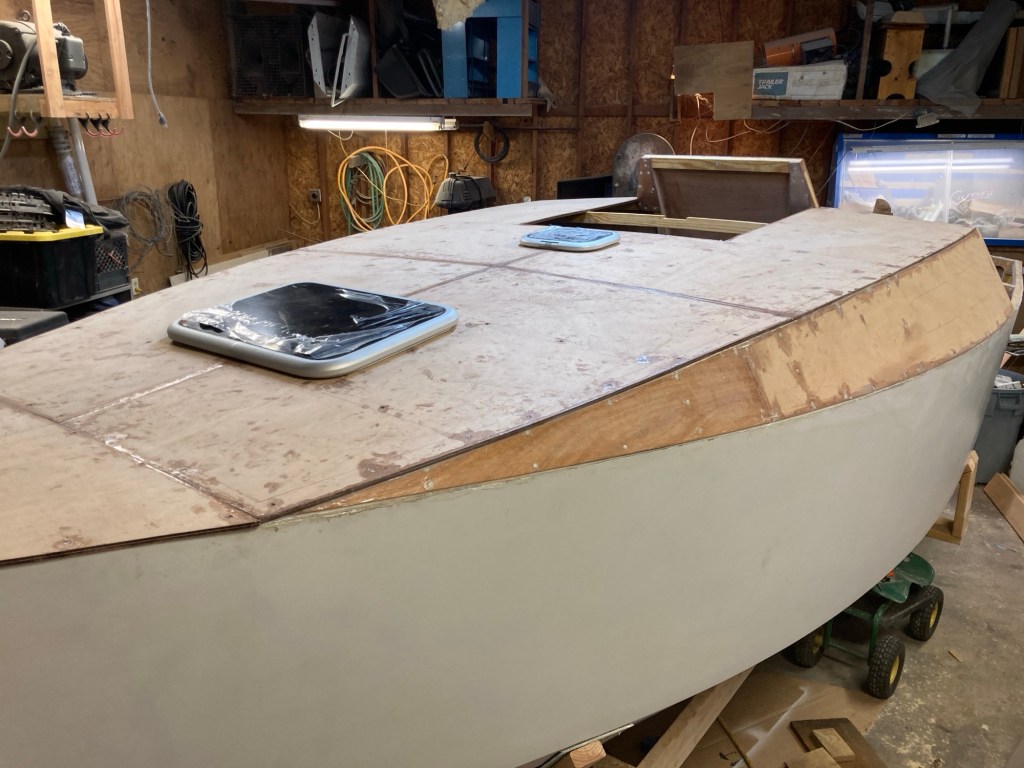
Decks Done
Now that the largest pieces of the interior have been installed I was able to close up the deck and cockpit bringing the little boat closer to completion. The first step was to fabricate some more stringers to give the coachroof its shape as well as provide attachment points for the various deck beams that…
-

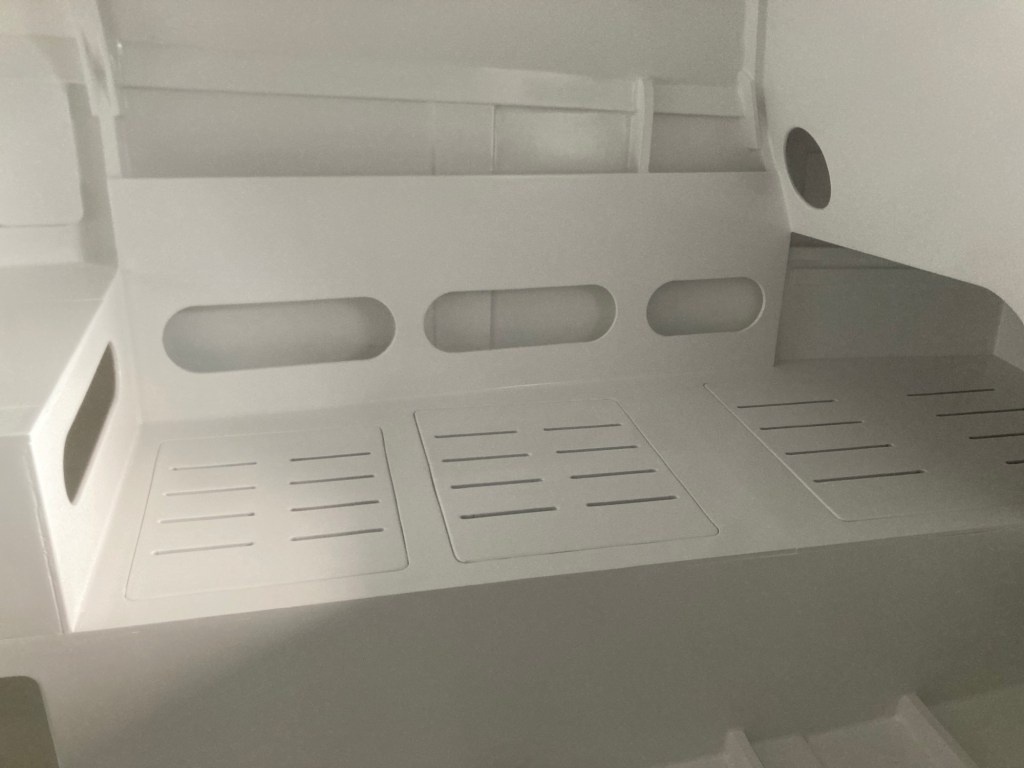
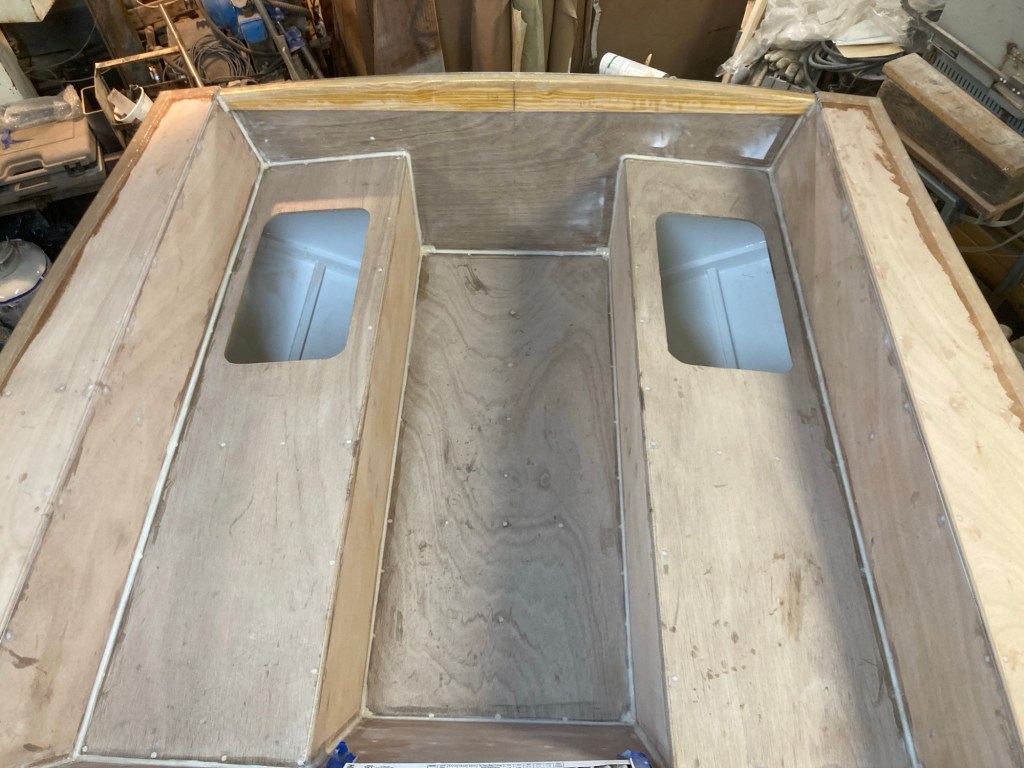
Storage Solutions
With the boat finally flipped upright it was time to get started on the major interior pieces; bunk tops with storage underneath as well as the floor in the vee birth and it’s complimentary storage. I wanted to get the larger components installed that would otherwise be too big to fit in once the deck…
-
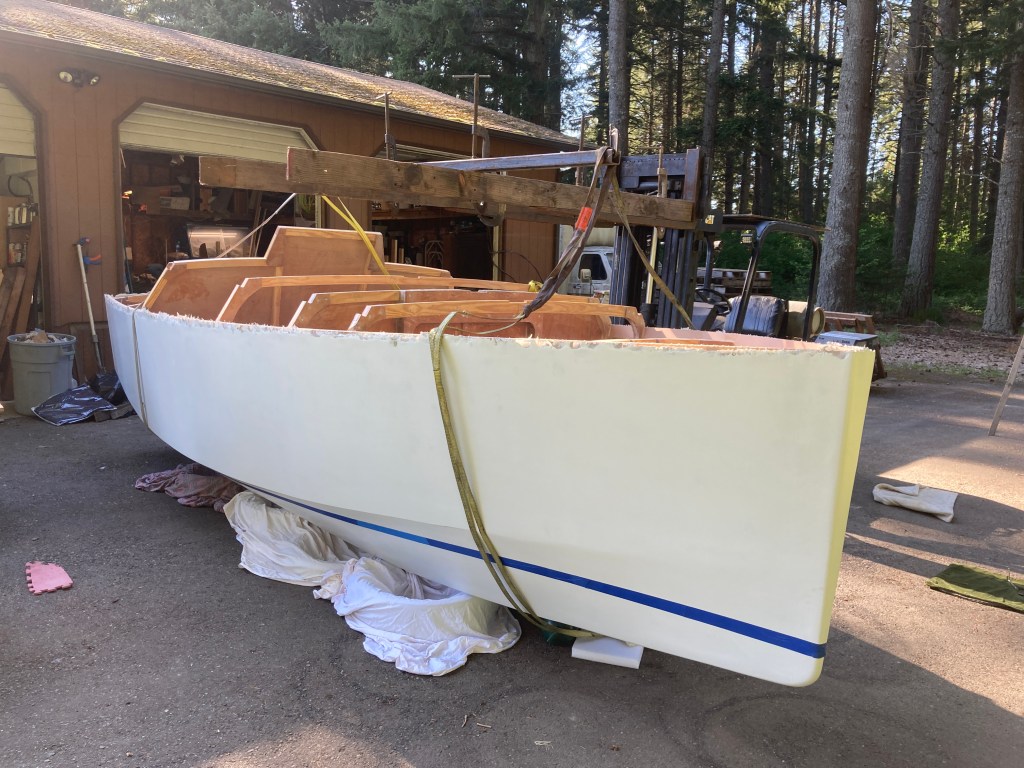
Upright in the Sunlight.
Primer applied, waterline and centerlines marked, and the bunkers made out of fiberglass, a beautiful sunny day, everything was ready. The day had finally come to turn my little hull upright! I deferred to my friend, who’s kind enough to let me mess up his shop building a boat, to come up with a good…
-
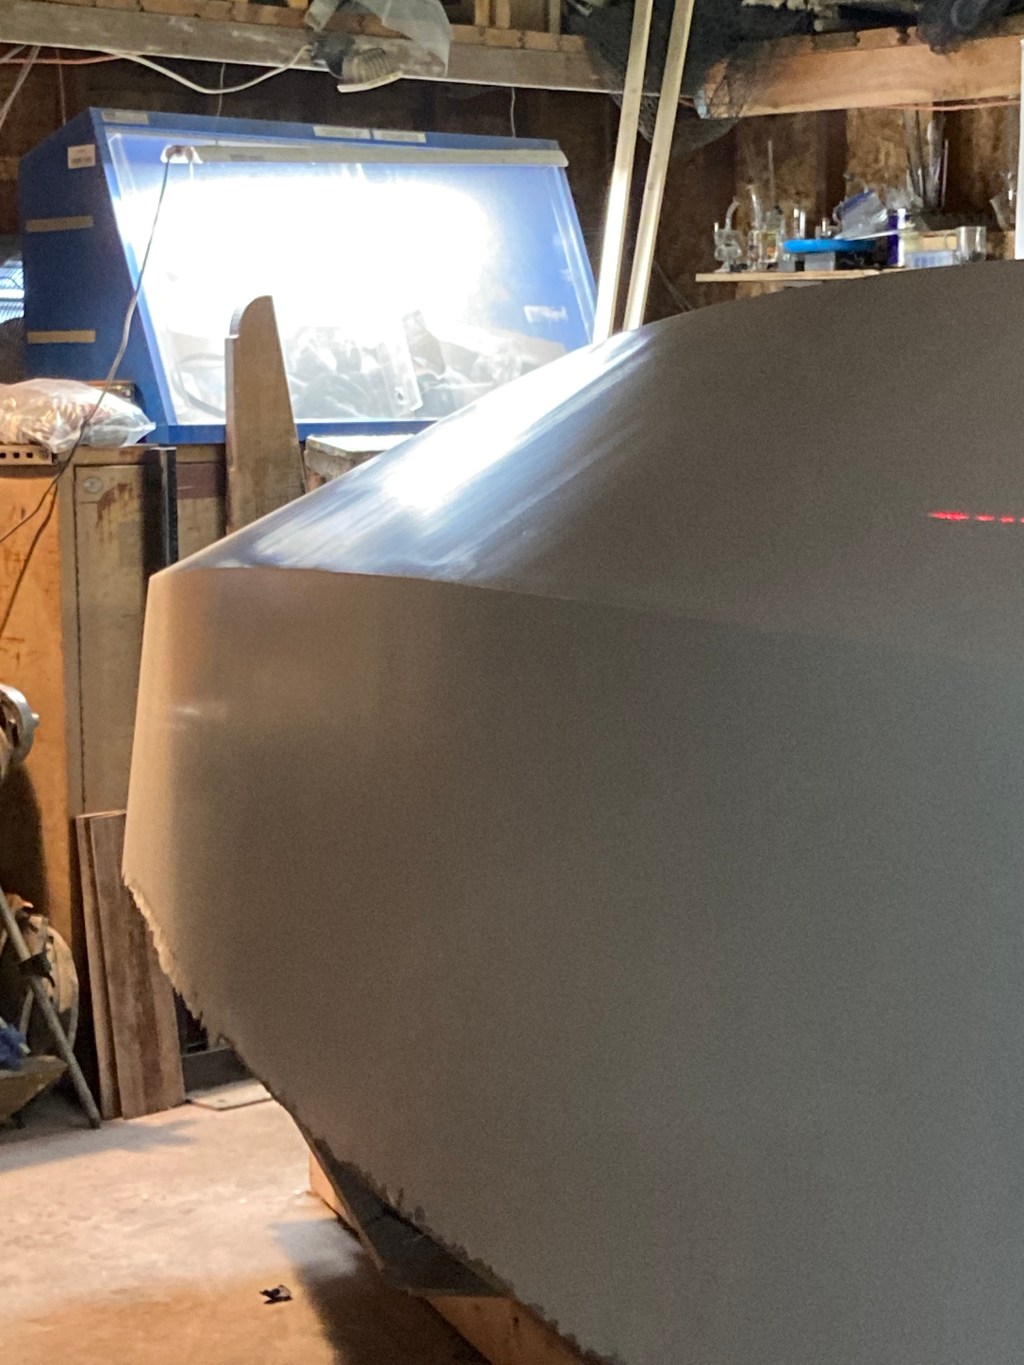
Primo Primer
After I finished the laborious process of fairing the hull and shaping the chines and edges I was ready to roll on some primer. I decided to use Alexseal’s 442 finish primer as I have heard that the high build 302 really wants to be sprayed and rolls out quite thick. I started by wiping…
-
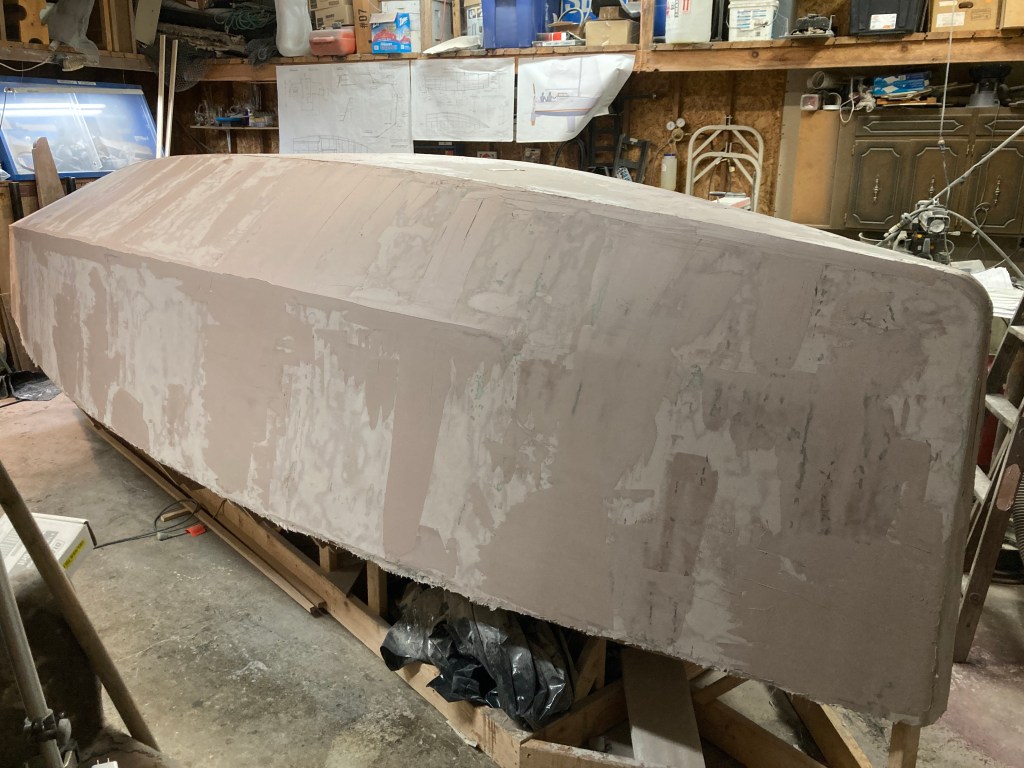
Fairing Fun
Ahh, now for the fun part. Fairing and sanding. At the beginning of the project I knew that this would be the longest single step and that achieving a nice result depended on having patience and taking care. Being anxious to finally see the boat flipped over definitely made both difficult! I started out by…
-

Fiberglasss Pt. 2
As the next part of the process of applying the fiberglass cloth to the hull turned into a bit of an epic saga, I felt it was necessary to split the story into two parts. Once I had the joints and seams taped it was time to add the heavy sheathing that would seal, protect,…
-

Fiberglassss Pt. 1
With the hull all closed up it was time to move on to adding the fiberglass reinforcements and finally finish turning it into a real hull. The first step was to bevel off the edges of the second layer of bottom planking as well as the chine panels where they meet the sides. I did…
-
Planking the Hull
I love this little boat! Sometimes I cannot tell if I am shaping it or if it is shaping me, perhaps it is a little of both. When I began this endeavor I thought it seemed like the perfect opportunity for an epic adventure, what I didn’t expect was the community aspect of the 5.80…
-
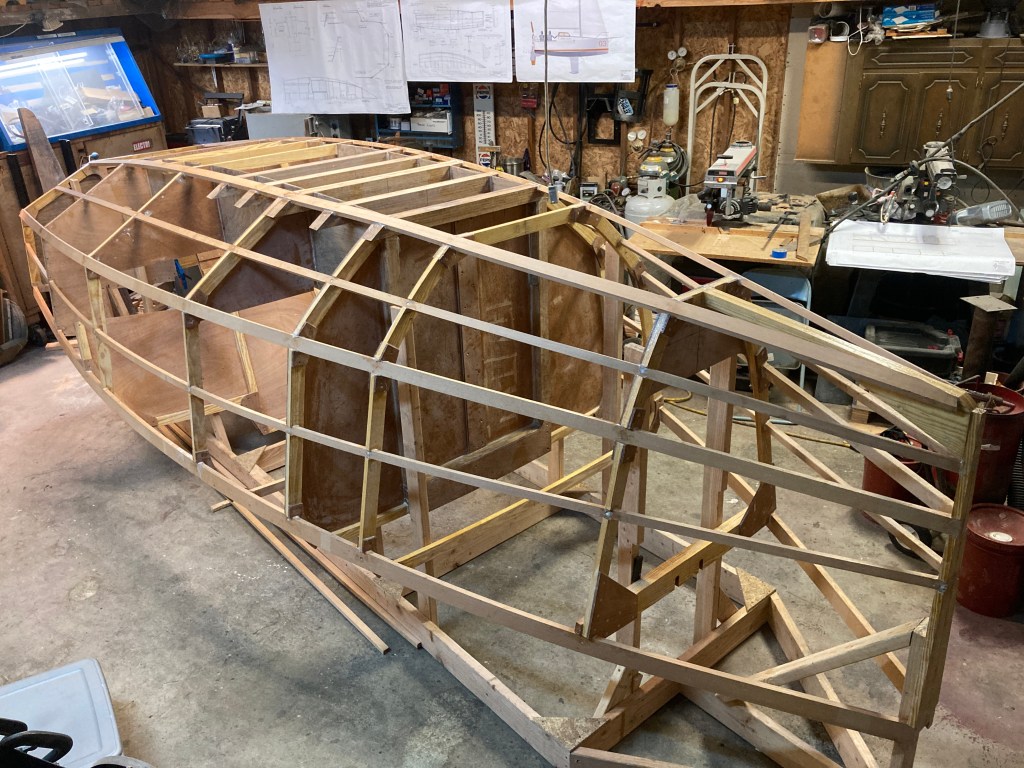
Stringers and Battens
The summer has come and gone and with the change of seasons comes a change to the next phase of the project. After getting all of the frames hung up on the jig I then glued in the various free floating pieces including frames B and C as well as the oak keel floors and…
-

I’ve been framed!
Well, anyways, for the past few weeks I have been working on building the frames that make up the main structure of the boat. First, I made sure everything got a good double coating of epoxy resin to help seal out any moisture intrusion in the future. I did this by using a large clear…
-

Old New Beginnings
Well, after what felt like an eternity, I am finally able to start building my miniature ocean racer. I have watched with enthusiasm as my fellow builders have made excellent progress on their fine looking yachts, all the while needing to complete another project to make room in my friend’s shop for the little boat.…
-
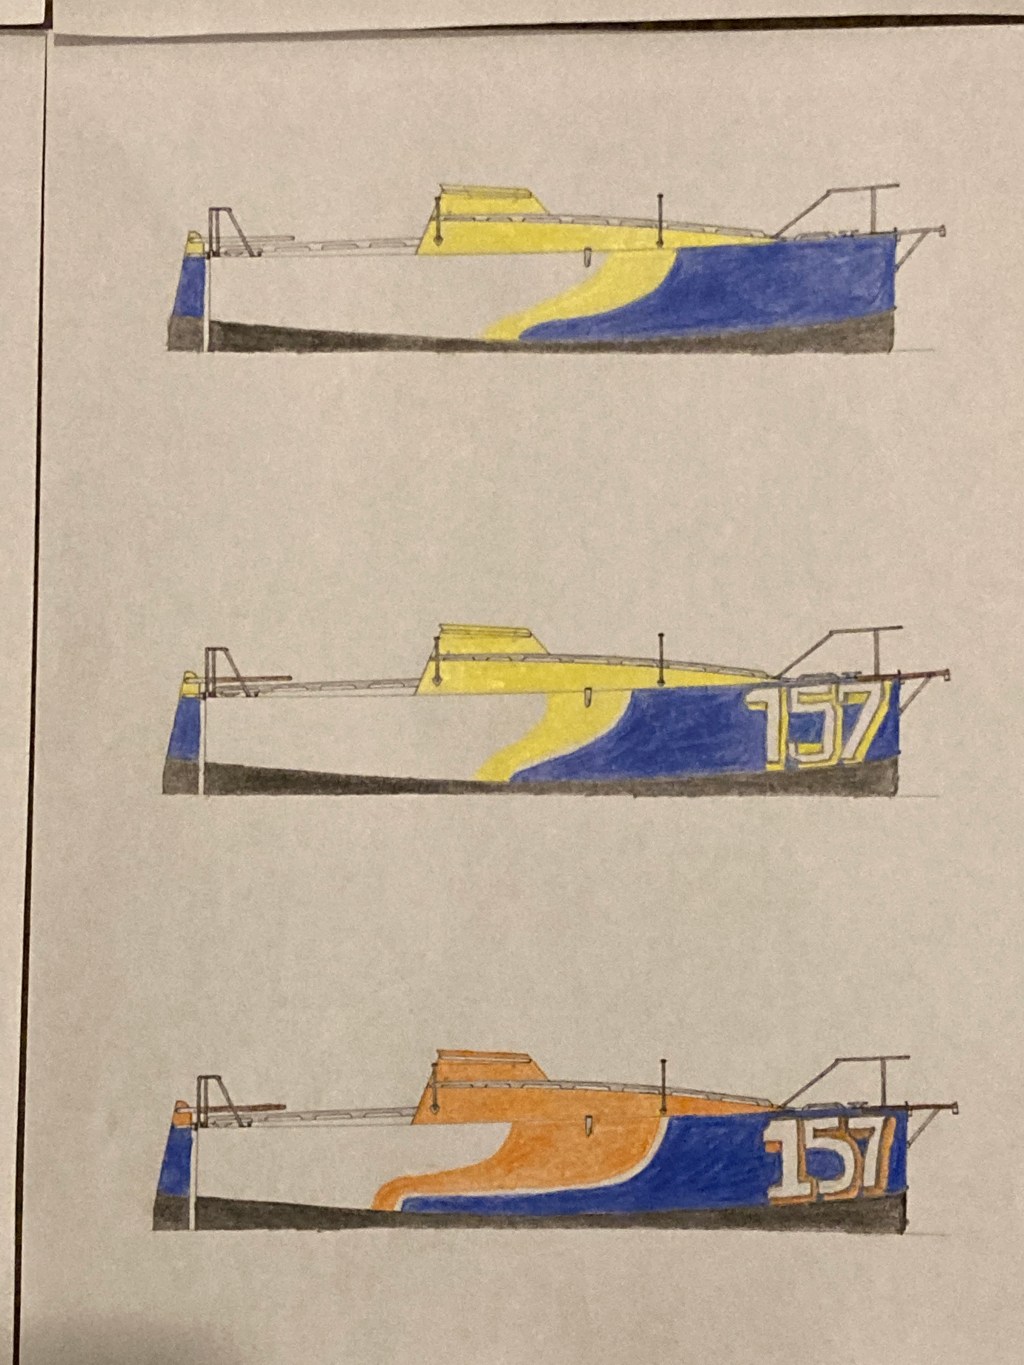
Livery Design Ideas
As I see more builders approaching a finished hull I thought it might be a good time to share some of the livery designs that I have come up with. After months of agonizing about my own paint scheme I colored more than 60 different versions before finally creating the one for me. Please feel…
-
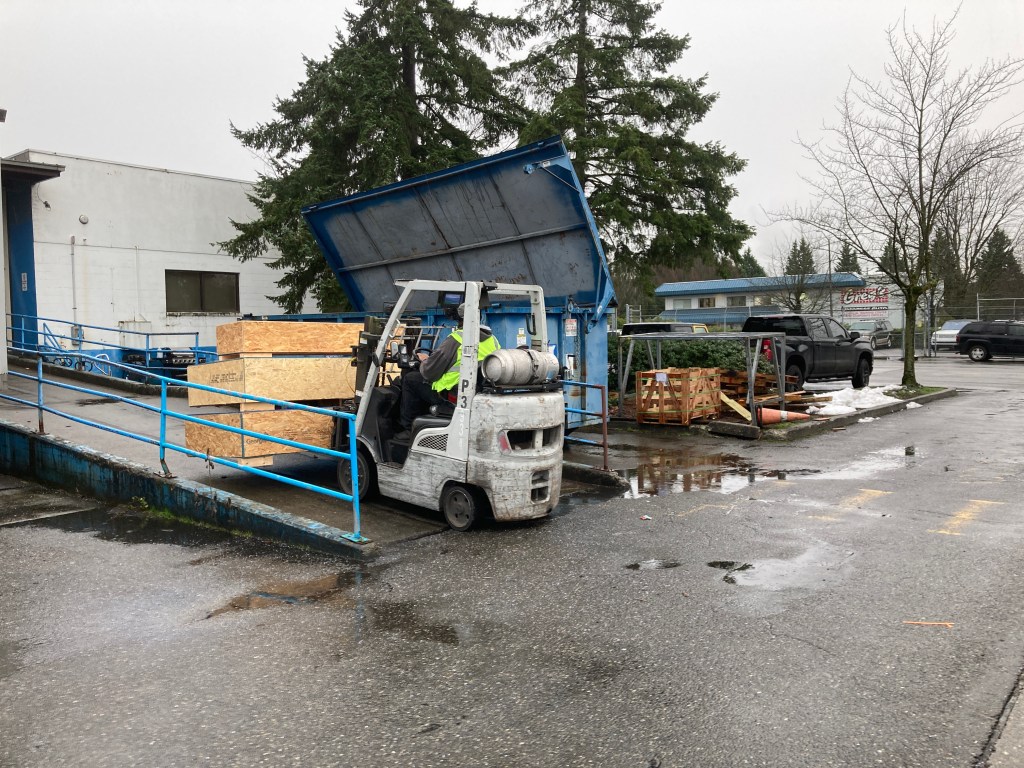
Baby comes home!
I have wood! Well, after placing my kit order in late October, waiting for the holidays to cycle through and construction to be completed, as well as a month in shipping, my little ocean voyager in a four by eight crate has finally arrived! With fall gone and winter settling in I am definitely getting…
